Yes, it’s cold outside in the Midwest, but that doesn’t mean you can’t do some canning! In fact, what else are you going to do with yourself on a cold, blustery Sunday?
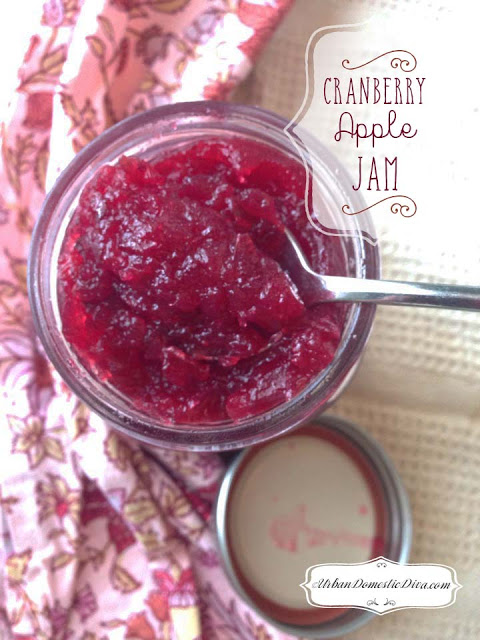
This is a great winter/holiday jam using winter cranberries and apples, to be specific. I packed these up as gifts this holiday to very special people. Because cranberries and apples have a lot of natural pectin, this jam will gel up on its own, making it super easy to make. I threw in some cinnamon sticks as I cooked down the jam, giving it a nice, warm winter flavor profile.
It’s kind of like a little bit of holiday happy on your toast.
Cranberry Apple Jam
Ingredients
8 cups of peeled, cored, and small diced apples (about 4 pounds)
4 cups fresh cranberries
6 cups of granulated sugar
3 cinnamon sticks
juice of one lemon
zest of two lemons
dash of salt
Directions
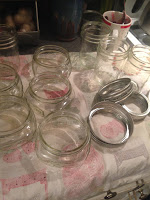
Sterilize your jars.
Prepare a boiling water bath for 10 1/2 pint jars and any other smaller jars if you have a small number of left overs (or want smaller gift sizes). Sterilize them by putting jars, lids, and rings in a hot water bath for about 5 to 10 minutes. Then pull out using canning tongs and let dry on a clean, cotton towel.
(for some how-to videos on canning basics go to my youtube channel canning playlist.
In a large pan combine the apples, cranberries, sugar, and one cup of water. Bring to a boil and add the cinnamon sticks, mix well.
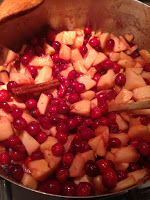
Skim off the foam that develops on top of the fruit and discard as it cooks.
Boil for 15 to 20 minutes until the cranberries pop in the apples soften. At that point, add lemon zest and juice and reduce the heat and simmer until the liquid in the pot has thickened. This can take up to 10 minutes or more.
Both apples and cranberries have a lot of pectin naturally so you don’t need extra pectin to help the jam set, as long as you cook it until it’s thick, shiny, and syrupy.
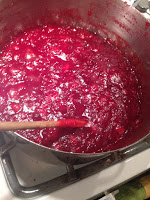
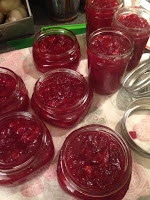
Once it is thick and syrupy, remove the pot from the heat and pull out the cinnamon sticks. Ladle the jams into the prepared jars using a canning funnel to make sure that the rims are clean. With a slightly damp paper towel wipe the rims down to make sure there’s no organic material along the rims. Apply the lids and the rings and process in boiling water for 10 minutes.
Pull out after 10 minutes and you’ll hear the lids popping like popcorn. That means that they’re sealing. Check your seals when they are cool enough to handle and make sure things are sealed well. Tighten rims if you’d like and let them cool to room temperature slowly for 24 hours. Then label and put up. Jams last in this manner for about one year.
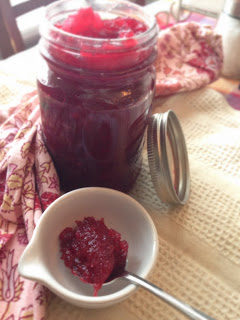
I like to label my jars with the date, especially if I’m giving them as gifts. My mother had a jam she had no idea how old it was and she gave it to us to use in some cookies. When we opened it there was mold. You don’t want to do that to people that you care about! So be sure to label your jams with the date and let gift recipients know that the jams will last a year.
Happy Canning!
Latest posts by Flora Caputo (see all)
- Sugar-Free, Low-Carb, Olive Oil Chocolate Hazelnut Tart - February 18, 2023
- Easy Slow Cooker French Onion Soup - November 28, 2022
- Recipe: Chicken Vindaloo with Whole Foods Vindaloo Curry Powder - January 22, 2022

