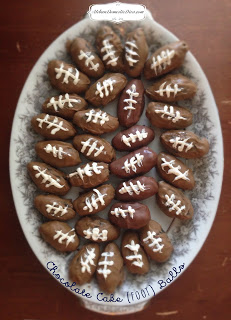
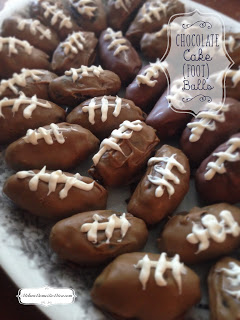
Fall is in the air, and so is Football! Want to make some fun treats for your friends and family while you watch the game? Check out my Cake Balls shaped as footballs! How adorable are these? And you can decorate them with whatever team colors you are rooting for, too! I kept mine simple, but you can have some fun with team logos on them.
If you wish to make your own moist cake from scratch, here is a link for you. It is based on Bakearella’s chocolate cake recipe. Now, I’m going to let you in on a secret. If you are really pressed for time, you can ask your attendant in your local grocer’s bakery for 2 8″ chocolate cakes, unfrosted. They prebake their cakes in the back and freeze them before frosting. So if you ask them nicely, they will sell them to you for a really good price. I bought 2 8″ cakes from my Mariano’s bakery. I figured, if I did not have time to make my most amazing chocolate cake, I could trust Mariano’s bakery for sure. And these babies turned out great!
Chocolate Cake (Foot) Balls
Ingredients:
2 8” round chocolate cakes
1/2 can of shelf stable cream cheese frosting
chocolate and peanut butter Wilton Candy Melts
white Wilton Candy Melts
Directions:
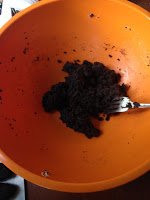
In a large bowl, crumple the cake until you have a fine, crumbly texture.
Add the cream cheese frosting and mix with a spatula until a malleable texture is created. It’s ready when you can press the crumbs together with your hand and it all sticks together.
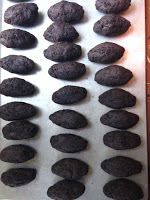
Create football shaped balls about 2” long in oblong shapes. Do this by pinching off some cake mixture and roll it in your hand into a ball, then slightly pressing it down and creating points with your fingers. Set them on a baking sheet and freeze for 30 minutes but no longer than 1 hour. Then place in the refrigerator while you heat the candy melts according to package directions.
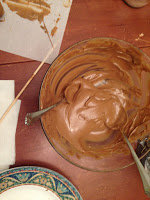
Add a tablespoon of canola oil in the candy melts to keep things movable. Once candy melts are melted use a teaspoon and gently drop each football in the Candy Melts pull them out and tap gently until you have an even coverage around the football on all sides. Gently shake off excess Candy Melt covering and set them on parchment paper for the candy melts to cool and balls to set.
Do this with all of the footballs. Once all the footballs are set, melt white Candy Melts according to package directions using canola oil again. Pour in a plastic bag and snip off a corner tip into a very, very small hole.
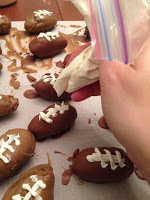
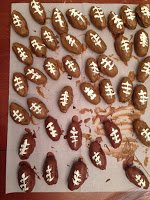
Use the plastic bag as a piping bag to draw the seams and stitching of your footballs. Pipe a straight line at the center of each ball and then create little stitches going across the same line.
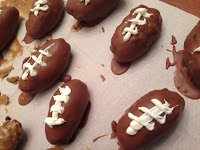
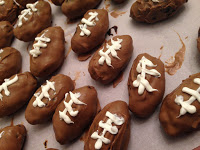
Let the stitches set. Footballs are shelf stable and can sit out for a few days as long as you use canned frosting. Just be sure to cover them with plastic wrap.
Enjoy the game! (GO BEARS! (Hey, I’m a Chicago girl!) #BEARDOWNCHICAGOBEARS)
Latest posts by Flora Caputo (see all)
- Sugar-Free, Low-Carb, Olive Oil Chocolate Hazelnut Tart - February 18, 2023
- Easy Slow Cooker French Onion Soup - November 28, 2022
- Recipe: Chicken Vindaloo with Whole Foods Vindaloo Curry Powder - January 22, 2022

