  |
| BEFORE: |
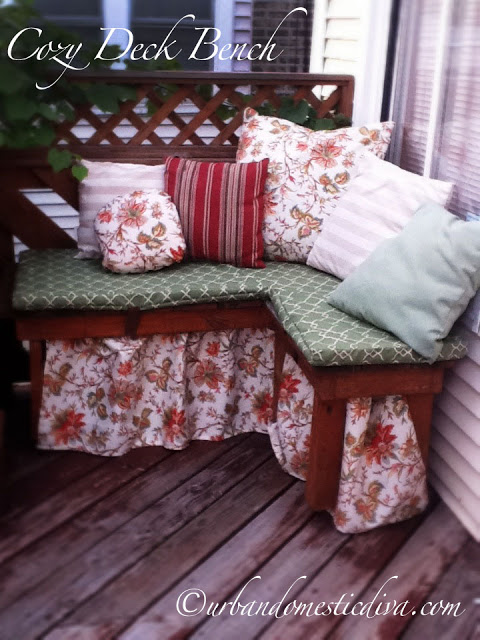
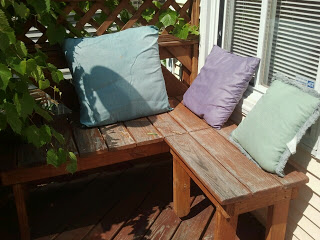
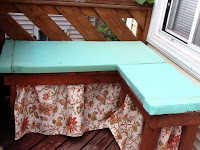
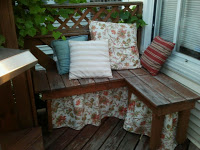
We had our deck redone a few years ago. It was one of those “quick weekend projects” that kept growing and growing, until it was two months long and triple the budget. Needless to say, we don’t use that carpenter any longer. But at any rate, in the midst of the rehab, our carpenter had a nice idea to make an L-shaped sitting bench in the corner next to our grill. I liked the idea, as we use the deck for entertaining a lot. I threw some old pillows on there for comfort as well as a signal to guests that they could, indeed, sit on it. Many people would say,”Oh, it looked like a table! I wouldn’t think to sit on it if the pillows weren’t there!”. But even with the pillow hodge-podge, the bench was quite uncomfortable as well as unwelcoming.
SO I saved my pennies, and when the fabric store had a 50% sale on outdoor fabrics, I went to town. I also reused old pillows from the nursery and play room that were not being used any more to recover them. It’s a great way to save money and be green.
1:
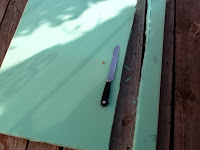
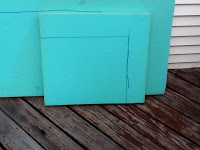
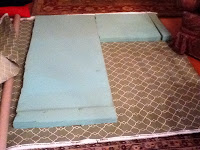
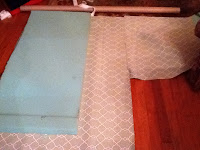
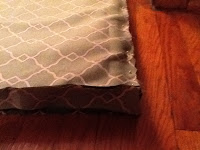
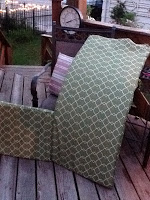
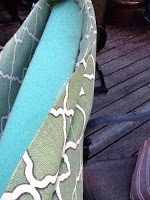
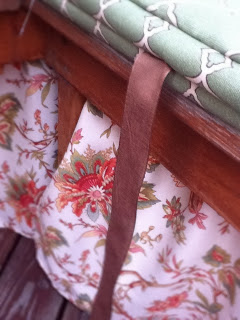
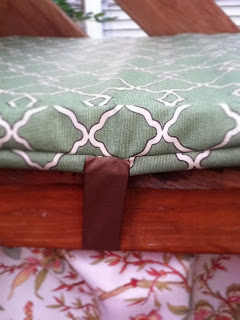
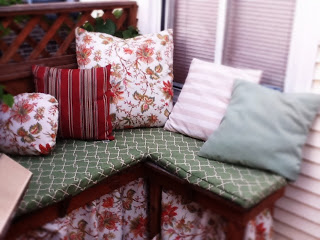
You will need to first measure your bench. Then you will need to purchase foam at the craft or fabric store. I used a 2″ thickness to give guests some nice padding while sitting. Then you will need fabric to cover the sides as well as top and bottom. You will need ribbon to tie the cushion to the bench.
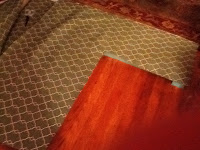
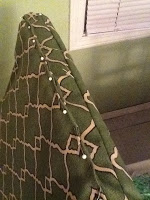
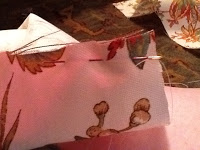
Work right side down with your fabric, and pin your sides to the top and bottom edges before you stitch. Remember to leave openings on both ends to get the cushion out so you can machine-stitch things together. Also, I used a serrated knife to cut the foam to sizes I needed. I used two big foam pieces to make it easier to take out and put back when I had to turn the fabric right side out after being stitched. I hand stitched the ribbon to the seam when I was done, but a better seamstress would have pinned the ribbon in between the assembly pieces when pinning so it becomes stitched within the seam all at once under the machine.
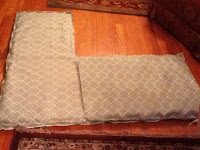
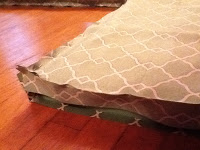
2:
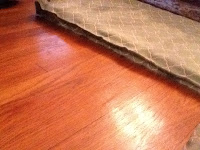
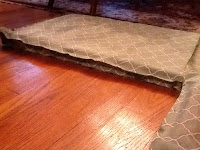
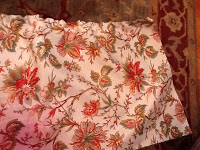
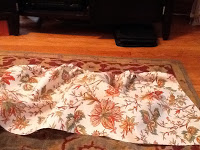
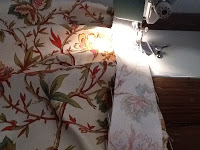
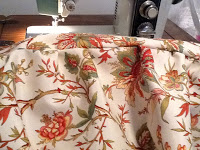
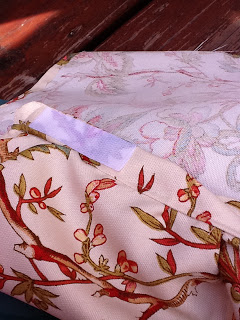
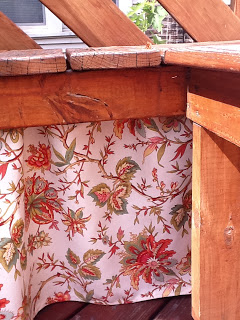
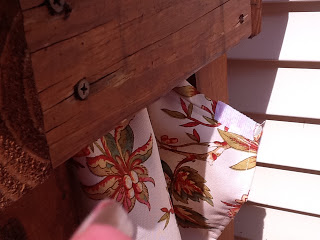
I created a dust ruffle along the bottom. I did this to dress up the bench as well as cover a storage bin underneath for the cushions when it rains. I created the pleats so that the fabric had the right flounce at the right lengths. I used two panels. I created a top along the panels with another piece of fabric. Then I took velcro strips to equal out 4 pieces per side of the bench. On the velcro/ fabric side, I actually sewed the velcro on. The glue would not stay put in the heat of Summer. The matching velcro “mates” I glued to the inside of the under hang of the bench, strategically placing them so the velcro on the fabric would stick to the inside of the bench. I wanted things removable and easy. Come late Fall, I will need to store all of this fabric in a bag in the garage until Spring. Velcro is perfect for that!

3:
I cut the fabric for the pillows, covering old pillows that were gathering dust in closets. Stitching them right side down, leaving an opening on one side. Then turning them inside out, filling it with the pillow, and hand stitching the end closed with a straight stich.
4:
Grab a book and an iced tea. Sit and enjoy!
Latest posts by Flora Caputo (see all)
- Sugar-Free, Low-Carb, Olive Oil Chocolate Hazelnut Tart - February 18, 2023
- Easy Slow Cooker French Onion Soup - November 28, 2022
- Recipe: Chicken Vindaloo with Whole Foods Vindaloo Curry Powder - January 22, 2022


