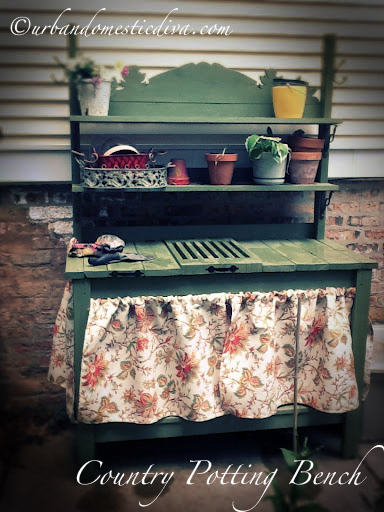
I had been longing for a potting bench for some time. I remember 3 years ago seeing a baker’s rack at the thrift store that I wanted to go back and get, thinking it would make a great potting bench. When I returned with a bigger car to get it, somebody snatched it up! I have reminisced longingly about that baker’s rack. I have pinned countless adorable potting benches on my Pinterest gardening board. And knowing how busy my husband is, I did not have the nerve to ask him to build me one. I figured the only way I was ever going to get one that I could afford was by finding something in a thrift store to refurbish.
Well, my husband never ceases to amaze me. I was pinning away one night near Mother’s Day. My husband asked me what I wanted as a present, and I quickly showed him my Pinterest gardening board with all the potting benches I saved (expecting him to snort with a “yeah, right!”). Instead, he was quickly inspired. Low and behold, he made me one the week of Mother’s Day. After he built it, I wanted to “girl it up” a little. But in doing so, I did not want to damage the wood crafting he put into the piece. So I used tension rods to hold “girlie” curtains on the bottom. They covered the clutter on the bottom shelves and added a Victorian flair and softness to the piece. The great thing about tension rods is that they are not only inexpensive, but they didn’t need any screws drilled into the wood, keeping the integrity of the craftsmanship. The bench has been a wonderful addition to the yard, and makes potting anything super convenient and easy on your back.
The plan we used was this one at https://www.familyhandyman.com/DIY-Projects/Outdoor-Projects/Garden/Garden-Projects/how-to-build-a-cedar-potting-bench/View-All.
UPDATE:
For a compendium of potting bench plans, check this out! This is the spot to find ANY potting bench in any size. They really did their homework.
Here is a pic of the plans:
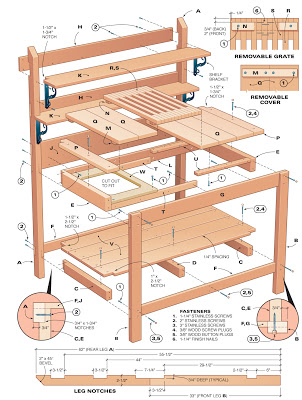
A couple of notes from my hubby if you wish to build it:
We used cedar to keep it weather resistant.
We used oil based stain to give it the color we wanted.
We used a recycling trash bin for the “dirt bin” on the left.
Pay particular attention to where the legs go when assembling.
Pay attention to the shelf brackets and how long they are. It will affect how far they go under the shelf. If you don’t want them to stick out, keep them short-around 4 inches.
We hand crafted our own top board using a jig saw creating a flower motif.
We added pretty handles on the grate and the dirt bin top for ease and decor.
We added pretty hooks on the sides up top for hanging garbage bags, etc.
We added an extra small shelf on the bottom above the main one.
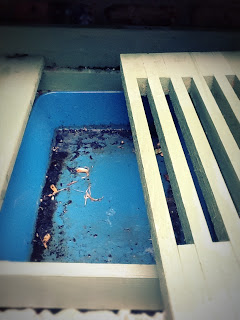 |
| Bin catches dirt that falls through the grate. Empty it back into the dirt bin to conserve dirt. |
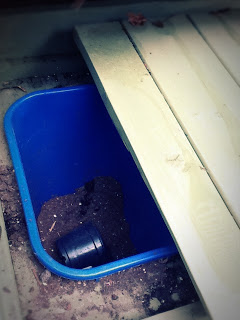 |
| Recycling trash can is the perfect size for the dirt bin under the removable cover. |
The curtains:
Use an outdoor fabric. Measure what you need for the curtains.
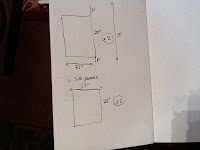
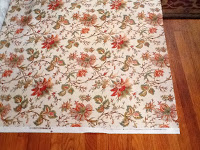
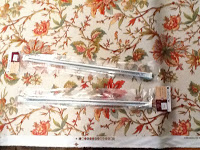
Measure the width and height of the bottom opening on all sides. I figured 2 panels for the front and one for each side. Cut the squares of fabric, adding a hem along bottom and sides. Fold tops down to the right width so the tension rods can go through them easily. Stitch on the bottom edge of the fold on the back so it stays in place. I ironed the folded over piece so it would stay put before stitching.
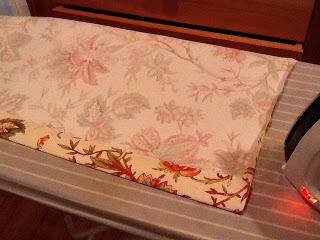
Measure and set the tension rods to the right setting so they fit snugly in the openings. Slip the tension rods through the fabric top fold and set them in place.
Ta da! A lovely potting bench
- Sugar-Free, Low-Carb, Olive Oil Chocolate Hazelnut Tart - February 18, 2023
- Easy Slow Cooker French Onion Soup - November 28, 2022
- Recipe: Chicken Vindaloo with Whole Foods Vindaloo Curry Powder - January 22, 2022


