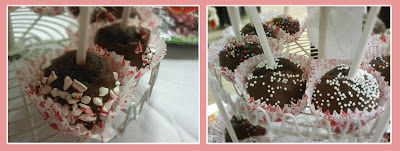
I made these cake balls for a holiday school bake sale 5 weeks ago, and am just putting them up now. I have grown to love making cake balls for big events where I need to make a lot of something for a lot of people. Usually big potlucks, festivals, parties and fundraisers have a lot of activity going on. Usually the guests don’t have both hands and a chair to enjoy what you bring. Cake balls are great for just that. You can even eat these while walking around with one hand.
You can get a lot of cake balls from this recipe. I was able to make about 50 cake pops. As Marie Barone said on Everybody Loves Raymond, “Honey, I am the bake sale!” You show up with 50 of these cake pops sold at around $2 a pop, and you can really raise some good money AND make a lot of tummies happy. I rolled half of these in peppermint candy bits, and I sprinkled the other half with colored sprinkles.
One more note, this cake batter is AMAZING. It is so moist and delicious, and is derived from the cake ball diva herself, www.bakerella.com You can really eat the cake on its own with a light whipped cream frosting. Conveniently, the recipe makes a massive amount of cake. You will only use a little over 3/4 of the cake in the 15″ x 10″ pan. So save the other saved rectangle of cake for eating later when you have had a rough day and need chocolate therapy, which happens weekly over here!
Chocolate Sprinkle and Chocolate Peppermint Cake Pops
Ingredients:
Assembly:
50 or so small cupcake liners
candy/lollipop sticks from a craft store (can use Popsicle or bamboo sticks)
2 bags Wilton milk chocolate candy melts
canola oil (about 2 Tbsp. total)
double boiler
1 1/2 cups broken candy cane bits
decorative sprinkles
Cake Recipe:
nonstick cooking spray
1 1/2 cups good quality unsweetened cocoa
3 cups flour
3 cups sugar
1 Tbsp. baking soda
1 1/2 tsp. salt
3/4 cup canola oil
1 1/2 cups buttermilk
1 1/2 tsp. vanilla
1 1/2 tsp. baking powder
3 large eggs
1 1/2 cups water
Frosting for ball mixture:
1 8 oz. square cream cheese, softened
1/2 stick butter, softened
2 cups confectioners sugar
1 tsp. vanilla
1 Tbsp. milk
Directions:
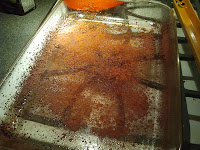
Heat oven to 350˚. Spray a 15 x 10 inch Pyrex pan with nonstick cooking spray. Sprinkle with cocoa powder. Set aside.
Mix flour, cocoa powder, sugar, baking soda, baking powder and salt in a bowl. With a paddle attachment, mix the oil, buttermilk, vanilla. Add eggs one at a time, blending well after each addition. Add hot water. Scrape the sides and blend a few minutes more until smooth.
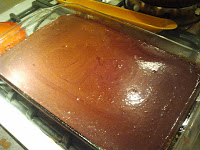
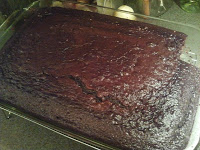 |
| I cut that little piece because I wanted to taste it. It was worth it. |
Pour the batter in the prepared pan, and bake for 45 minutes on the middle rack. The cake should spring back to the touch and toothpick comes out clean. Let cool completely.
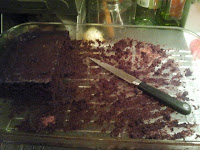
Cut chunks off the cake and crumble finely with your fingers into a large mixing bowl. Cut away leaving a 5″or 6″ x 8″ strip of cake for eating later. Crumble away with your fingers until a fine texture is in the bowl. I use fingers versus a food processor, because I want the cake texture to still be in the balls. A food processor makes the cake texture too fine for my tastes.
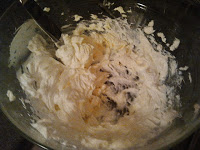
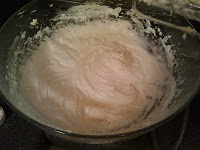
In a small bowl, whip the cream cheese and butter until light and fluffy. Add the sugar and whip some more, adding milk and vanilla as you go. Whip until fluffy and smooth.
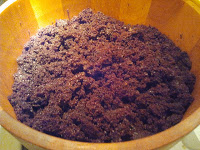
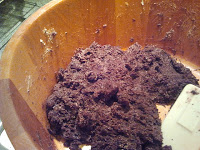
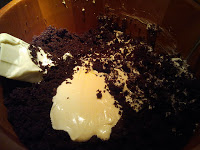
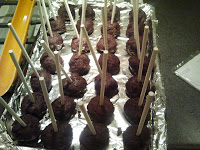
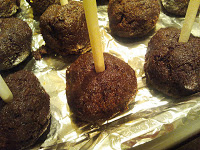
Add the frosting into the crumbled cake, mixing with a spatula until the mixture is malleable and able to be shaped. Shape the cake into balls the size of a large walnut. Push a stick at the center sticking up and set, ball down, on a foil-lined baking sheet. Keep shaping more, sticking them and adding them to the sheet. When the sheet is filled, store in the freezer. Continue until all the mixture is shaped. Store in the freezer until ready to be dressed up.
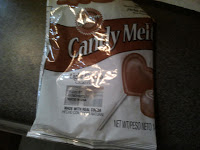
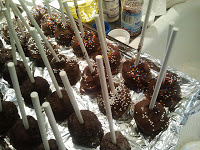
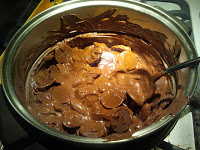
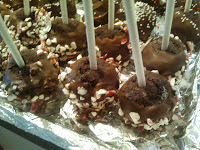
Melt the first bag of candy melts in the double boiler with a Tbsp. of oil. Mix until smooth. Dip each frozen ball into the chocolate, coating it completely. Either roll it then in the peppermint bits and set down, or set down directly and sprinkle it with colored sprinkles. Do the same with the 2nd bag of melts as you need it, adding oil to keep things smooth and workable.
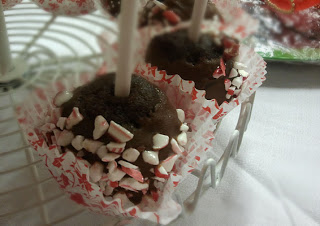
Store balls back in the freezer until ready to serve. When ready, place in small cupcake/truffle liners and let them sit out at room temp. 5-10 minutes before serving. Freezer works better than the refrigerator for storing, otherwise, they sweat too much in storage and look wet and sloppy when served.
Now go have some chocolate therapy…with or without vodka!
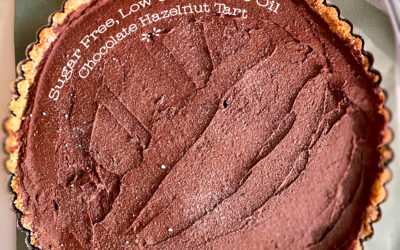
- Sugar-Free, Low-Carb, Olive Oil Chocolate Hazelnut Tart - February 18, 2023
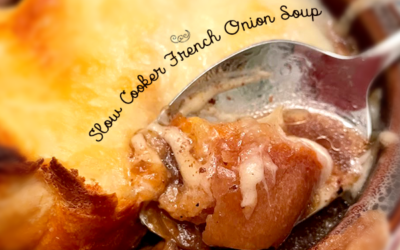
- Easy Slow Cooker French Onion Soup - November 28, 2022
- Recipe: Chicken Vindaloo with Whole Foods Vindaloo Curry Powder - January 22, 2022

