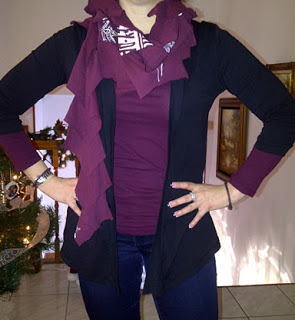
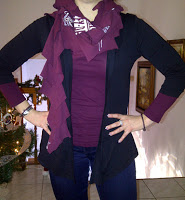
Here is a great, green craft idea that is fashionable and easy. I found the idea on a wonderful craft blog at https://www.cutoutandkeep.net/ I wanted to post this earlier, but I did not want to spoil the surprise to some of my friends and family that were receiving this as a gift for Christmas. If you were purging your closet and getting rid of old, large T-shirts, this is a great way to keep it out of the landfill and make better use out of it. I prefer to use large or extra large shirts. The more squares you can get out of a shirt, the longer the scarf. The longer it is, the more you can have it go around to create the fluffy, textural shape around the neck line. I also like shirts that have some nice graphic accents to them. When the design gets cut up and spread out throughout the scarf, it adds a nice graphic, edgy touch. It also allows the wearer to have better flexibility with what she could wear with it.
I made about 14 of these for Christmas. They are quite easy, especially if you use a rotary cutter and a mat. It creates clean edges on the squares and goes much quicker. If you don’t have enough T-shirts in your attic, a local thrift shop will have plenty of large and extra large shirts at a very affordable price. I actually went in the men’s section for these and made a lot of earthy-colored scarfs. I wanted to make sure I had enough squares per scarf to make it long enough. Each scarf had about 30-45 squares. The longer, the better.
Here is how I made them:
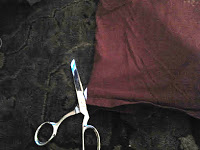
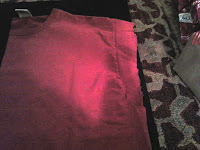
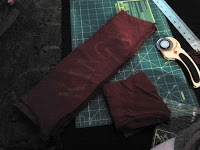
First, launder the shirt. Cut the side seams right up to the sleeve. Then cut the sleeve off evenly with the seam, as shown here. You want straight edge right up to the top.
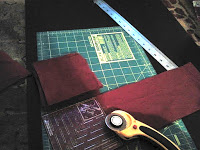
Next, use a ruler and a rotary cutter to clean up the edge. Then, using a 4 1/2″ square template, line up a ruler and cut a 4 1/2″ strip. Keep going until you have the shirt cut up into 4 1/2″ strips. Next, line up the template on the 1st strip, and cut vertically until all strips are cut into 4 1/2″ squares.
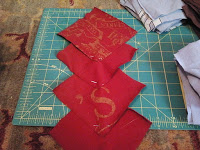
Next, place one square in front of you, right side up, in the shape of a diamond. Be sure you are turning around every other square to be right side up (because they will not be on account of a T shirt being right sides outward.) Place the next square on top of the first, with the bottom tip in the center point of the bottom square, in the shape of a diamond. Pin it in place. Then place the third on top of the last one, bottom point in the center of the last. As you move up, roll the bottom gently upwards. Continue pinning the top upwards and rolling the bottom half as you go until all is done.
You will end up with a pinned roll of squares.
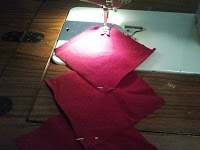
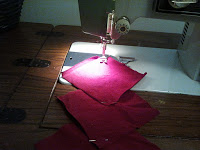
Under the sewing machine, place the scarf, topmost square outside of the roll, under the foot and unroll the first batch of squares, laying the rest of the roll in your lap. Sweep your hand under the unrolled squares so points lie flat under the scarf. I found points roll under or fly up, so be sure you stop every few unrolled squares so make things lie flat as the squares feed through the machine. I used a straight stitch, but you can experiment with zigzag stitches or other decorative stitches in you wish. As squares feed into the machine, unpin as you go, as squares will unroll nicely out of your lap so that fabric is easy to control. Keep going until all squares are all sewn together.
And there you go! A fun, chic scarf!
Flora is an award-winning creative director in Chicago turned food and lifestyle blogger extraordinaire. She is also author to the popular BEE NATIVE! gardening book series and various children's books that celebrate the wonder and hard work of bees and butterflies. Her blog and social spaces inspire thousands to create, learn, cook, grow, and craft, making their world lovelier one pixel/petal/seed/bite/stitch/brushstroke at a time. Follow her on all the social spaces, YouTube, and Amazon, and get creative!
Latest posts by Flora Caputo
(see all)
