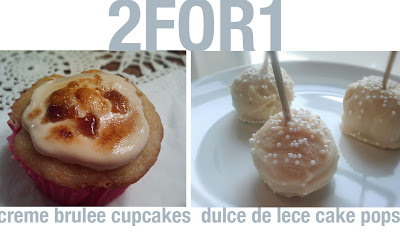
It was my husband’s birthday last month, and I wanted to make him something special yet something that my daughter and nephew would enjoy as well. I came upon cupcakes (very kid friendly). But one of my husband’s favorite desserts is creme brulee (not kid friendly). I thought, is there a way to mix the two together? Well, behold the Internet! I looked around and came across a great little blog called The Beantown Baker. She adapted a creme brulee cupcake recipe from someone else. Here is the blog link:
https://www.beantownbaker.com. Ironically, she made them for her husband, too!
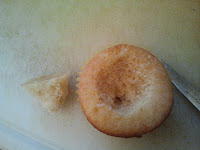
After I dug into making these, I realized I was going to have a lot of delicious left over cake. To fill these darlings, you need to carve out a coned hole in the middle. It seemed a shame to me. SO I thought, I bet I could make a caramel kind of cake pop with this extra cake. And I did!
So the good news is you don’t have to make all this at once. You can store the extra cut cake chunks in an airtight container for a day or two until ready. You can even make the cake ball mixture and store it in the fridge for 3 days until you are ready to shape and finish them. The BEST news, is that you don’t waste anything.
And in this day and age, who can?
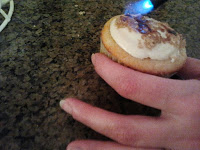
One more note. The caramelizing of the brown sugar for these babies is kind of important. It is really what takes these cupcakes into “creme brulee-land”. But don’t stress. I know I did. I did not have one of those fancy creme brulee torches, nor was I going to buy one. SO what was I going to do? I decided to use an outdoor grill/fire lighter. The outdoor wind resistant ones are a little more powerful, and they are smaller in diameter. I think you can control what you burn on these cupcakes a lot better. From what I read, a few people used torches and melted off all their frosting. You just want to delicately burn and melt areas of the brown sugar on top. So I think this approach is cheaper and better, even if it is more time consuming.
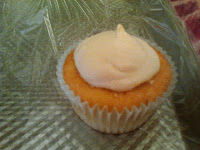
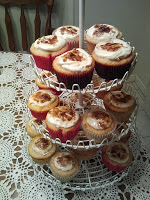
Creme Brulee Cupcakes with Brown Sugar Swiss Meringue Buttercream
Ingredients:
2-1/2 cups flour
3 tsp. baking powder
1/2 tsp. salt, plus a pinch for the egg whites
1/2 cup (1 stick) unsalted butter, softened
1-1/2 cups sugar
2 eggs, separated with yolks and whites in clean, separate bowls
1 cup milk
3 tablespoons caramel ice cream topping
1 tsp. vanilla extract
Brown sugar for sprinkling
Brown Sugar Swiss Meringue Buttercream:
1 cup light brown sugar
4 egg whites
dash of salt
1 cup (2 sticks) butter, softened
Directions:
Preheat oven to 350°F.
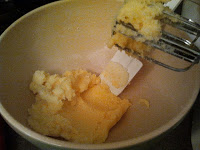
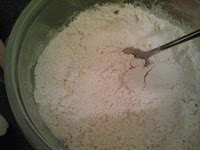
Mix flour, baking powder, and salt together and set aside. Cream butter and sugar together until light and fluffy. Add egg yolks, one at a time, mixing well after each addition. Alternately beat in dry ingredients and milk.
Add caramel syrup and vanilla. Beat until smooth. Beat egg whites with a pinch of salt until stiff but not dry. Gently fold whites into batter. Do not over mix.
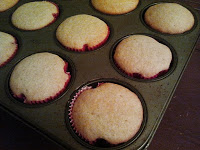
Spoon batter into cupcake papers, filling cups about 2/3 full. Bake for about 15-20 minutes or until a toothpick inserted into the center comes out clean and tops are lightly golden. Remove from oven and cool.
Brown Sugar Swiss Meringue Buttercream
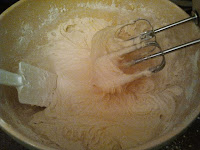
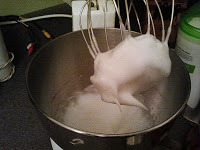
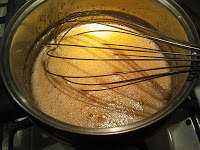
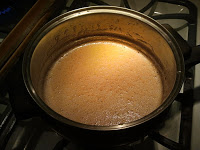
Put sugar, egg whites and salt into the top of a double boiler over a pan of simmering water. Whisking constantly, cook until sugar has dissolved and mixture is warm and beginning to thicken slightly. Pour heated egg whites into the bowl of an electric mixer fitted with the whisk attachment. Beat egg white mixture on high speed until it forms stiff (but not dry) peaks. Continue beating until fluffy and cooled, about 7 minutes total.
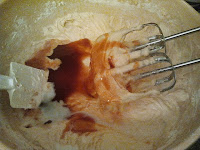
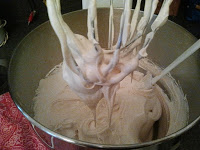
Switch to the paddle attachment. With mixer on medium-low, add butter two tablespoons at a time, beating well after each addition. Increase speed to medium-high; continue beating until frosting appears thick, about 3 minutes. Reduce speed to low and continue beating 1 minute to reduce air bubbles. Mixture should be smooth, creamy and shiny. Chill the buttercream until ready to use.
To assemble cupcakes
Remove center of cupcake using a small sharp paring knife. I make a cone shape with the tip of the cone about the middle of the cupcake. Fill cupcake with buttercream, mounding it on the top (Reserve about a cups-worth for the cake pops). Sprinkle brown sugar on top. Using your grill lighter, gently heat the brown sugar until it sizzles and caramelizes in places and the buttercream around the sugar becomes golden in places. Take your time and be careful.
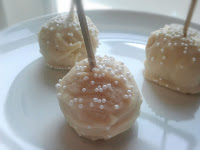
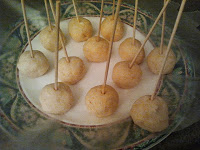
Dulce De Lece Cake Pops (Makes about a dozen)
Ingredients:
Reserved cake pieces from the previous recipe, crumbled up with your hand to a fine “meal”
1/2 -3/4 cup reserved swiss buttercream from previous recipe
2 oz. softened cream cheese
2 Tbsp. butter, well softened
1/2 cup -3/4 cup confectioners sugar
1/2 tsp. vanilla
1/2 Tbsp. milk
bamboo sticks, Popsicle sticks or candy sticks from the candy aisle at a craft store
Topping:
1 1/2 cup white chocolate chips
2 KRAFT caramel squares
2-3 Tbsp. canola oil
Decorative sprinkles or caramel drizzle
Directions:
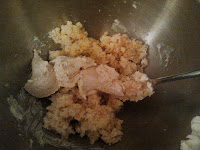
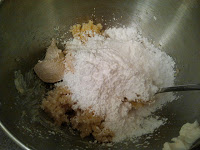
buttercream, vanilla and milk until all well combined. Using your hands, form about 1 inch balls out of the sticky cake mixture and place on a parchment lined cookie sheet. Once all the mixture is formed into balls, stick your “sticks” in each center. Freeze for about 30 minutes until firm. You can have them freeze longer if you wish. The colder they are the easier they are to top and keep their shape.
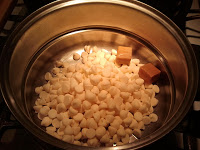
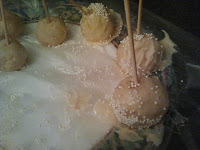
In a double boiler, melt the white chocolate chips with the caramel and the oil until smooth, stirring occasionally. The oil will keep things smooth and workable. If the chocolate begins seizing add a touch more oil. I found the caramel to keep things a little stiffer so I used a pastry brush to brush on the topping versus dunking the pop in the chocolate, which I could do easier with my chocolate cake pops (which I will post this week for you!) So take your pops out and brush (or dunk and turn) the chocolate until the pop is evenly covered. Place back on the sheet, pop down. The topping will harden quickly because of how cold the pop is, so sprinkle decorations quickly as you go so they stick on the pop. After all pops are covered, place back in the freezer until ready to serve. I have read that these are best stored in the freezer versus the refrigerator. In the refrigerator they tend to “weep” from the condensation.
Flora is an award-winning creative director in Chicago turned food and lifestyle blogger extraordinaire. She is also author to the popular BEE NATIVE! gardening book series and various children's books that celebrate the wonder and hard work of bees and butterflies. Her blog and social spaces inspire thousands to create, learn, cook, grow, and craft, making their world lovelier one pixel/petal/seed/bite/stitch/brushstroke at a time. Follow her on all the social spaces, YouTube, and Amazon, and get creative!
Latest posts by Flora Caputo
(see all)
