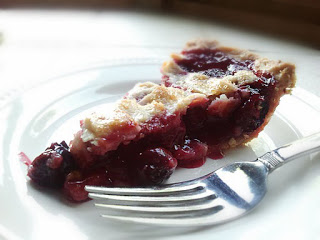
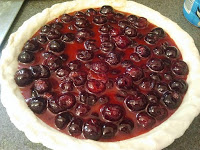
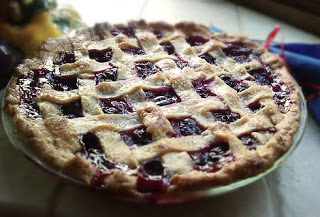
This pie uses sour cherries, which are sometimes very hard to find. They are very seasonal. A friend of mine brought some for me from Michigan, right from a farm stand. According to the pie maven herself, Rose Beranbaum, you can purchase Fruit Perfect Cherries which are a great replacement. She suggests you use 2 (13.5 oz each) jars, 1 Tbsp. cornstarch dissolved in 1 Tbsp. water and 1/4 cup sugar. Continue with the below recipe. I would add an extra 1/2 Tbsp. cornstarch because the below recipe has extra liquid which I added to Rose’s recipe if you use the jarred cherries. The original sour cherry recipe can be found in Rose’s Pie Bible book. My husband and sister ‘n law said this was the best pie I have made to date. I think it was pretty darn good, too!
Ingredients:
Kirsch-Cream Cheese Crust:
8 Tbsp. butter
3 oz. cold cream cheese
1 1/3 plus 4 tsp. all purpose flour
1/8 tsp. baking powder
2 -3 Tbsp. Kirsch with 2 ice cubes (you will not use all of it)
1 1/2 tsp. apple cider vinegar
Filling:
3/4 plus 2 Tbsp. sugar
3 Tbsp. cornstarch
pinch of salt
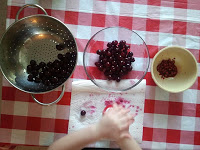
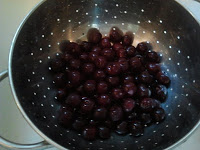
3 1/2 cups pitted sour cherries (2 to 2 1/2 lbs, depending on their size)
generous 1/2 tsp. almond extract
1/2 tsp. vanilla
1 generous Tbsp. Amaretto
Glaze:
1 egg yolk
1 Tbsp. milk or cream
1/4 cup raw granulated sugar
Make the crust:
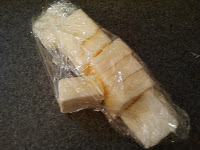
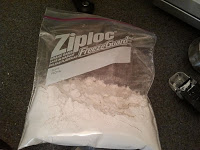
Cut up your butter in tablespoon-size chunks, wrap in plastic wrap and freeze for 30 minutes. In a Ziploc bag, add the flour and baking powder and freeze it as well for 30 minutes. In a food processor, pulse the flour a couple times.


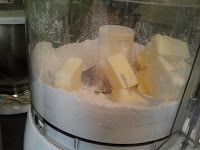
Cut up the cream cheese in 3 chunks, and pulse into the flour until it looks like coarse cornmeal. Add the butter and pulse until the butter is the size of small peas.

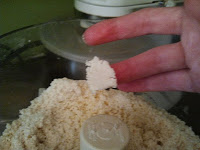
Add the cider vinegar and pulse a few times. Add the 1 1/2 Tbsp. kirsch and pulse until the dough will come together when pressed with your finger (Do not over mix). If it doesn’t, add a teaspoon more of kirsch and pulse a couple more times. Keep doing this until the dough comes together when pressed. It won’t look like it will in the processor, and that’s OK.
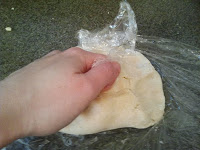
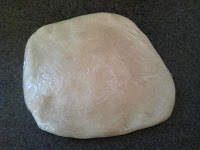

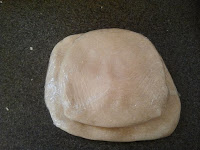
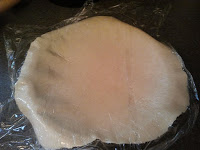
Pour 2/3rds of the crumbly mixture on a large sheet of plastic wrap. Using your hands, fold the edge of the plastic wrap under your knuckles and press the dough. Keep doing this motion, using the plastic wrap as your barrier and helper to form the dough quickly into a ball. Fold it over itself a couple of times, then flatten into a disc. Cover completely with the wrap, and shape in your hands into a flat, round disc, about 1/4-1/2 inch thick. Take the remaining 1/3rd of the crumbly mixture and do the same thing. This disc will be smaller and will be the lattice for your pie. Take both discs and chill for at least1 hour. Take them out ten minutes before rolling to make your life a little easier.
 |
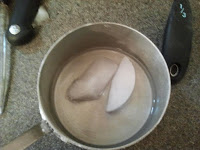
| the mighty cherry chomper |
Make the filling:
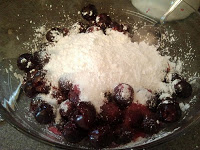
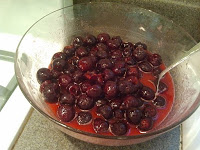
Pour your pitted cherries with all reserved juices in a large bowl. Add the sugar, cornstarch, salt, vanilla, almond extract and Amaretto. Mix. Let sit and macerate at room temperature for 1 hour (no more than 3).
Assembly and Baking:
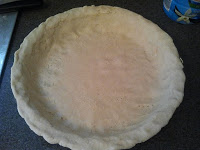
Take the larger disc out first and unwrap it. Layer a work surface with a large sheet of plastic wrap (about 12 inches all around. Lightly dust it with flour and place the disc at the center. Cover it with a similar sized sheet of plastic wrap. Roll the disc out to about 13 inches in diameter. Peel off the top layer of wrap, flip upside down and set on top of the pan. Press it gently in the pan, peeling off the wrap on this side as you go. Trim the edge, press it firmly into the pan some more. Use fork tines to break any bubbles in the dough. Recover pie with plastic wrap and let relax in the fridge for 30 minutes.
Roll out your smaller disc the same way. Make an oval shape, about 10 1/2″ long by 8″ wide. Unpeel your top layer of plastic wrap, and with a ruler, make tick marks across the width every 3/4″. You should have ten strips. Cut off the rough edges on the sides, and cut evenly along the tick marks down lengthwise to get your strips. (you may need a ruler that you only use with food to make things straight. I am an art director by trade, and learned long ago by getting yelled at as an intern how to cut straight-so I can do a pretty good job by eye. Do what’s comfortable.) Now, I find that chilling the dough again for a few minutes makes the lattice assembly easier. My dough for this pie was getting warm very fast because the kitchen on this June day was so hot. The strips broke up easily as I was pulling them up. So slip the cut dough, still on plastic wrap, on a cookie sheet. Cover loosely with wrap again and place in the fridge for ten minutes before full assembly.
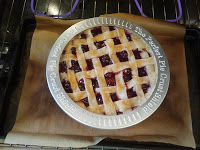
Preheat oven to 425˚. Have a rack down at the lowest part of the oven. Set a non-insulated baking sheet on it layered with parchment to catch drippings (not aluminum foil because it will mess with your baking the bottom of your pie.) It is best to have the baking sheet heated at 425˚ for atleast 20 minutes. This helps to sear the bottom of the pie and not get soggy.
Mix the cherry mixture well. Take your pie shell out, uncover it and fill it with the cherry mixture. use the back of your spatula or spoon to push down the cherries evenly, and scrape all the juice from the bowl into the pie.
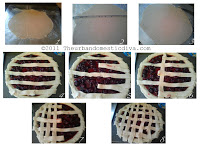
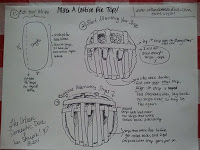
Take out your lattice strips. As you can see, I drew a diagram to help explain how to make a lattice top. Take half your strips, from the center to the short end, and lay them down on the pie in one direction. Use the longest one in the middle and work outward, with shorter ones towards the end. Let the ends overhang, you will deal with them later. Now, find your center point, and start about 3/4″ above it, by folding back every other strip. Lay the longest strip from your tray over the strips that are still flat, perpendicular from the other strips. Unfold the strips that were bent back, so that they lie flat again, and bend back the alternate ones. Lay a second strip, perpendicular, across the ones that are now lying flat, and bend forward the ones you bent back. Keep doing this, working from the center out on both sides, until you have a basket weave affect. Trim your ends, tuck them into the edge, then by hand flute the edge of the entire pie, sealing it all happily together.
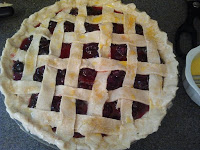
Whisk the egg yolk with the milk and lightly brush it on top. Sprinkle the raw sugar on the glaze. Place the pie on the baking sheet and cook for 15 minutes.
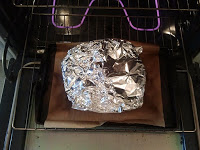
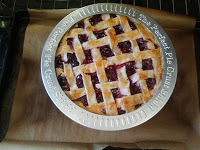
After 15 minutes, use a pie ring protector or tin foil to cover the edges so they do not over cook. Continue cooking for another 20-30 minutes. Keep an eye on it, if the crust is getting too brown but the filling is not bubbling happily yet, tent it for the remainder of the cooking time with tin foil that has a steam hole. Taking it off the last 5 minutes or so for proper browning if needed. The pie should be bubbling all over and the crust should have an even caramel- gold color.
Let sit out and cool. It needs time to set for at least 3 hours before serving.
- Sugar-Free, Low-Carb, Olive Oil Chocolate Hazelnut Tart - February 18, 2023
- Easy Slow Cooker French Onion Soup - November 28, 2022
- Recipe: Chicken Vindaloo with Whole Foods Vindaloo Curry Powder - January 22, 2022