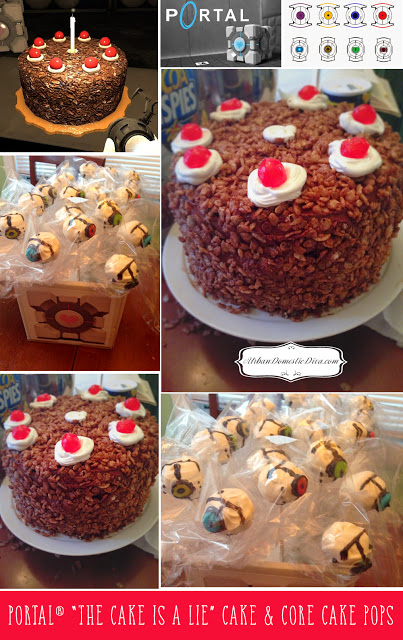
My daughter has always challenged me with interesting and different birthday themed cake requests. She is a quirky, creative kid that follows her own path, so of course her interests and birthday ideas tend to follow suit. Last year she was really into playing Portal. In fact, she beat the game! So she asked if I could create a Portal themed birthday party for her. Conveniently, there is a cake involved in this game, as well as a dishonest computer that is a bit like “Dave” in 2001, A Space Odyssey. In the game you have to finish puzzles using a portal gun to create entries through various walls and floors to get to the computer. Once there you destroy the computer “cores” at the end to win. Also, don’t be enticed by the “cake” the computer promises you…because “The cake is a lie.”
So I decorated the party room at a laser tag arena in posters from PORTAL. I then made computer “cores” in cake pop form. I had a few guests that were gluten-free so I made the cake pops with gluten free cake. I then made a cake EXACTLY like the promised cake in Portal. Here is how I did all of it. You may end up not using all the supplies so extra fillings and frosting can be stored in airtight containers to frost some cupcakes a few days later.
Rich Chocolate Cake Recipe:
nonstick cooking spray and parchment paper
1 1/2 cups good quality unsweetened cocoa
3 cups flour
3 cups sugar
1 Tbsp. baking soda
1 1/2 tsp. salt
3/4 cup canola oil
1 1/2 cups buttermilk
1 1/2 tsp. vanilla
1 1/2 tsp. baking powder
3 large eggs
1 1/2 cups water
Mallow Filling and Dollops for Top:
1/4 cup water
1 3/4 cup sugar
3 large egg whites
1/4 tsp. cream of tartar
1 tsp. vanilla extract
1/2 tsp. almond extract
Milk Chocolate Frosting:
20 Tbsp. butter, softened to room temp.
1 cup confectioners sugar
3/4 cup dutch process cocoa
1/3 cup light corn syrup
1 tsp. vanilla extract
8 oz. milk chocolate bars, broken up, melted and cooled to 85˚
Decorations:
Decorations:
Cocoa puffed rice cereal (like Cocoa Rice Crispies)
6-8 maraschino cherries
a piping bag with a star tip
6-8 maraschino cherries
a piping bag with a star tip
Directions:
Heat oven to 350˚. Spray 3 8″cake pans with nonstick cooking spray. (You will have extra batter, so spray a 8″ x 8″ brownie pan as well. You can freeze this cake for later use, like cake pops or an after school treat.) Cut parchment paper to size and lay along the bottom of the pans. Spray again, and sprinkle pans with cocoa powder. Set aside.
Mix flour, cocoa powder, sugar, baking soda, baking powder and salt in a bowl. With a paddle attachment on a stand mixer, mix the oil, buttermilk and vanilla. Add eggs one at a time, blending well after each addition. Mix in the dry ingredients slowly. Then add hot water. Scrape the sides and blend a few minutes more until smooth.
Pour the batter in the prepared pans, and bake for 45 minutes on the middle rack. The cake should spring back to the touch and toothpick comes out clean. Pop out cakes from the pans to wire racks after sitting in the pan for 10 minutes. Let cool completely.
Meanwhile make the mallow:
Fill a large stock pot with water about halfway up, and place on a low flame. You want the water to just barely simmer. If it gets boiling, lower the flame. This pot is going to act like a double boiler, so it needs to fit whatever bowl you will be using for the frosting.
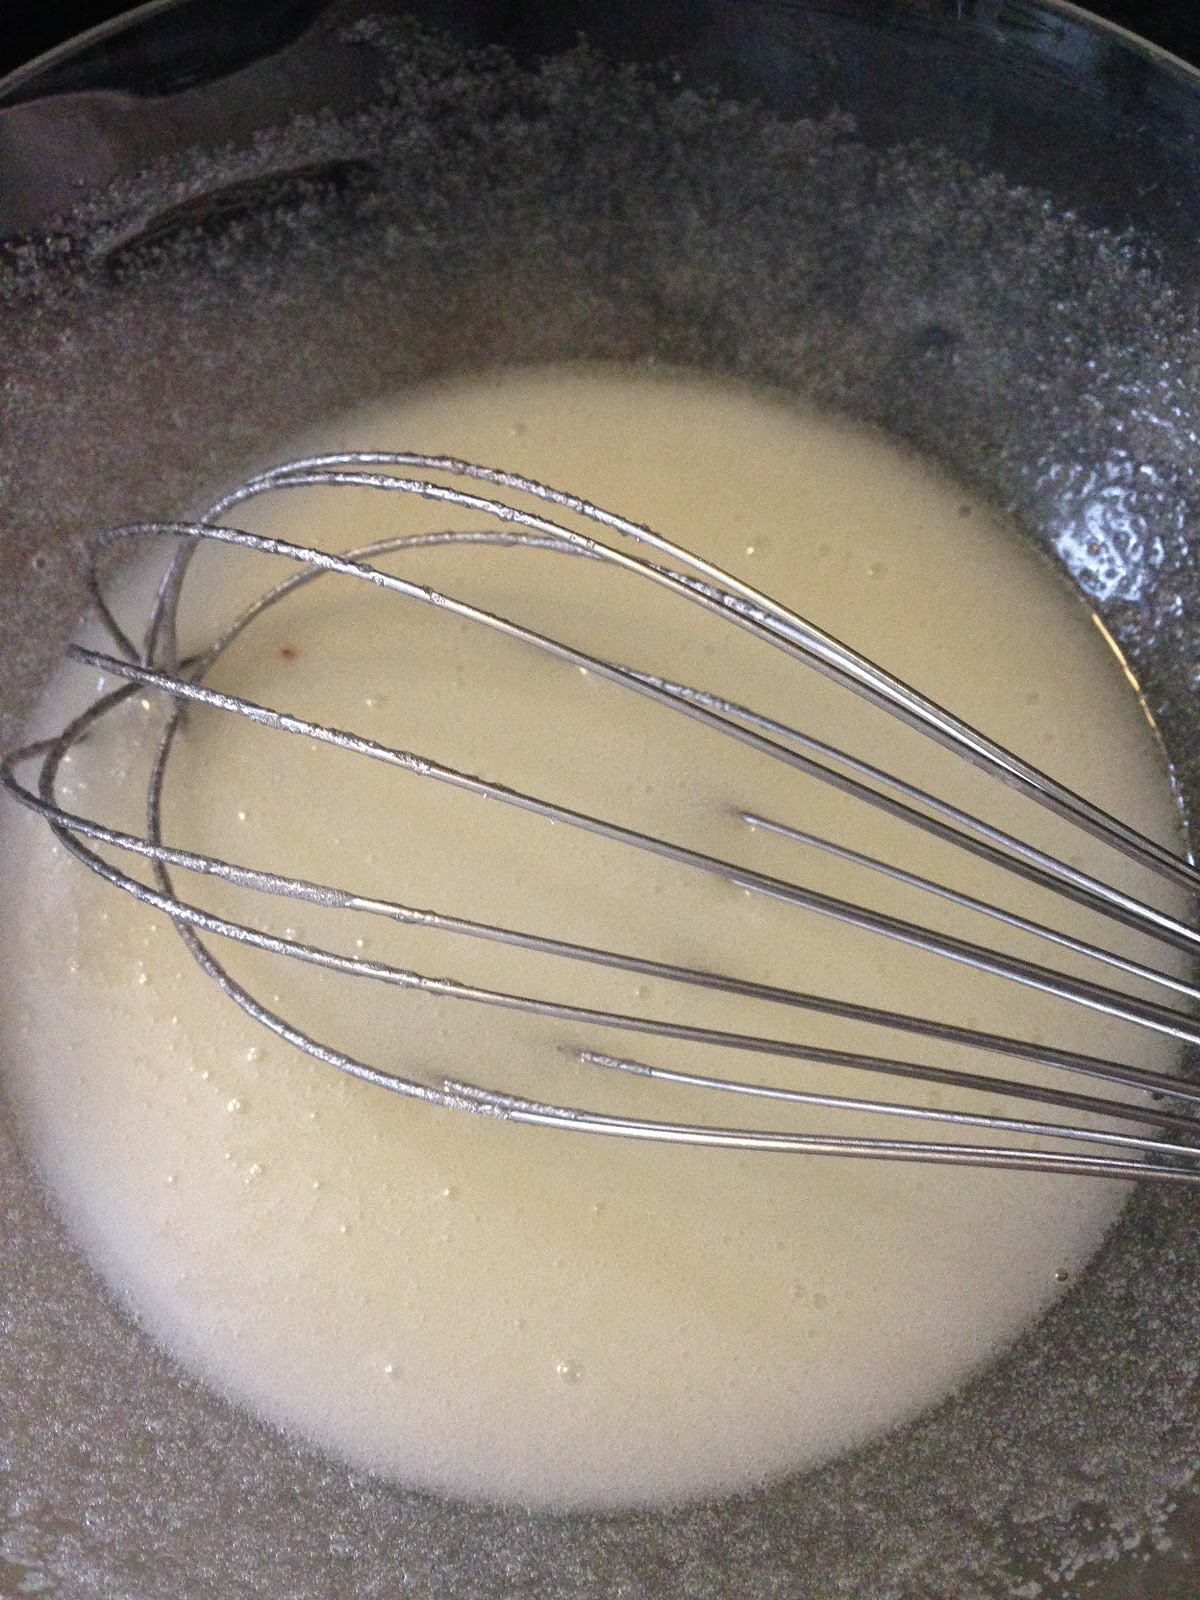
While the pot is heating up, in a large bowl combine sugar with the water. Mix until it’s dissolved. Add the egg whites and cream of tartar. Use a hand mixer and beat until this mixture is foamy, usually about 1 minute.
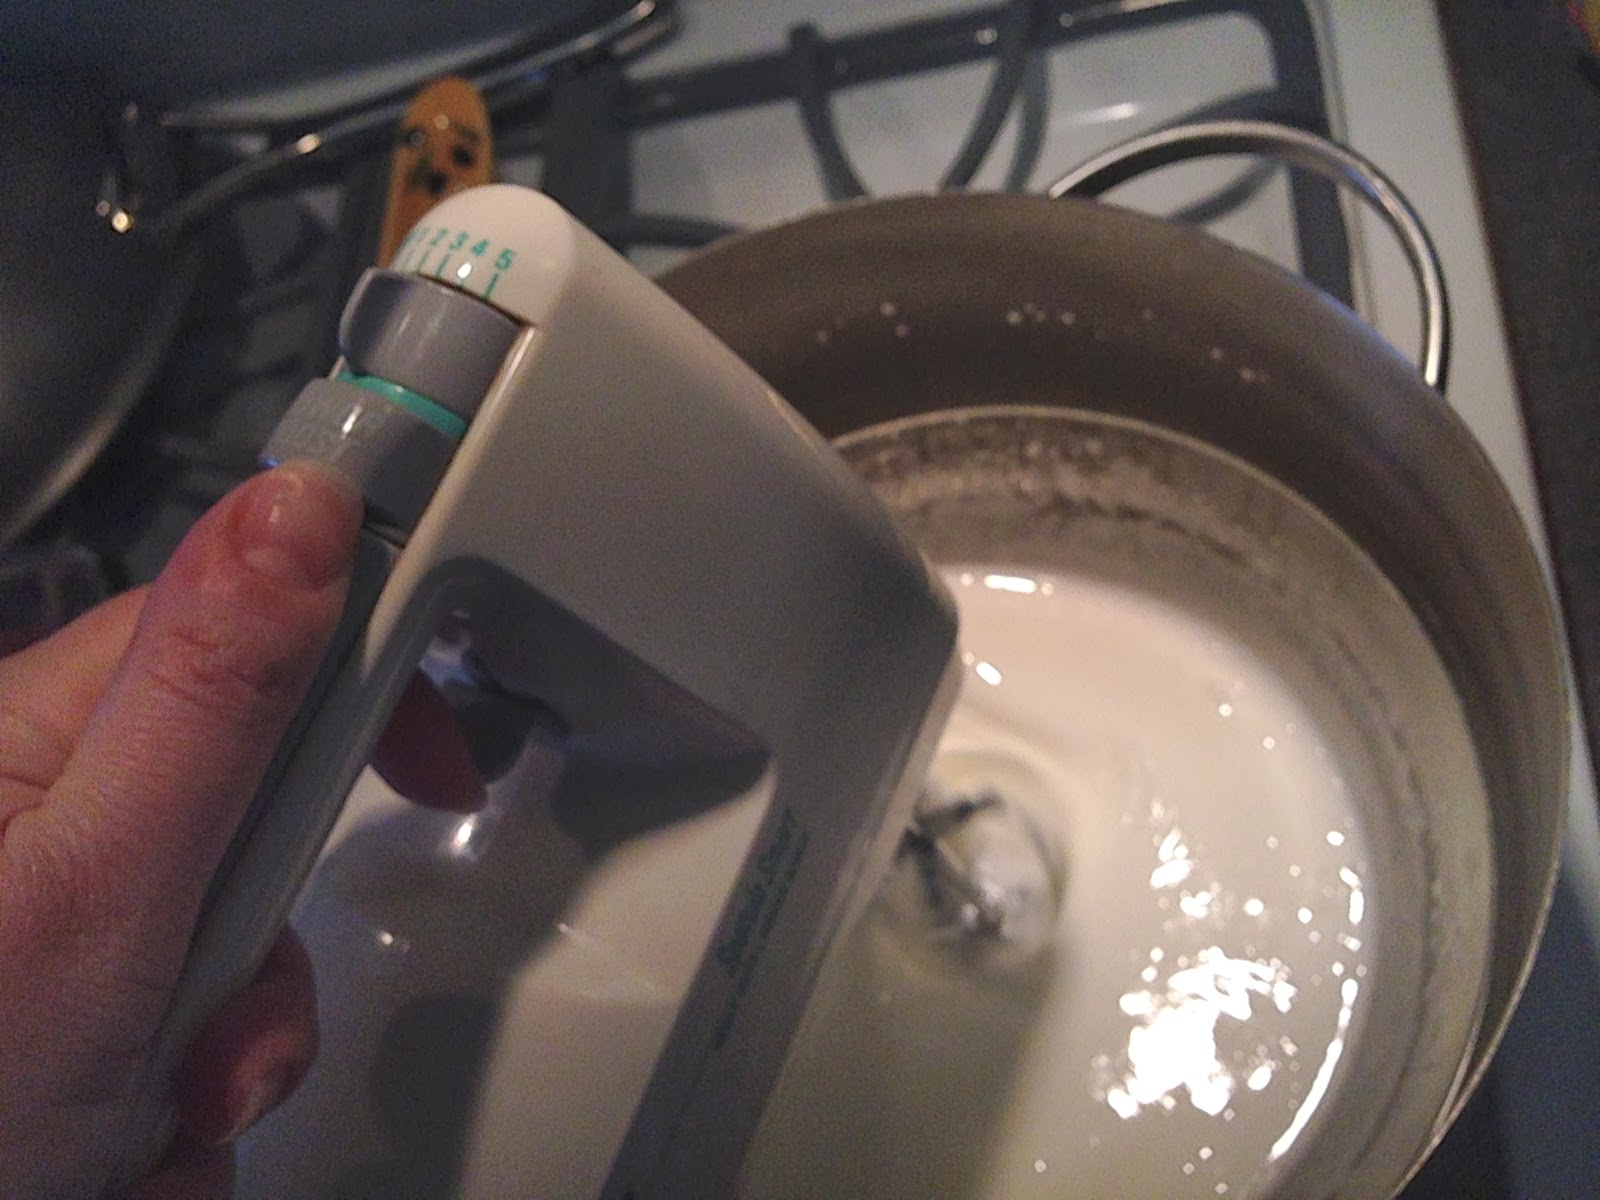
Set the bowl over the stock pot in the barley simmering water. Use an oven mitt to hold your bowl. Use you hand mixer (make sure it can reach your stove-you may need an extension cord) and beat the egg mixture until stiff peaks form and the frosting is 160˚. Clip a candy thermometer on the bowl to measure the temperature as you beat things up. This takes 12 minutes at least, so get comfortable! Have the kids take turns so you get some breaks.
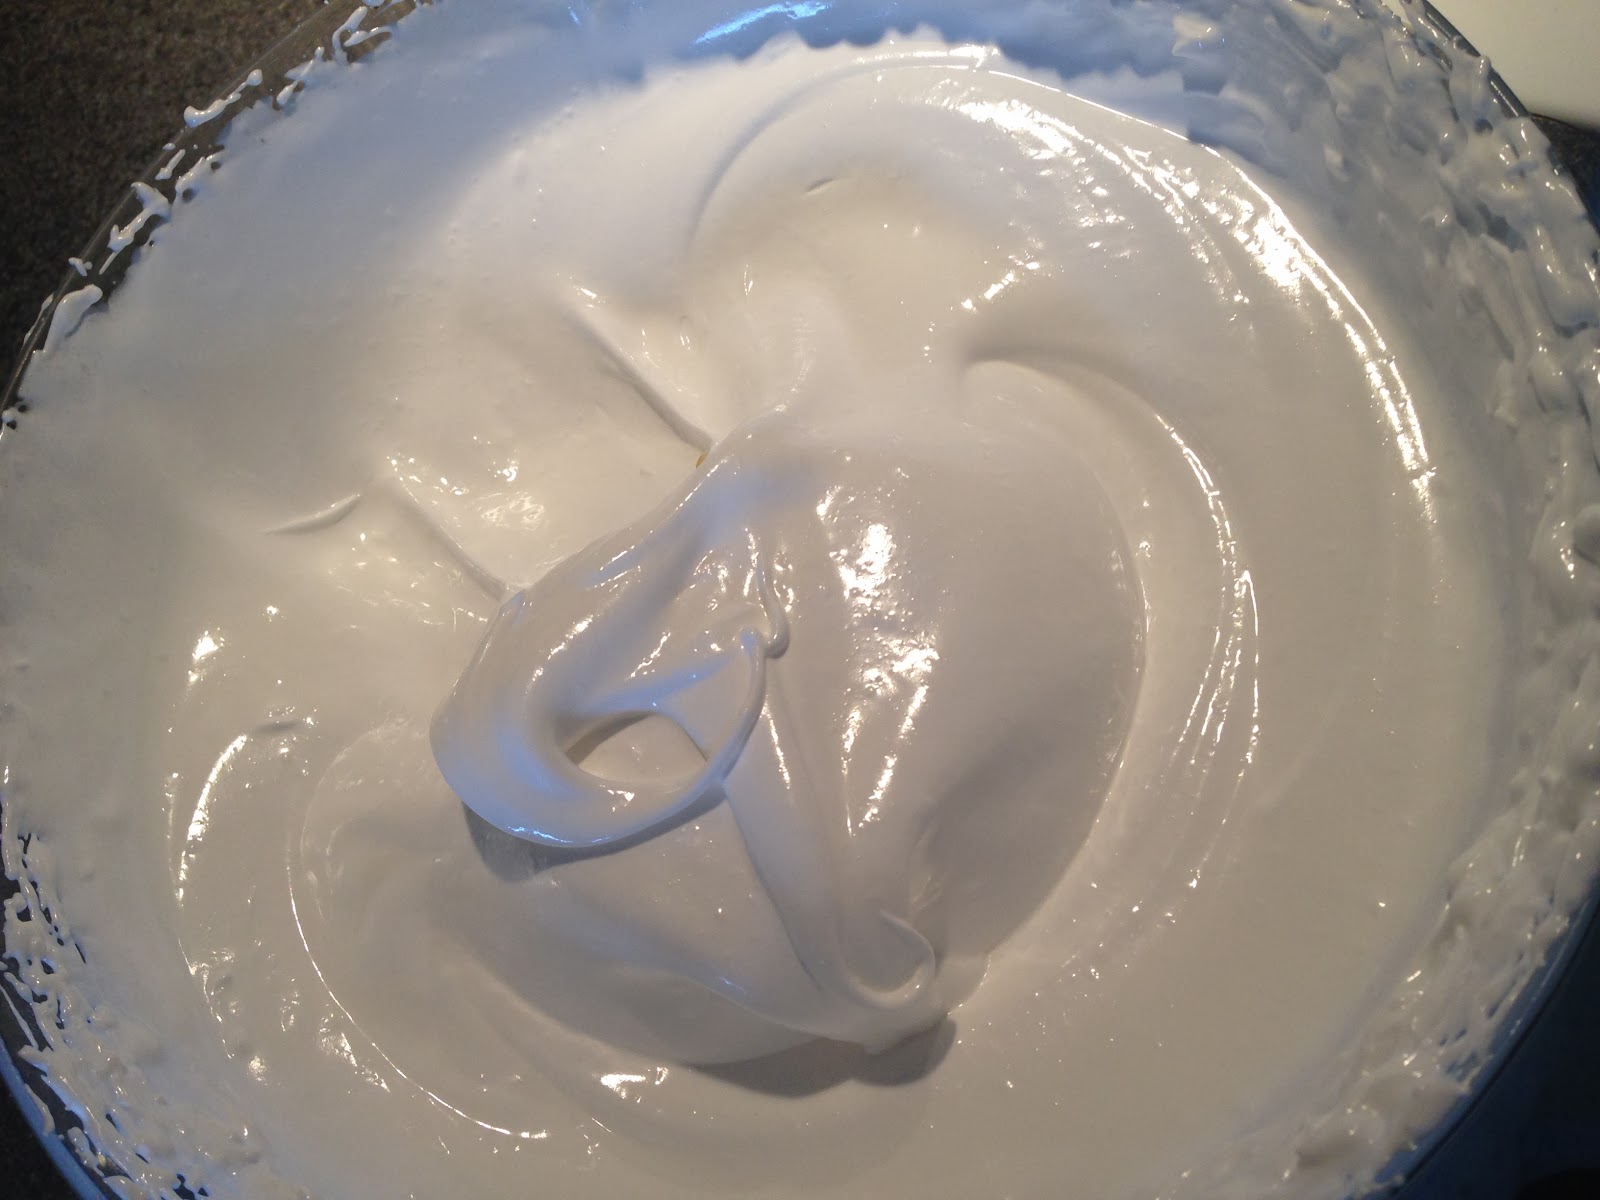
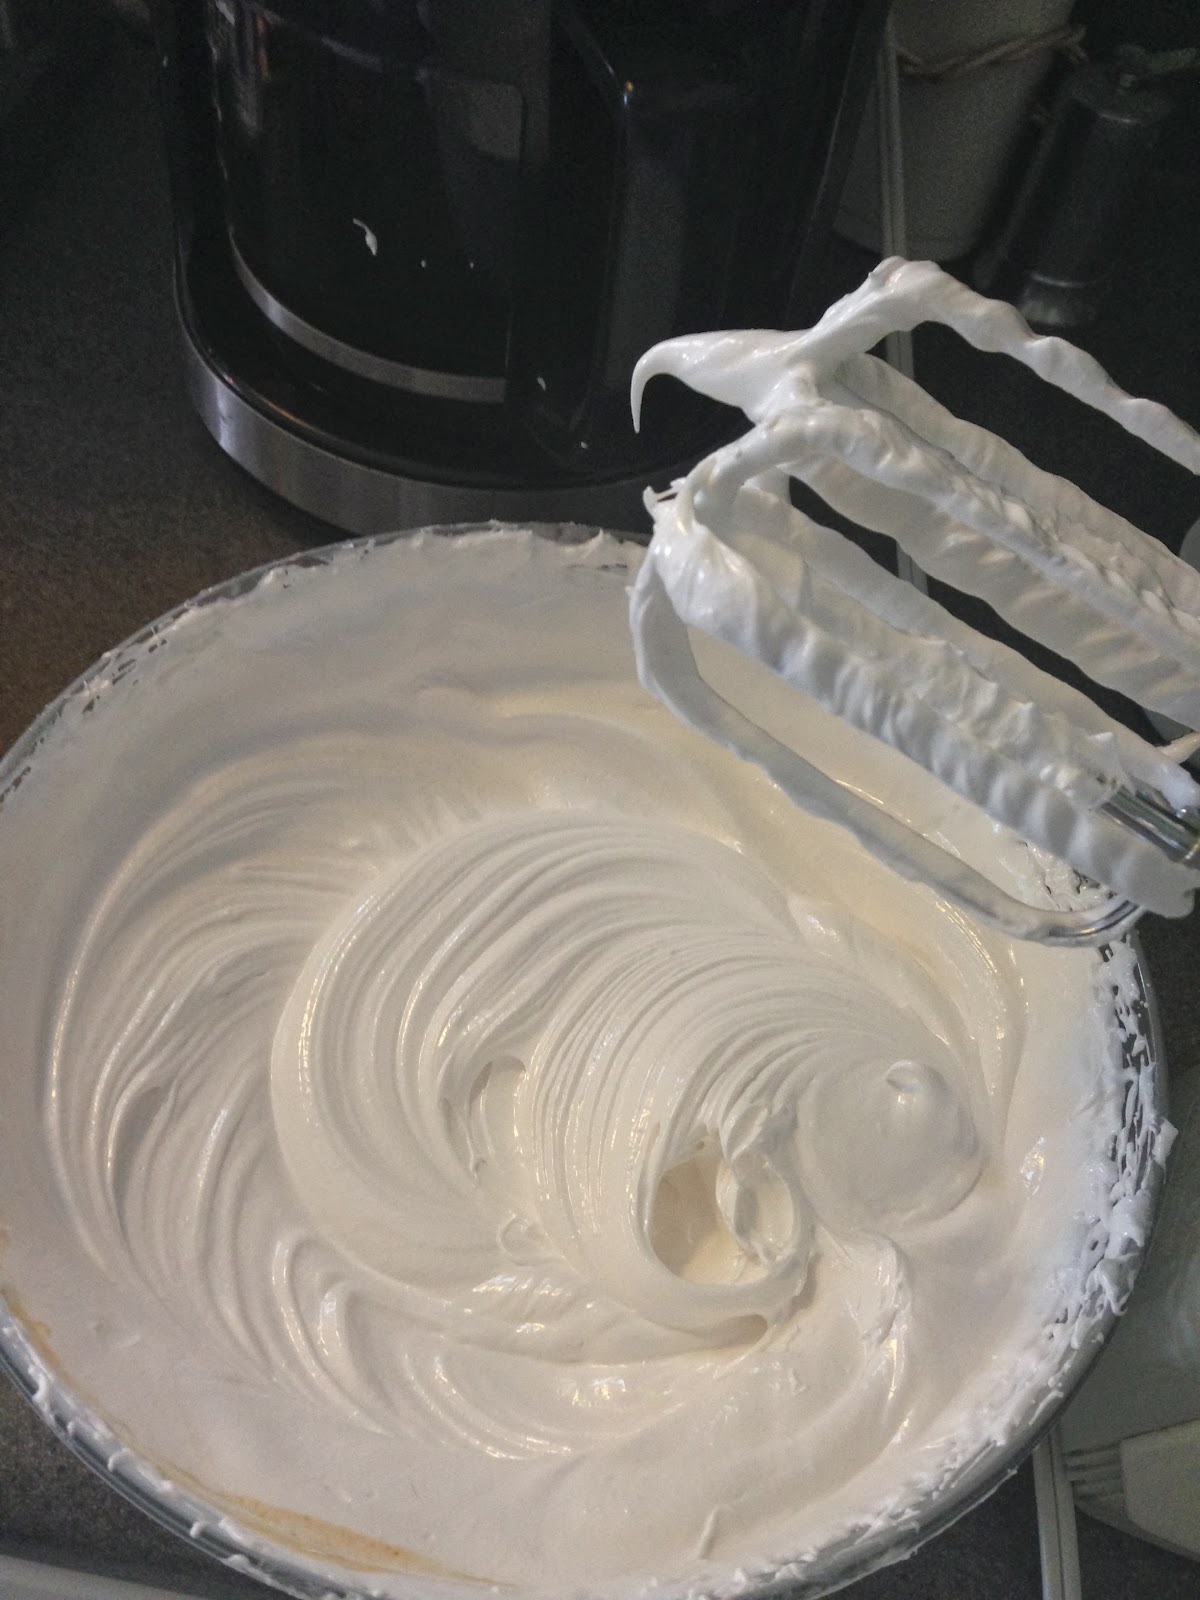
Once you have fluffy, stiff peaks and things are glossy and at the right temperature, remove the bowl from heat and set on a towel on the counter. Stir in the vanilla and almond extract, and beat the mixture with your hand mixer for 2 more minutes until nice and thick.
Make Frosting:
In a food processor with the blade, process the butter, sugar and cocoa together until smooth and creamy. Scrape the sides with a spatula as you go. Next, add the corn syrup and vanilla and process until it is smooth and creamy again. Once your melted chocolate is at 85˚, pulse in the melted chocolate until it is all well combined with the butter mixture. Pulse until creamy and fluffy.
You can use it immediately. But I have refrigerated the frosting for a few days, and just let it sit out to room temp for a few hours until it begins to soften. I then whip it with a hand mixer to bring it “back to life.”
Assembly:
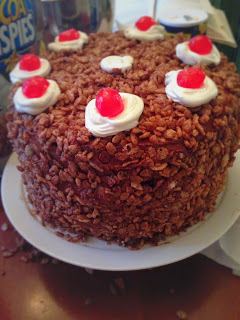
Layer mallow filling in between each cake layer. Frost the sides and top with a thick layer of chocolate frosting.
Gently take a handful of cocoa crispies and press it on the sides of the cake until evenly covered. Press more on the top.
Next, pipe a 1 inch dollop all around the top edge of the cake, a few inches apart. You should have 6-8. On each dollop place a cherry. Pipe a dollop at the center and place a birthday candle there. You are all set!
Gluten Free Portal Core Cake Pops
Ingredients and supplies:
Cake pop sticks
Bob’s Red Mill Gluten Free Vanilla Cake Mix, made and baked according to package directions
1/2 can cream cheese frosting
white candy melts
black candy melts
canola oil
decorating squeeze bottle with small tip OR food grade paint brush
colored gum drops in yellow, green, blue and red
Directions
Use your hands and crumble the cooled cake in a medium bowl until a fine crumb texture is achieved. Using a spatula mix the half a can of frosting in with the cake crumbs until the mixture is malleable and able to be shaped. Shape the cake into balls the size of a large walnut. Push a stick at the center sticking up and set, ball down, on a foil-lined baking sheet. Keep shaping more, sticking them and adding them to the sheet. When the sheet is filled, store in the freezer. Continue until all the mixture is shaped. Store in the freezer for about 30-45 minutes. Then move them into the fridge until ready for dipping. You don’t want them completely frozen or they will crack when they defrost and expand. You want them very cold but not frozen all the way through.
Meanwhile, slice the gum drops in1/8 inch discs. I chilled them a little before cutting them , it made cutting easier.
Melt the white candy melts in a bowl with a tablespoon of oil for 30 second intervals in the microwave at 50% power. Stir as you go and keep going until the candy melts are smooth and melted. Gently take a handful of frozen cake pops and dip them into the melted candy melts and turn as them as you drain off excess candy covering. Set the cake pop right side up to set. I use an upside down colander to let cake pops dry. I thread the stick though the holes so they are supported sitting up straight. Keep going until they are all covered. I keep the rest of the pops chilled and I work in batches. You don’t want the pops to be warm, they will just fall apart during coating.
Once all set, dollop a bit of candy melt behind a cut gumdrop and set at the center-side of a pop. Continue with each color gum drop disc on each pop. Each color means a different core personality of the computer.
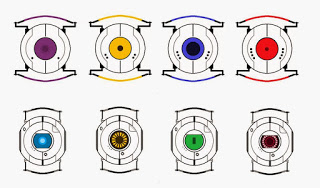
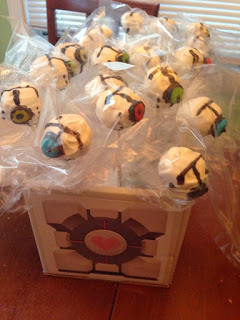
Next, melt the black candy melts in the same manner. Decide to use a paint brush or a squeeze bottle to create lines around the gum drop that mimic each core. Let set.
Cover each with a plastic bag and serve upright in a styrofoam stand. I made a cube from the game by printing out portal cube sides, and gluing them to the sides of a box. Then I placed some styrofoam inside and stuck the cake pops in the styrofoam. It worked out great and stayed in theme.
Cake batter adapted from bakearella.com
Latest posts by Flora Caputo (see all)
- Sugar-Free, Low-Carb, Olive Oil Chocolate Hazelnut Tart - February 18, 2023
- Easy Slow Cooker French Onion Soup - November 28, 2022
- Recipe: Chicken Vindaloo with Whole Foods Vindaloo Curry Powder - January 22, 2022

