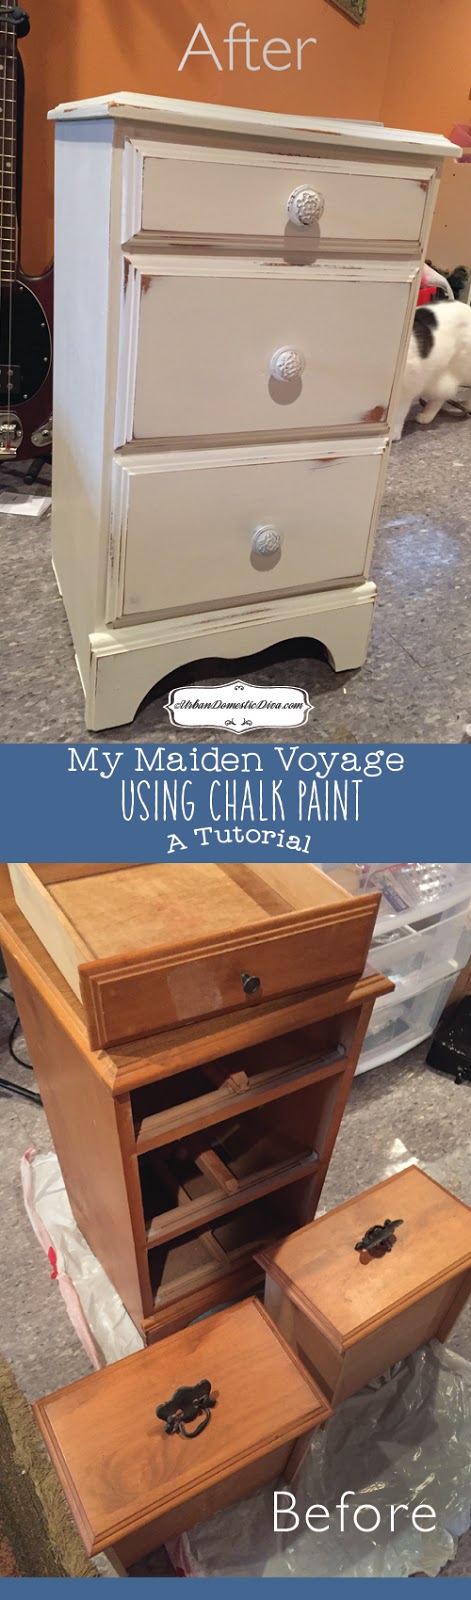
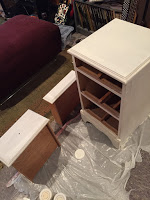
Pinterest is full of chalk paint projects, and I have been completely smitten. SO when I saw this 9 dollar ugly nightstand as Savers Thrift, I thought I would give it a try. If I ruined it, I was only out 9 dollars and some paint.
This was so easy! Chalk paint just goes on without needing to prep anything. I think my next project, I am going to do a different color for the first coat, then using white as second and third coats, so when I distress areas, I can have some bottom colors show through, enhancing the distressed look.
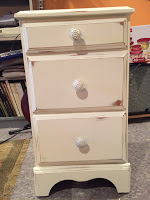
Have fun shopping for hardware, you can really freshen up furniture with new knobs and handles. I finished this in a weekend. Easy Peasy!
My Maiden Voyage with Chalk Paint, A Tutorial, with an Old Wooden Nightstand
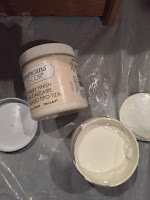
Supplies Needed
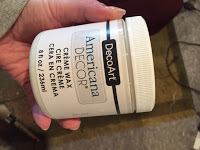
chalk paint
finishing wax
waxing brush
paint brush
a tarp
fine grit sandpaper
new hardware (if wanted of knobs or handles)
various clean utility rags and/or cheesecloth
soap and water
paper plate or plastic disposable plate to put the wax on
Directions
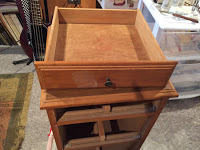
Step one: take all hardware off of the piece of furniture and take the drawers out. Wash all sides with a damp rag and dish soap to clean off all the grease and dirt on the piece of furniture. If there’s any sticky stuff or residue from a price sticker, use goo-be-gone or acetone.
Wipe it all clean with a damp towel let dry for a couple hours.
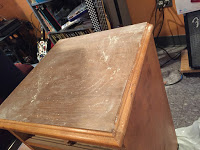

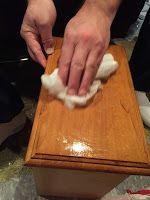
If the top is a laminate surface, sand it roughly with some sand paper to scratch up the top. Wipe the surface with a damp cloth and let dry.
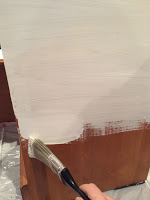

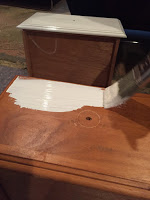
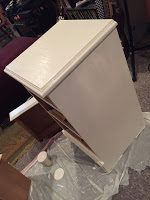
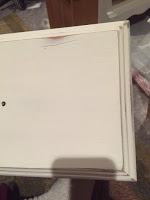
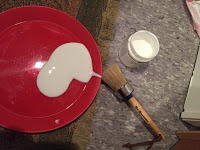
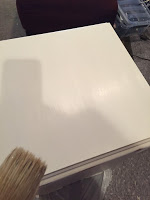
Step two: Paint a layer of chalk paint right on the dresser. You don’t need to prime, sand or strip the furniture. Super easy! Chalk paint just goes right on. The first coat is not gonna look great, but don’t panic. I panicked and by the second coat I realized I didn’t need to panic because it really does cover nicely.
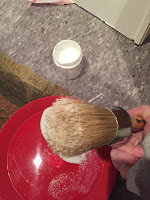
So using just a basic chip brush, paint a thin coat of chalk paint on the piece of furniture. I pushed the paint against the grain first and then go over it again with the grain. Let it dry for an hour.
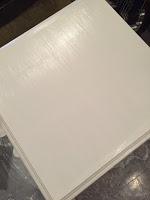
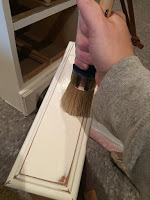
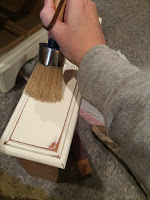
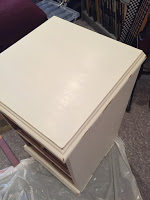
Step three and four: Paint the second coat doing the same thing as the first, painting against the grain but then pushing the paint with the grain for the final strokes.
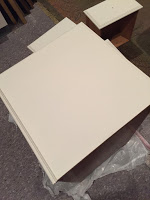
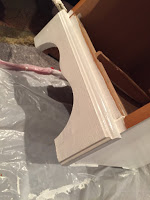
I ended up doing three coats. It’s up to you what kind of finish you want. Just know that each coat adds thickness to the paint, so if you plan on distressing the piece, sanding the paint away is just going to take more elbow grease.
Let the paint cure for a day.
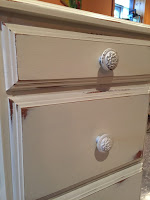
Step five: I decided to distress the dresser before the wax, although Annie Sloan (chalk paint diva herself) wants you to put the wax on first, then distress and then add another coat of wax. Partly because distressing gets really dusty, and when you’re distressing a waxed piece there’s less debris. Getting all the debris off with a damp cloth kind of fixes that problem. So distressing is easy, and this is where you use sand paper of a finer grit. You work away the paint in areas that makes sense, as if there was wear and tear on the piece naturally through the years. I’m talking areas like corners, top edges, perhaps around the hardware areas. It’s up to you how far you want to take this. This could be subtle or this could be really aggressive.

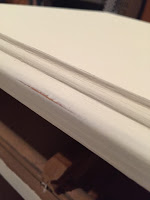
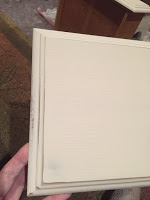
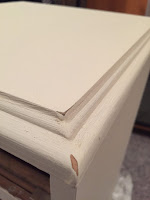
I went kind of in the middle, with distress on the corners and edges.
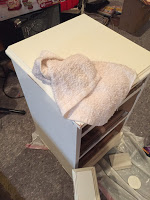
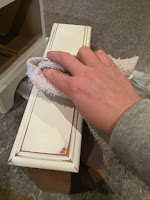
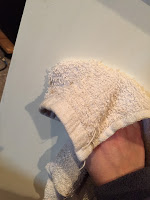
Step six: Take a very lightly damp cloth and go over the dresser to get off all of the sanded paint. Get a nice clean surface again. Let dry.
Step seven: Waxing time! Wax is the protector of the piece. This takes the place of a shellac or a varnish.
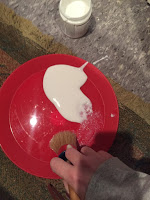
Pour/Scrape some wax onto a paper plate or disposable plastic plate. Take your waxing brush (a waxing brush has a very flat bottom to the bristles) and lightly put some wax onto your brush.
In circular motions work the wax into the piece, starting on one end and working outward. You don’t need a lot of wax and you’re using your circular motions and the flat of the bristles to just really get the wax into the grooves and into the texture of the paint. Use circular motions to cover the area with the wax. Then along the same area, use the brush and push the wax with the grain for the final strokes. While you’re doing this as you go, have another clean cloth nearby and use the cloth to rub with the grain any excess wax. You might have had too much on the brush in areas and you need the wax to not feel tacky or gloppy. It should feel pretty smooth when you stroke your hand across the grain. So to get off any excess wax that you happen to have on the surfaces, keep using the towel to rub with the grain as you go.
Let the wax sit overnight.
Step eight: Take cheesecloth or very smooth rag, and with circular strokes buff the wax to a nice shine. The wax takes about a week to fully “cure”, so be careful with it until then.
Step nine: Finally screw in the hardware that you purchased. If your knobs have screws that are too long you’re going to have to cut them down. Here’s a couple links to help you. It could be you need a hacksaw or it could be a special wire tool that your husband has in his toolbox that magically can cut down the posts for these knobs.
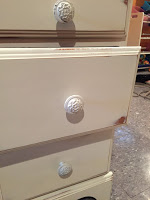
Luckily mine were from Home Depot and they were a pretty decent size. They worked really well. All I needed was a Phillips head screwdriver. I popped the drawers in and VOILA!
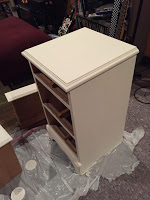
It is done! A nine dollar, old, 1970s wooden nightstand has now some shabby chic to it! And it’s going to end up at our lake cottage in our bedroom. Pretty sweet!
Flora is an award-winning creative director in Chicago turned food and lifestyle blogger extraordinaire. She is also author to the popular BEE NATIVE! gardening book series and various children's books that celebrate the wonder and hard work of bees and butterflies. Her blog and social spaces inspire thousands to create, learn, cook, grow, and craft, making their world lovelier one pixel/petal/seed/bite/stitch/brushstroke at a time. Follow her on all the social spaces, YouTube, and Amazon, and get creative!
Latest posts by Flora Caputo (see all)
- Sugar-Free, Low-Carb, Olive Oil Chocolate Hazelnut Tart - February 18, 2023
- Easy Slow Cooker French Onion Soup - November 28, 2022
- Recipe: Chicken Vindaloo with Whole Foods Vindaloo Curry Powder - January 22, 2022