The art of chalk painting has opened up a whole new world of furniture options for me! Many times, I see dressers and such at the thrift store that are way past their prime, and looking way dated. Wood tables look worn out and scratched, needing hours of stripping, sanding and refinishing to have them look decent in your home. I refinished many wood pieces doing it this way, restoring tables to their original wooden glory. But it takes weeks, and sometimes you may not want the wood look anyway.
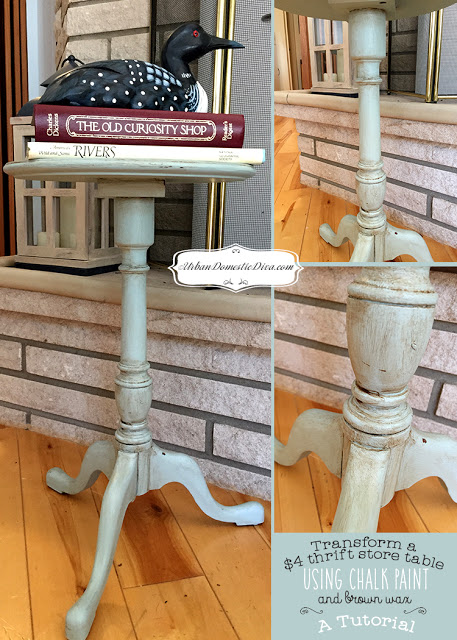
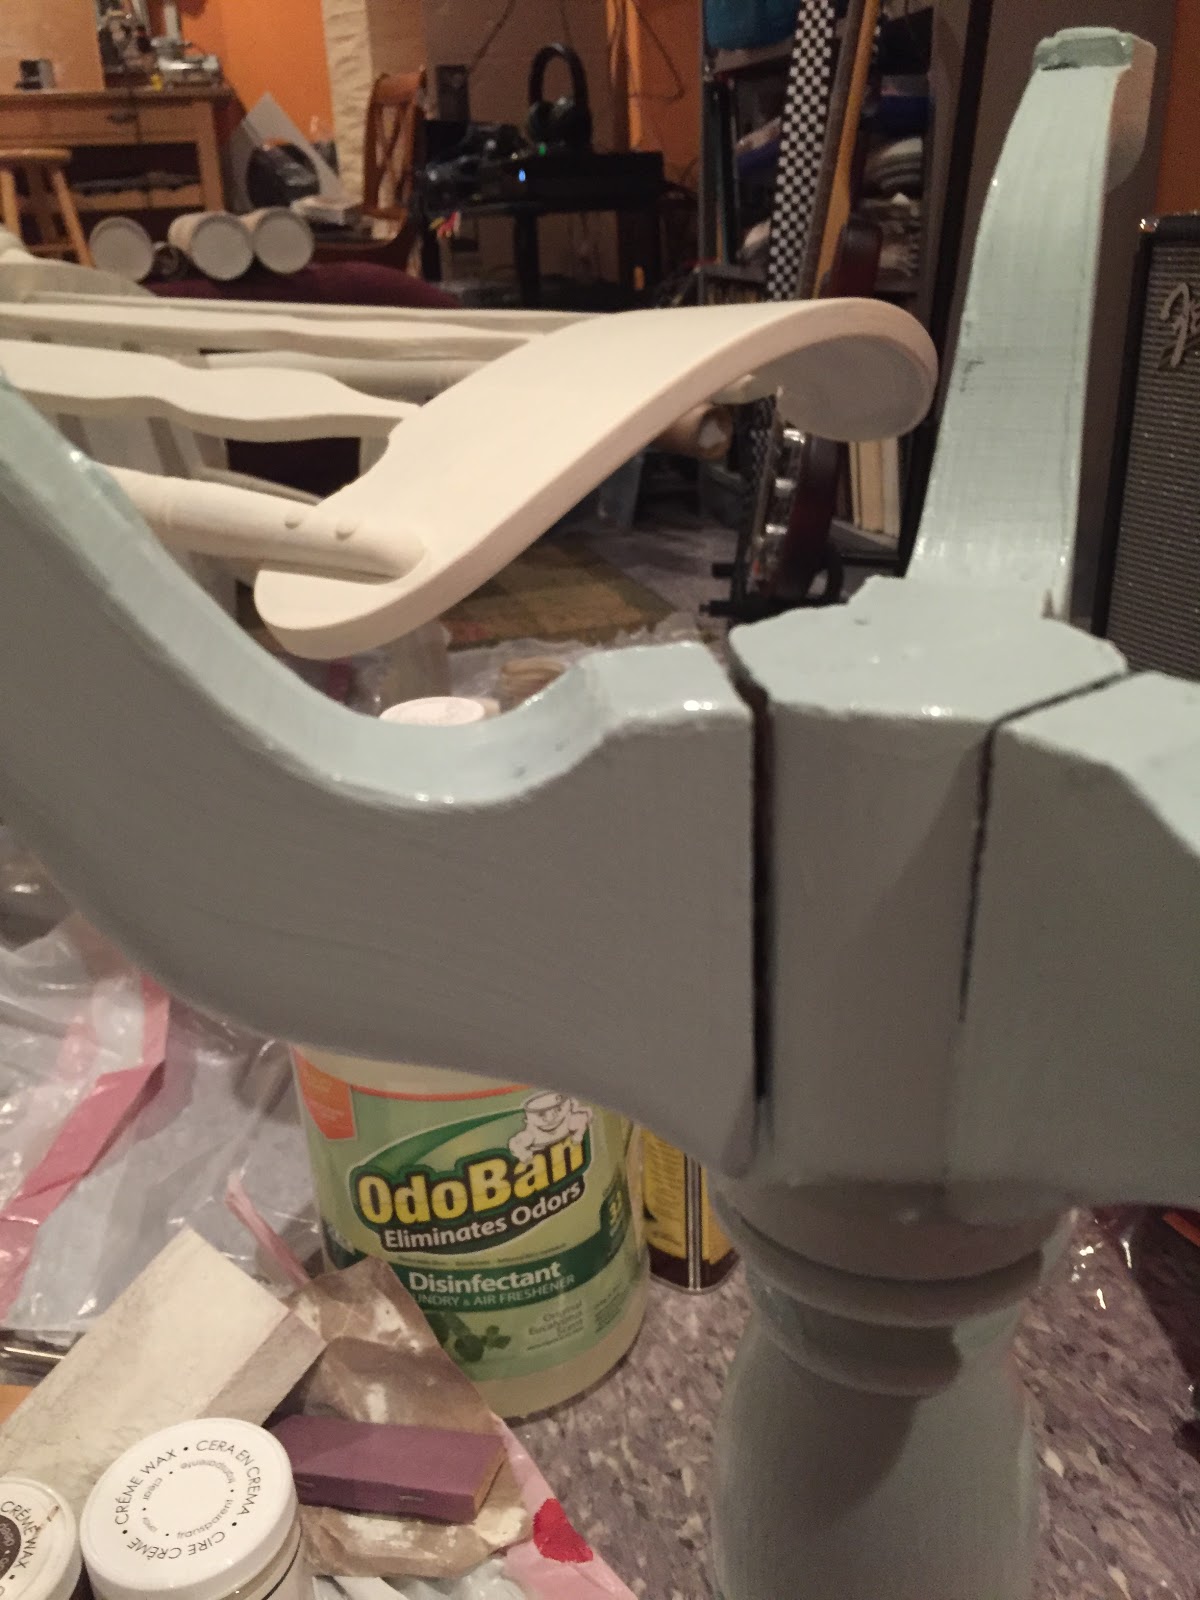
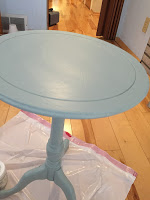
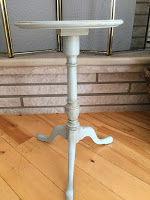
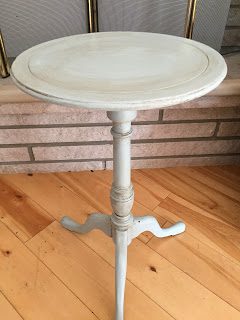
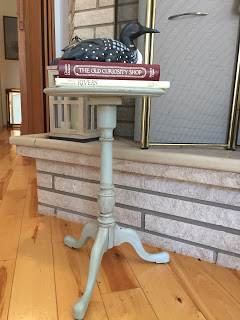
Chalk paint is super easy to us, and you don’t need any sanding or priming on your pieces before you start. I found this little accent table buried under detritus in the back of a thrift shop in my neighborhood, completely forgotten about. It was dusty and dirty, and the store wrote 4$ in a large black marker right on the table top! (Who does that?) On further inspection, it was a really nice antique wooden table, the real deal. So I took it home and decided to give it an antique robin-egg blue color and experiment with brown wax to give it an aged look. If I screwed up the brown wax on my first go, I was only out 4 dollars, plus a couple bucks for the blue paint.
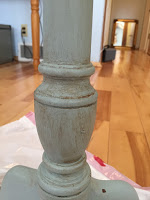
I am so pleased with how it turned out, and I also loved working with the brown wax. The key to remember when using it is that you need to focus the application on the indents, and inner curves. The outer curves and protruding areas would be worn and lighter. The inner areas would be darker. SO apply the brown wax in the grooves and indents, and rub outward from there, keeping raised areas lighter. I’ll explain more below.
I also finished an old rocking chair I had that hubby kept wanting to throw away, so look for my tutorial on that this month too!
Chalk paint all the things!!!!
Supplies:
Rags
Dish soap and water
Chip paint brushes
Chalk paint
Clear wax cream
Brown wax cream
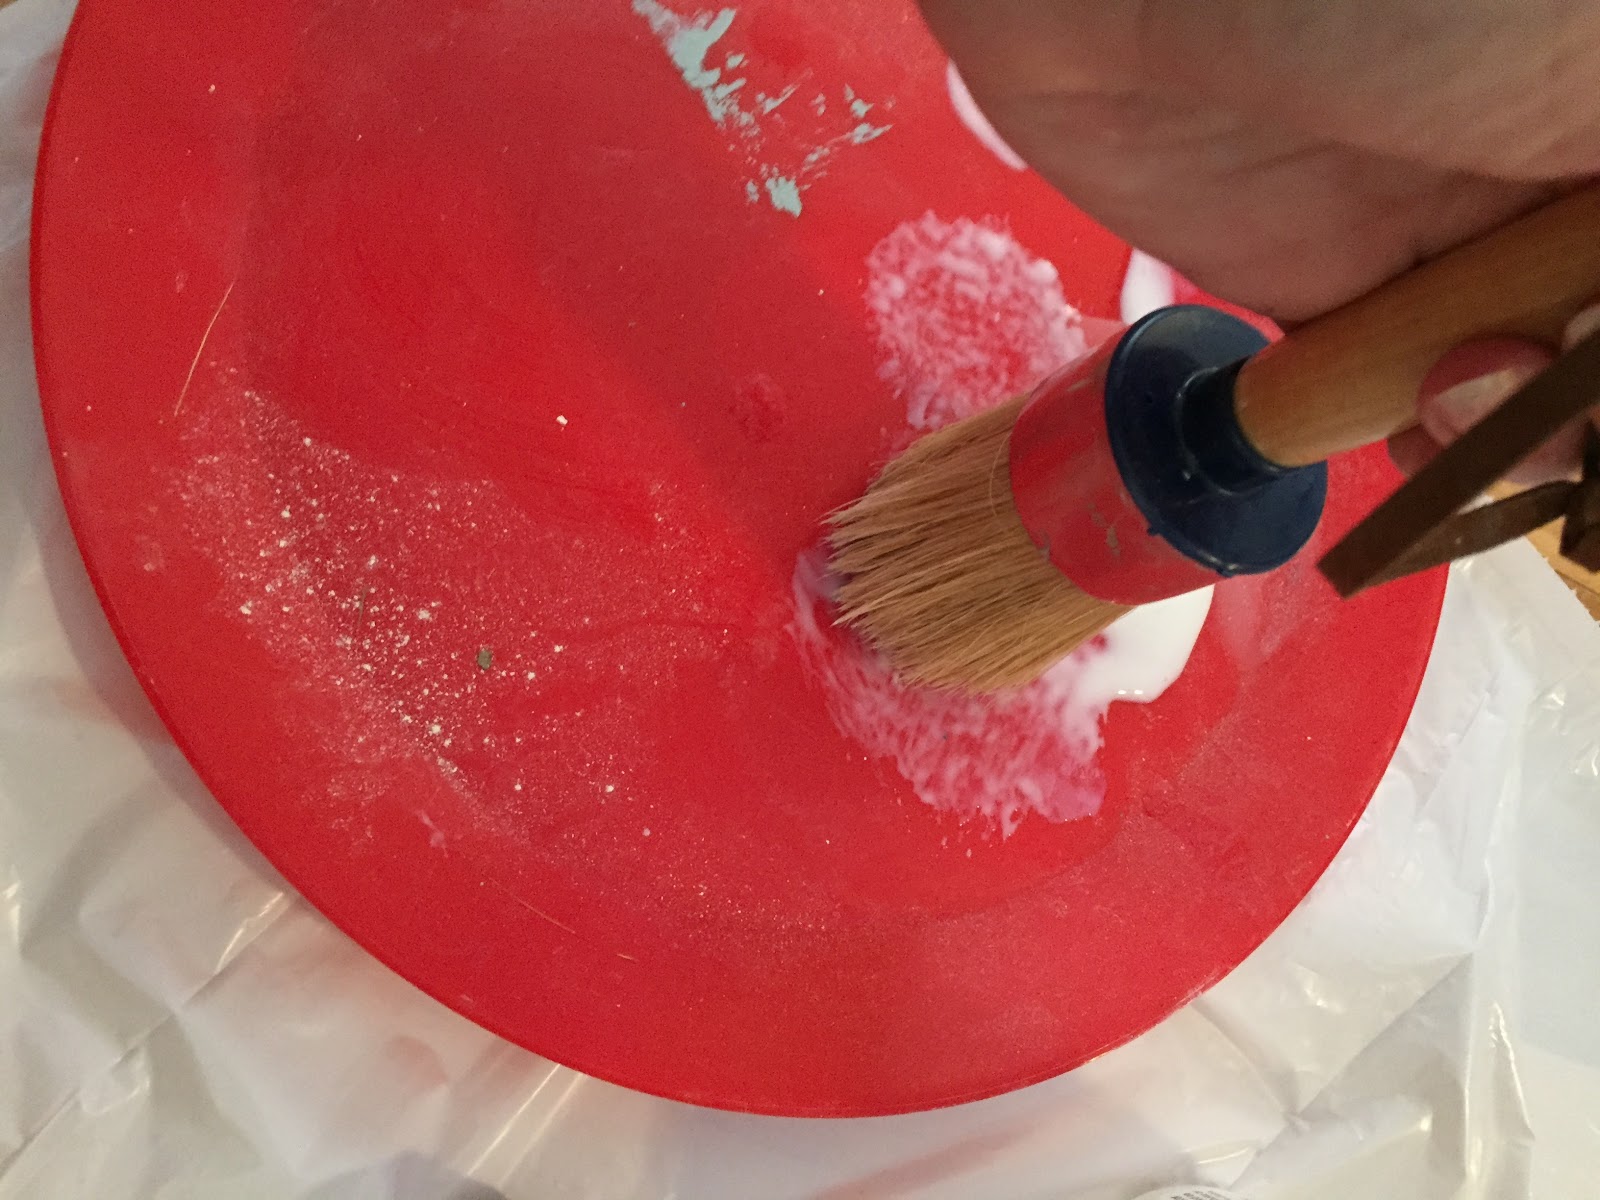
A paper plate or plastic plate to use as your “wax palette”
Wax brush (if using for both waxes, you will need two. One for clear and one for brown, but I prefer to use a paint brush and a rag for the brown wax.)
Directions:
STEP 1:
Clean your piece with dish soap and water. Let dry completely.
STEP 2:
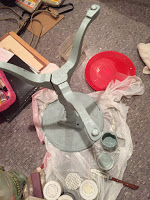
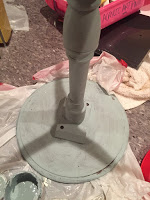
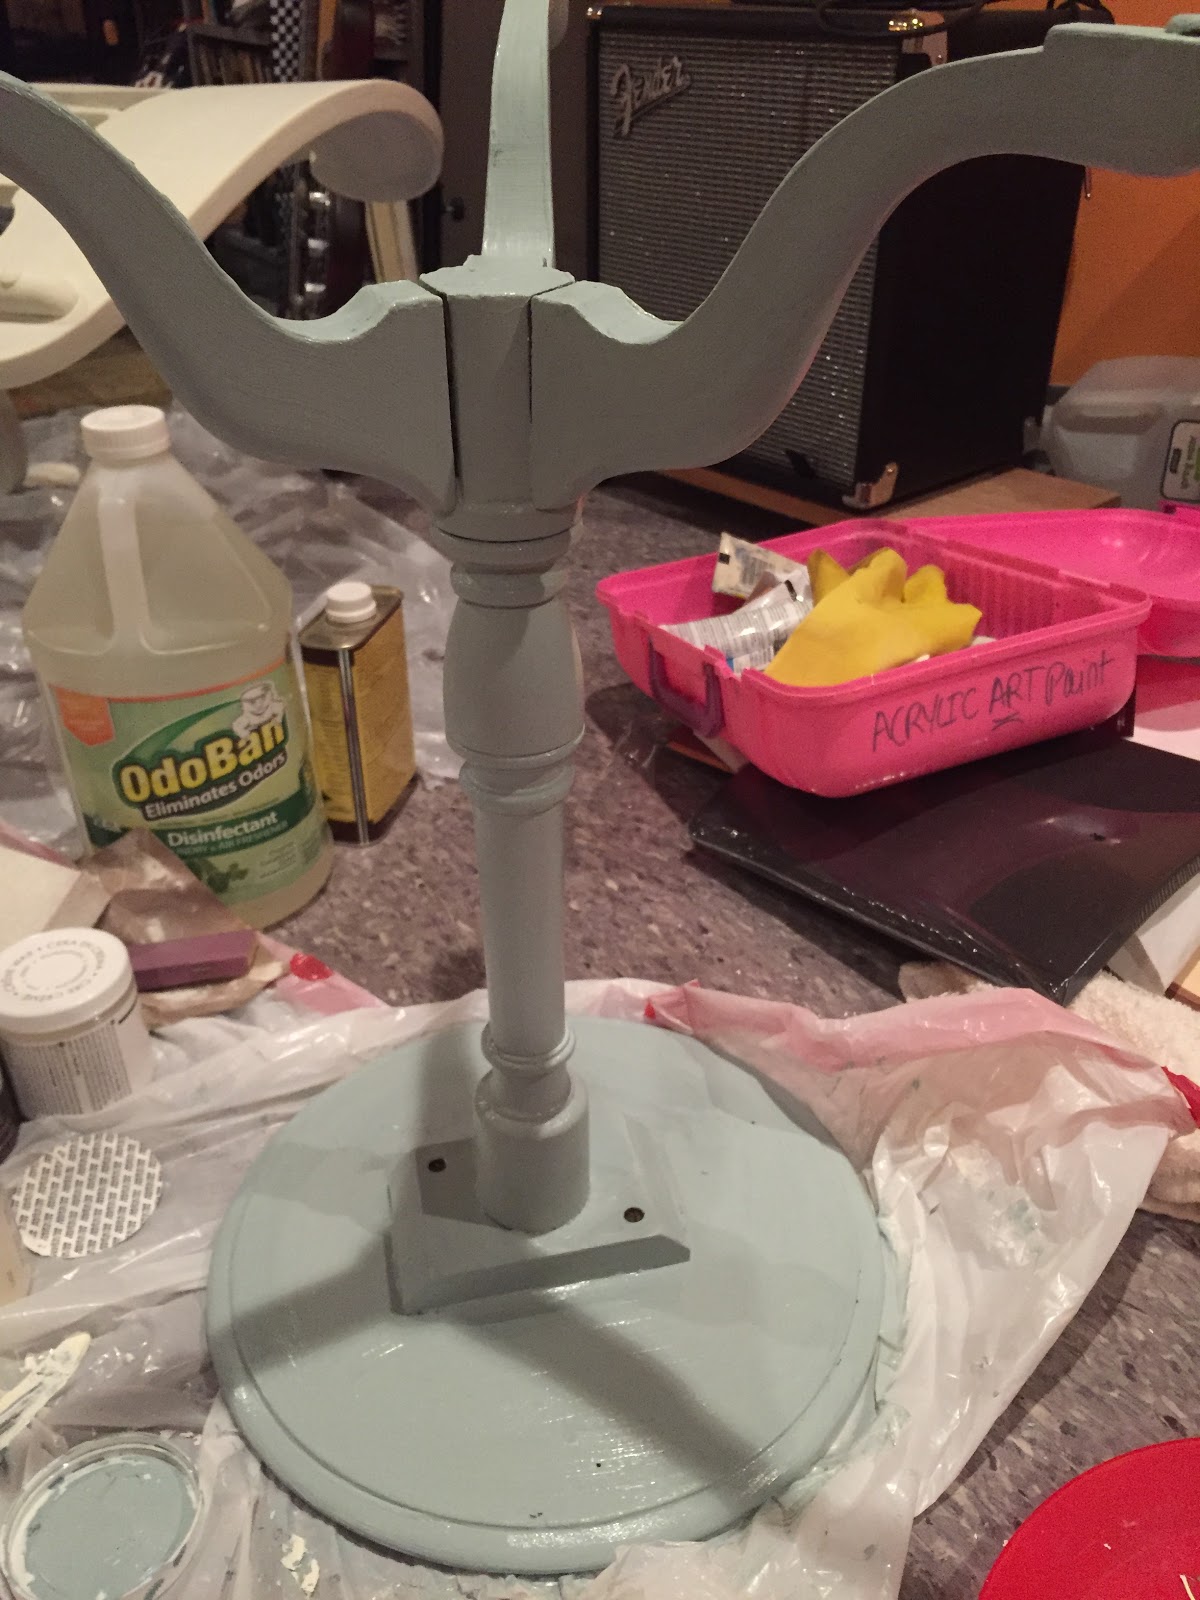
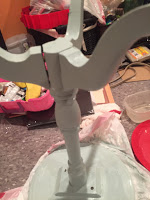
Using your chip paint brush, paint the table. I turned it upside down first and painted the bottom. Let it cure one hour and apply another coat. If you see too many streaks after waiting one hour, apply a third coat. I just needed 2. I paint a thin layer of paint against the grain with my brush, and then go over that spot with the grain. A little paint goes a long way. After waiting an hour for your final coat, flip the table over.
STEP 3:
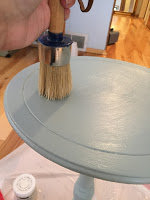
Next take care of the top side, with the same amount of coats. Once the table is done, let cure overnight before waxing.
STEP 3:
Pour the wax onto the plate, and with the flat of your brush, tap a little glaze onto your brush. Keep the flat plane of your brush bristles flat against your surface. Tap off excess, you want a very thin layer of wax. With a circular motion and your brush flat on your table, lay the wax down as far as you can get it to move on your table. Then move over that same spot with your brush with the grain, moving the wax accordingly. Have a damp rag handy and as you finish an area, lightly use it to wipe over the wax with the grain to pick up any excess wax. You want the thinnest, most even coat, otherwise, areas will be sticky and gummy. Once the table has a clear coat, let dry to the touch just an hour or two. Be careful with the piece, the wax really doesn’t hard cure for about a week, so don’t bang on it or hit it hard with anything just yet.
STEP 4:
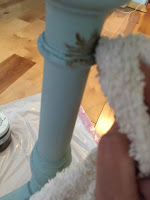
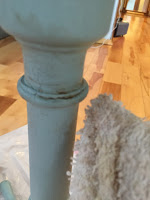
Apply the dark wax. Pour a little bit onto your plastic plate. Use a different brush to apply the dark wax to not cross contaminate wax brushes. You can also apply the wax with an old rag if you wish (see photos). I used a worn rag and a small paint brush. Use the paint brush to apply the wax in your detail work and small indents, and use a rag to rub it in a circular motion outward, rubbing it away in areas you wish very little distressing. Work with the grain of the wood as you rub areas of the wax into a light sheen with your rag. You can go over the indents you filled to add darker areas and let the wax sit and don’t rub it at all. The wax is workable for a few minutes but does soak in eventually and gets harder to work. If you want it to be more forgiving, you can mix the dark with a touch of the clear wax, too.

STEP 5:
Gently set it in its spot and let it hard cure for 7 days. After that enjoy your new piece!
Flora is an award-winning creative director in Chicago turned food and lifestyle blogger extraordinaire. She is also author to the popular BEE NATIVE! gardening book series and various children's books that celebrate the wonder and hard work of bees and butterflies. Her blog and social spaces inspire thousands to create, learn, cook, grow, and craft, making their world lovelier one pixel/petal/seed/bite/stitch/brushstroke at a time. Follow her on all the social spaces, YouTube, and Amazon, and get creative!
Latest posts by Flora Caputo (see all)
- Sugar-Free, Low-Carb, Olive Oil Chocolate Hazelnut Tart - February 18, 2023
- Easy Slow Cooker French Onion Soup - November 28, 2022
- Recipe: Chicken Vindaloo with Whole Foods Vindaloo Curry Powder - January 22, 2022