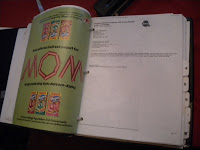
When I am off during the holidays, I like to get some projects that have been weighing heavily on me throughout the year DONE so we can start the new year fresh. Last night, I finally organized recipes. Not with a cutesy recipe organizer that you get for your wedding shower. I mean a lean, mean, heavy-duty organizational system for online 8 1/2 x 11 printouts, small Williams Sonoma catalog clippings, and post it notes-all in one easy-to-find place.
Our cookbook bookcase has been inundated with sheets and sheet of papers, and we did have a couple file folders filled as well. So we took an evening and went through all of them, using the following supplies and method. It was such a relief to finally get all this paper under control. If you are printing online recipes like we are, I bet you are getting overrun with letter-sized print outs as well. I urge you to try our binder method. Just open a nice Cabernet, put on an old movie and spend an evening going down “food memory lane”. You’ll feel better in the morning, I promise.
Tools you will need:
A three ring binder
tape
3 ring whole punch
tabbed dividers
a pen
scissors
some blank 8 1/2 x 11 paper
First go through and organize all your recipes. Put them in piles on the floor in categories such as; appetizers, salads, one dish meals, etc. Because we had limited tabbed dividers, we double grouped sections that made sense, and just notated it on the divider page. If you have to cut some stuff or trim down clippings or copies as you go to fit nicely, do so.
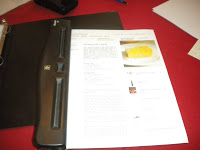
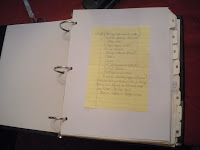
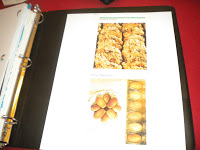
Now start with your first group. Three ring punch letter-sized recipes and put behind your first tabbed divider. Take any smaller clippings or hand written notes and tape on letter-sized blank paper, then whole punch that sheet and pop it in. If one of the recipe clippings have directions on the back, just tape the top down so you can flip it up. What is nice is that now all your odd-sized recipes can have the same size as your print outs. This makes it easier to view and flip.
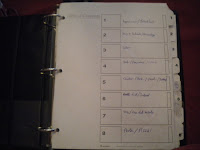
Continue taping, whole-punching and tabbing. Remember to notate on each divider page what section each divider is starting. If you are grouping a few under one divider page, notate that as well. And voila-chaos meets organization.
You may want to have more than one binder, too. We decided to keep our desserts in one binder, healthy, everyday meals in another, and everything else in yet another.
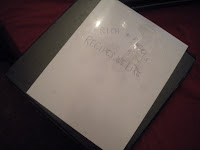
The final thing to do is write a title on a blank piece of paper and slip it into the cover and spine of the binder so you can easily pull it out when you need it.
Have fun! It feels good to check one more thing off the house to-do list!
- Sugar-Free, Low-Carb, Olive Oil Chocolate Hazelnut Tart - February 18, 2023
- Easy Slow Cooker French Onion Soup - November 28, 2022
- Recipe: Chicken Vindaloo with Whole Foods Vindaloo Curry Powder - January 22, 2022

