It had been a while since I had been in a Costco-on a Saturday no less.
Yeah, what was I thinking? *shudder.
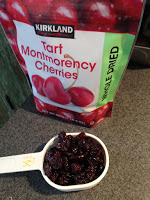
So as I tried to maneuver my way around insanity, a giant bag of dried cherries caught my eye. Originally I thought about my daughter’s lunches. She loves to snack on dry fruit. But then I thought of all the possibilities in the kitchen with these lovelies, so they found their way into my cart.
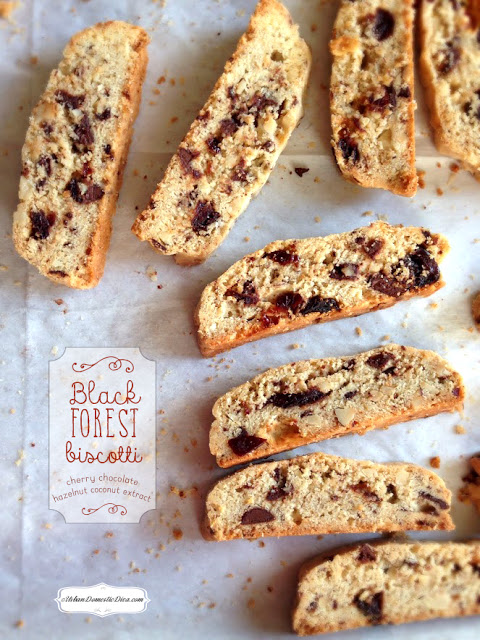
No big surprise, my daughter found them to be too tart for her lunch. SO now I have a never ending Costco sized bag of tart cherries to play with. The following biscotti were my first culinary idea. If you visit here often, you may know I am a fan of biscotti, and have shared a few recipes. This cherry-chocolate-hazelnut-coconut scented concoction my husband said was the best batch I have ever made. I am not sure if that’s the German in him? But they were also a big hit at work, so I think I’m on to something. You decide!
“Black Forest” Biscotti
Ingredients:
8 Tbsp. butter, softened
3/4 cup sugar
3/4 cup sugar
2 eggs
1 tsp. vanilla extract
1 Tsp. coconut extract
2 cups flour
½ tsp. baking powder
¼ tsp. salt
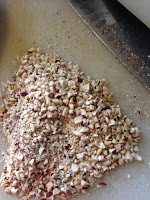
½ cup hulled and toasted hazelnuts, finely chopped
½ cup dried tart cherries, chopped
½ cup semi sweet chocolate, chopped
Directions:
Preheat oven to 350˚, line a large baking sheet with parchment paper and set aside.
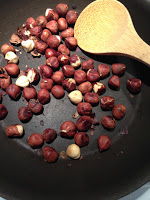
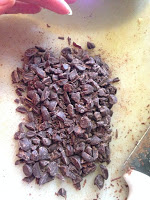
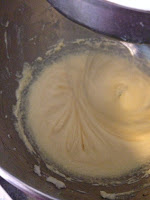
Beat butter, then add sugar and whip until fluffy. Reduce to low and add eggs one at a time, whipping well after each addition. Add both flavor extracts and mix well.
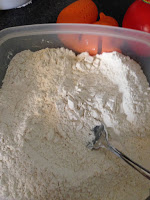
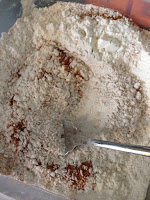
Lightly mix the flour with the salt and baking powder with a fork. Turn your mixer on low and add the flour mixture in two additions, mixing only until just combined.
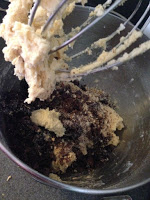
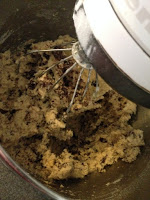
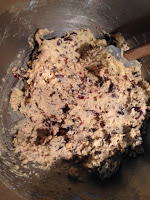
Add the nuts, cherries and chocolate and mix lightly with the stand mixer, just a couple of times. You may want to do this part by hand. The goal is that ingredients are evenly distributed but you don’t want to overwork your batter, either.
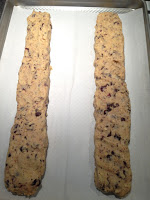
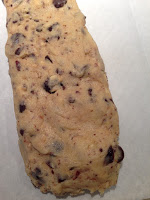
Divide the batter in two even batches, and turn them onto the parchment lined baking sheet. With your hands or a floured spatula, shape the logs into a 2 “ x 12-14” long that has an even thickness. The two logs will spread, so make sure there is at least 4” of space between them.
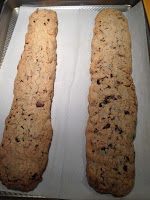
Bake for about 30 minutes on the middle rack. The logs should be lightly golden and the middle should spring back slightly when touched.
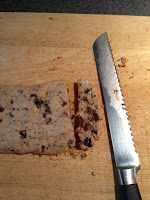
When they are ready to be pulled out, set them out on the counter to cool for 10 minutes. Lower your oven temp to 325˚. Once the logs have adequately cooled and “set” (do not rush this step, otherwise the cutting step is difficult), place logs carefully on a cutting board to cut with a serrated knife ½” wide strips. Place the cookie, cut side down, back onto the baking sheets. Bake them for 10 minutes, then turn them all over to bake for another 5-10 minutes.
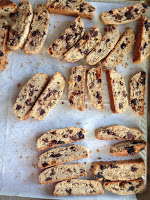
Cookies should have hardened up slightly and have a light golden edge to the cut sides. Let cool completely. Store in an airtight container for about 1 week. These also freeze well.
Latest posts by Flora Caputo (see all)
- Sugar-Free, Low-Carb, Olive Oil Chocolate Hazelnut Tart - February 18, 2023
- Easy Slow Cooker French Onion Soup - November 28, 2022
- Recipe: Chicken Vindaloo with Whole Foods Vindaloo Curry Powder - January 22, 2022

