Happy Belated 100 year Birthday to Dr. Seuss! Today my daughter and I saw The Lorax, and we just loved it. In honor of all things Seuss, I wanted to share with you how to make one of my hottest sellers at my recent fundraising bake sale. They are mini Cat in the Hat pops, made from candy melts and marshmallows. They are not that hard to make, you just need a little patience. Wilton’s candy melts are incredibly easy to melt and are quite forgiving. They also set pretty quickly so that you can move on to the next steps without being up all night finishing these. Also, I wanted to credit the idea for these to a great family site called family kitchen.
Anything covered with a candy melt is preserved to a point, at room temp for almost a week. You just need to individually cover each item tightly with a candy wrapper bag and twist tie, or even a sandwich bag with a twist tie. I have also found that if you use candy melts on homemade cake pops and you individually wrap each pop, then store in an airtight container or plastic wrapped box in the refrigerator, they can keep up to a week without sweating or getting weird. On the contrary, Wilton advises not to refrigerate or freeze the candy melts once used, but like I said, I got it to work out.
But these hats I kept on the counter individually wrapped for 4 days and they were perfectly fine. The kids went crazy for them! A quick trip to a craft store that sells candy making items, plus a bag of marshmallows-and you are all set to go!
One last note, I kept my pops here on the shorter side. For more authentic Cat in the Hat pops, you could make each hat the way I have shown, but double-stacking each so they are a little taller and match the true Cat in the Hat look.
“Dr. Seuss Hat” Candied Marshmallow Pops
You will need:
1 12 oz. bag Wilton white candy melts
1 12 oz. bag Wilton red candy melts
canola oil
24+ lollipop sticks
candy bags with twist ties (or sandwich bags)
Large Marshmallows
a toothpick or bamboo stick
Styrofoam squares
parchment paper and a pencil
a squeeze bottle (Wilton sells these as well)
A foot tall Styrofoam cone and a wide blue ribbon wrapped around it from top to bottom for display
Directions:
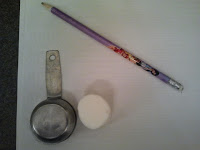
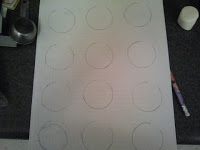
First, figure out your hat brims. On a piece of paper, size up a marshmallow, and find a circular guide that gives you a 1/2″ or so circle bigger than the size of your marshmallow. I found my 1/4 cup to work out perfectly. Using a pencil and your circle guide, make about 6-8 circles on a piece of paper, about 1-2″ apart.
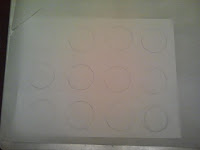
Cut a large piece of parchment and slip your notepaper with your circles under the parchment. this will be your guide. You want the parchment to be big enough to hold about 24 hat brims.
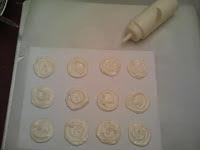
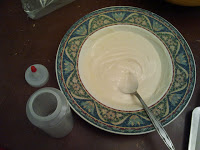
Pour just over half of your white candy melts into a microwave safe bowl. Microwave at half power for 30 seconds. Stir. Microwave again at half power for 30 second. Stir again. Microwave at half power for 15 seconds. Stir again. If not thin enough, go 15 more seconds at half power. Pour about 1/2 Tbsp. canola oil in the candy and stir. Using a spoon, ladle a little over half the melted candy into the squeeze bottle. Squeeze around your circle guides right on the parchment. Fill in the circles, and make sure they have a nice thickness for the discs (about 1/8 inch thick). Keep going until your circles are filled. Gently move the notepaper under the parchment into a new, open area, and draw and fill some more circles. I was able to make 24, but if you have a lot of candy melts, you could easily make more.
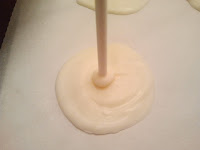
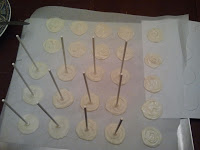
Let the brims set. As they are almost set, move on to the lollipop sticks. Take one, dip it into some candy melt, and gently push into the center of the disc. Hold it there for 15-30 seconds. The candy melt at the end will act as “glue”. You will be able to let it go and the stick will finish “setting” into the brim. While these are setting, start covering the marshmallows.
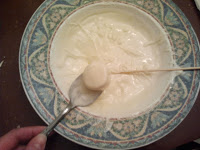
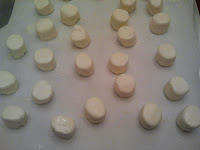
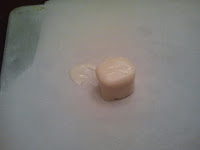
Whatever is left on your squeeze bottle, dump it back into your melting bowl. You will need a good cup or so of candy melt in the bowl for the marshmallows. So at this point, you may need to add more and microwave it at half power again until you get a good consistency. Cut another piece of parchment and lay it on the table. With a spoon and a toothpick or bamboo stick, dip the marshmallow into the candy melt. Roll it around until completely covered. With the spoon, fish it out. Set it close to the end, and tap the spoon against the bowl so that excess candy drips off and it spreads into a nice, even coating. Using your stick, scoot it off the spoon and onto the parchment from the bottom. Continue until all the marshmallows are covered. Let set.
While those are setting, gently pull the “brims” off the parchment, and turn over. Stick them right side up into the Styrofoam squares so they are ready for attachment.
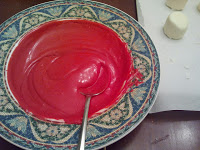
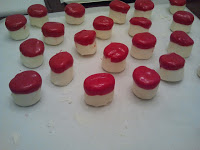
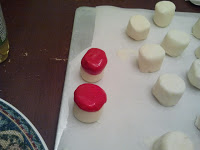
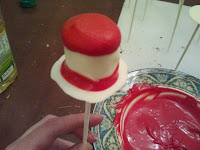
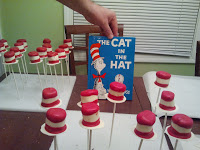
In a bowl, melt half the red candy melts in the same manner as the white. Add the 1/2 Tbsp. canola oil so it has a thin consistency. When the white marshmallows are set completely, you can add the first “red ring”. Gently dip each marshmallow end, straight up and down, into the red candy, until you have about a 1/4 inch stripe. Pull up and gently swing or tap from side to side to get off excess. With a twist and quick turn upside down, you can place them on the parchment to set. Once all set, you can do the same technique with the bottoms. However, instead of turning over, you will place the wet red bottom side right onto a waiting brim. Gently hold it there for 15-30 seconds. It starts to set up quickly. When you think it won’t move, re stick it back into the Styrofoam as straight as possible so they set up straight and even.
Let them set up in peace for a couple of hours. Then, wrap each in a candy bag or sandwich bag with a twist tie so they do not dry out and get stale. They can stay at room temp, sealed in this way for up to a week.
I wrapped a tall Styrofoam cone with a wide, silk, blue ribbon, from the bottom to the top. Then I slipped each wrapped pop through the ribbon in various places, almost making a tree. It was a creative way to display the pops without damaging them.
- Sugar-Free, Low-Carb, Olive Oil Chocolate Hazelnut Tart - February 18, 2023
- Easy Slow Cooker French Onion Soup - November 28, 2022
- Recipe: Chicken Vindaloo with Whole Foods Vindaloo Curry Powder - January 22, 2022

