 |
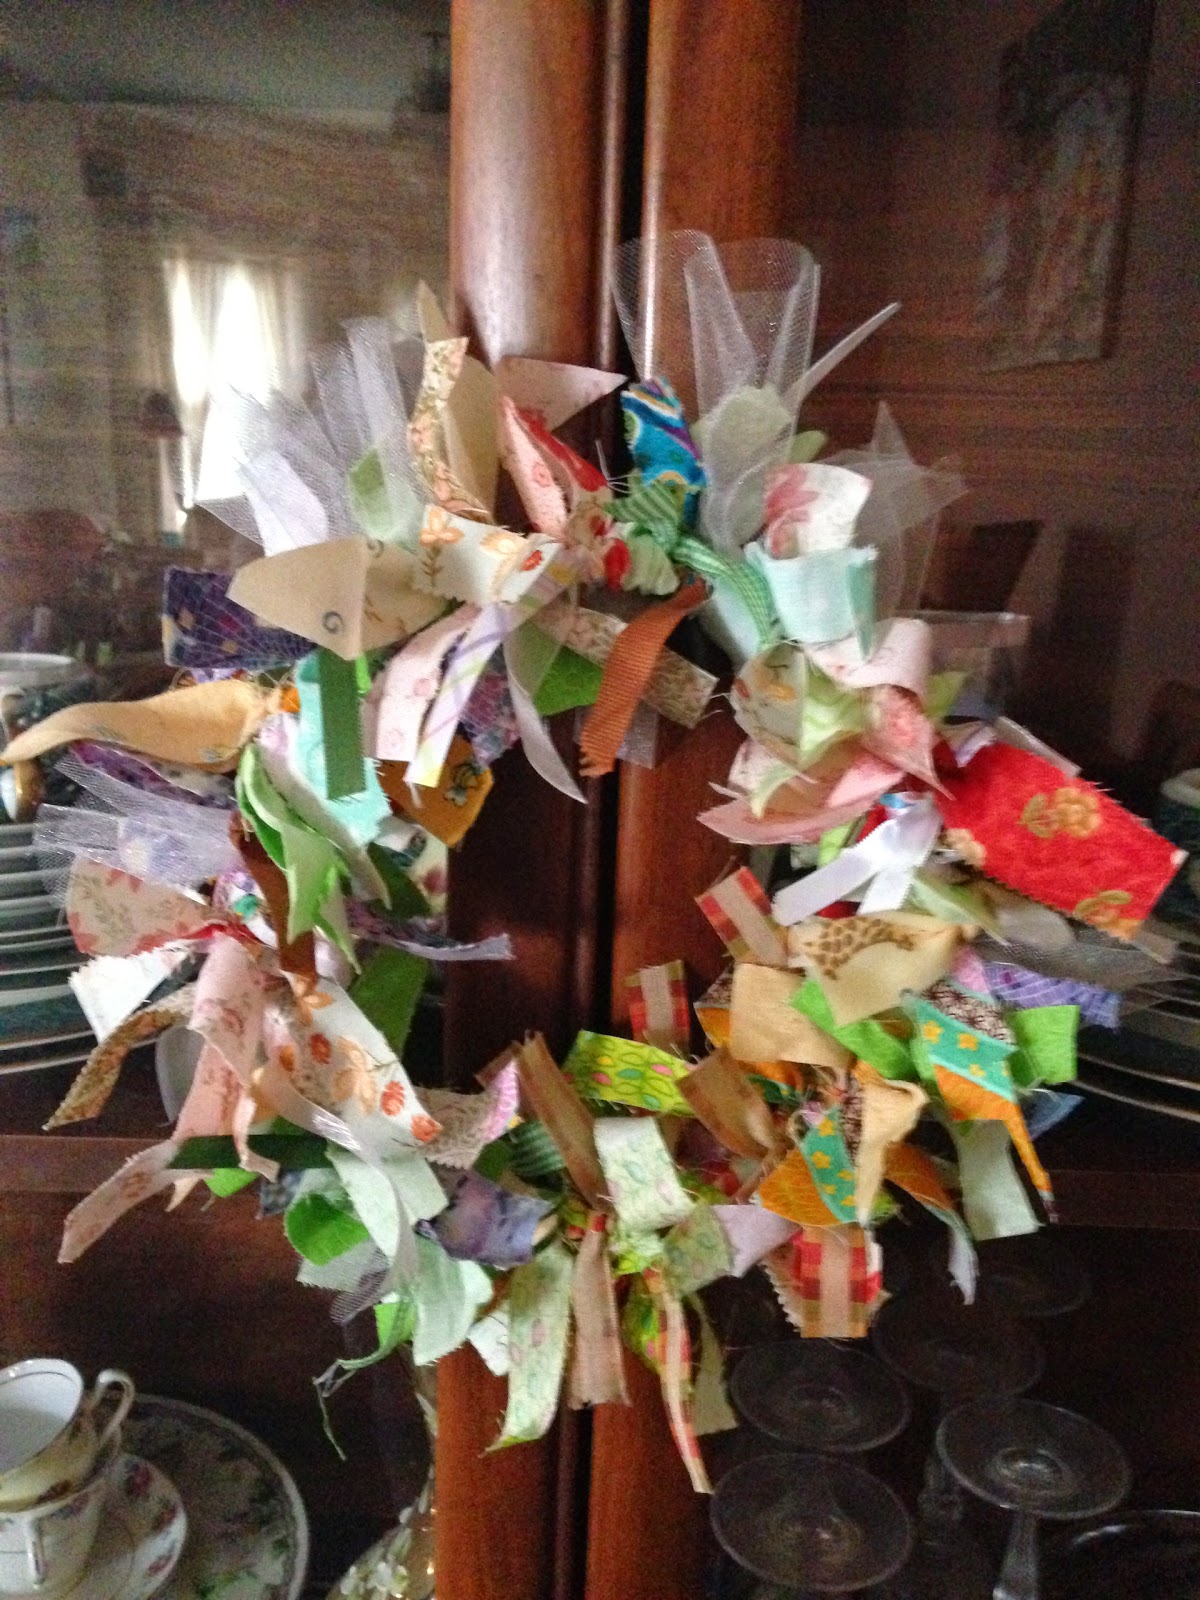
| Easter wreath, how to here |
So yesterday was a day of shopping with my daughter (she wanted to pick another Easter dress), shopping for groceries, and crafting our decor for our shabby chic Easter party.
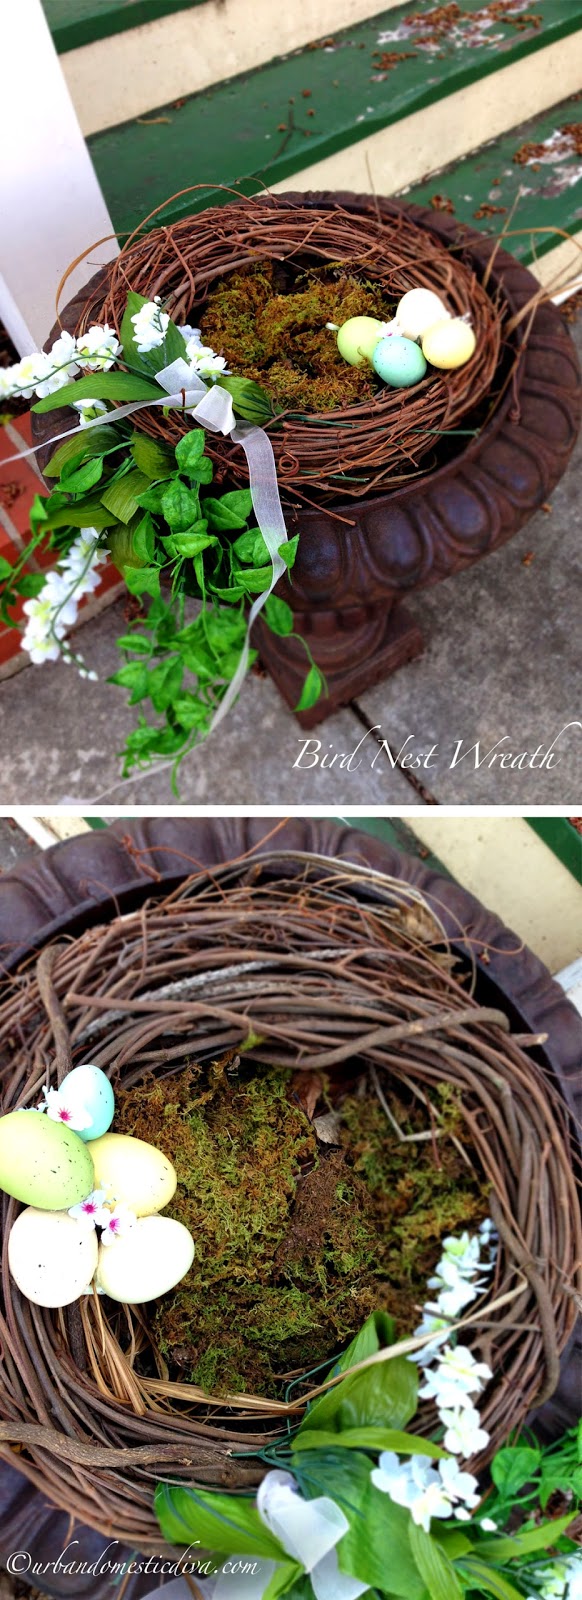
First thing I wanted to get done, was dressing up our urns flanking our stairs. It’s been too cold to put any flowers in their, and I still had left over dead plant material from summer. I decided to make a “Bird’s Nest Wreath”, using the debris in the urn as a base for the nest. I needed two nests, and I had them mirror each other in design. That means, if I had trailing leaves on the right of one, than I would put it on the left of the other. That way, the urns look symmetrical as you meet our stairs.
Here’s how you make them:
Outdoor Bird Nest Wreath
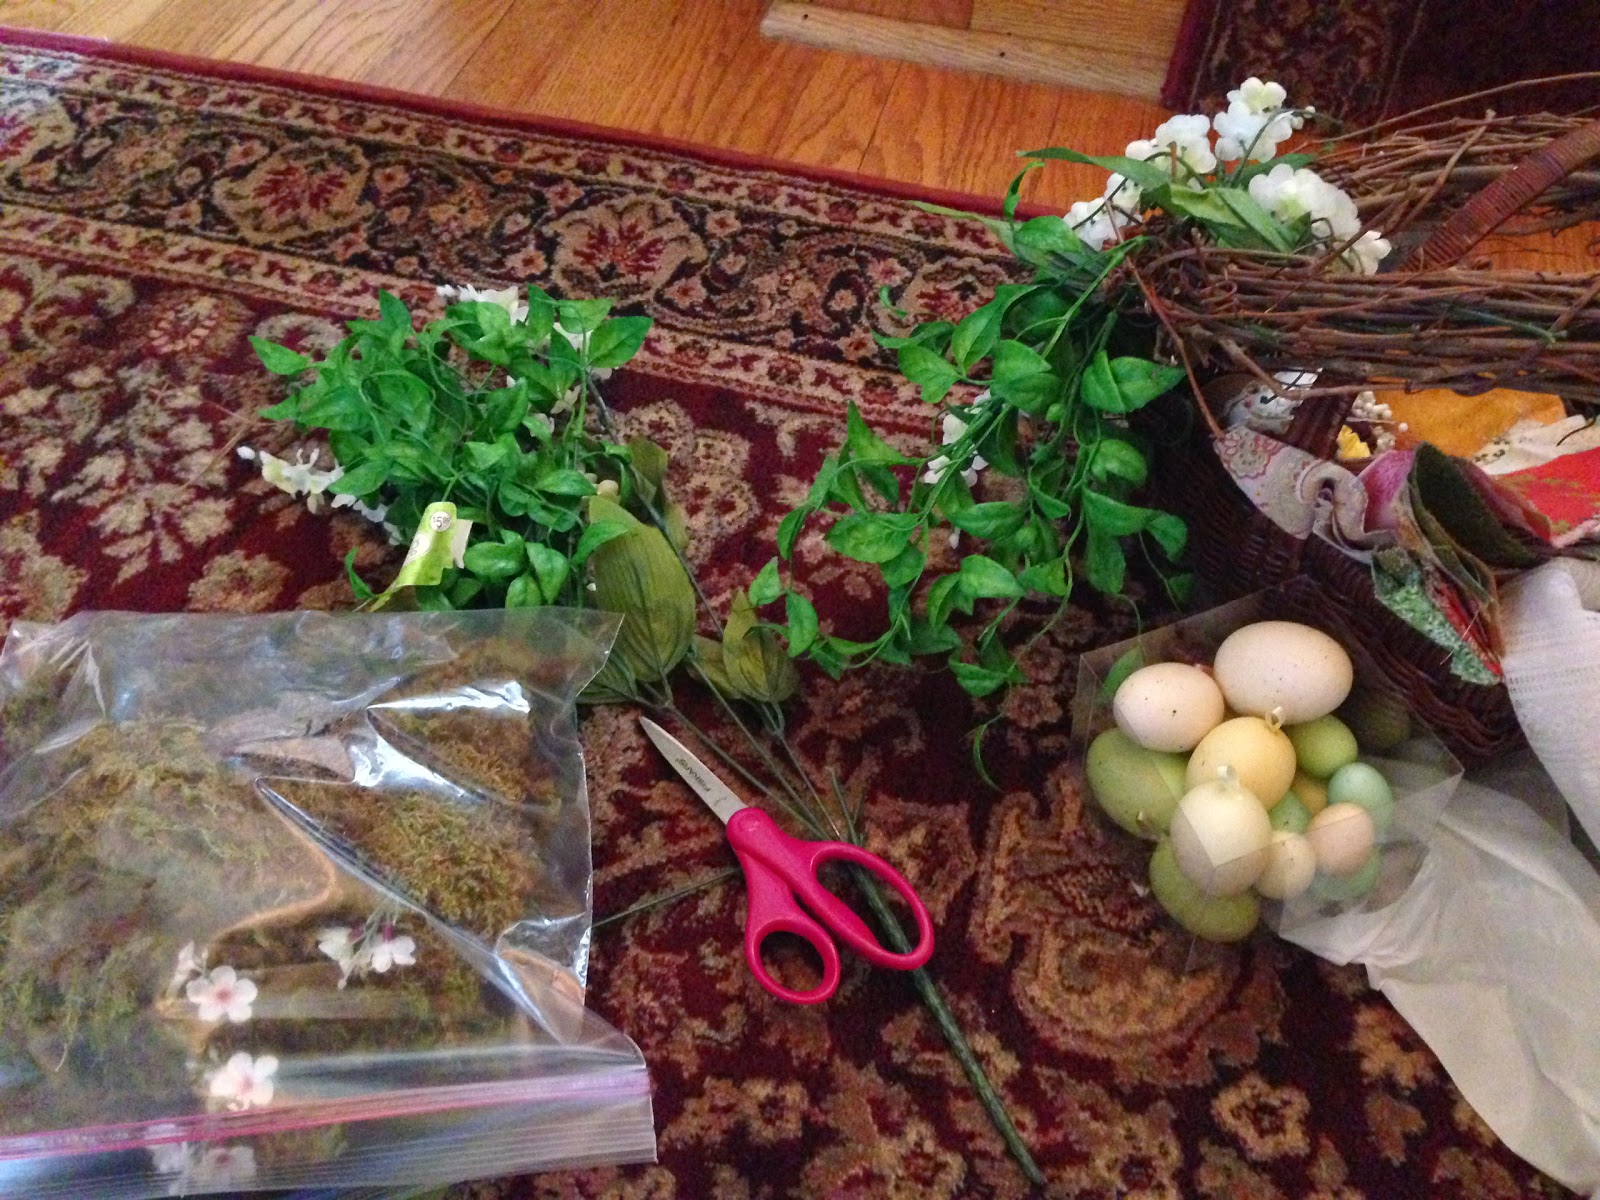
Supplies:
Glue gun with glue
Grape vine wreath(s)
Decorative eggs
Silk or plastic trailing leaves
Silk or plastic flowers, some that trail
Ribbon
Dried floral moss
Directions:
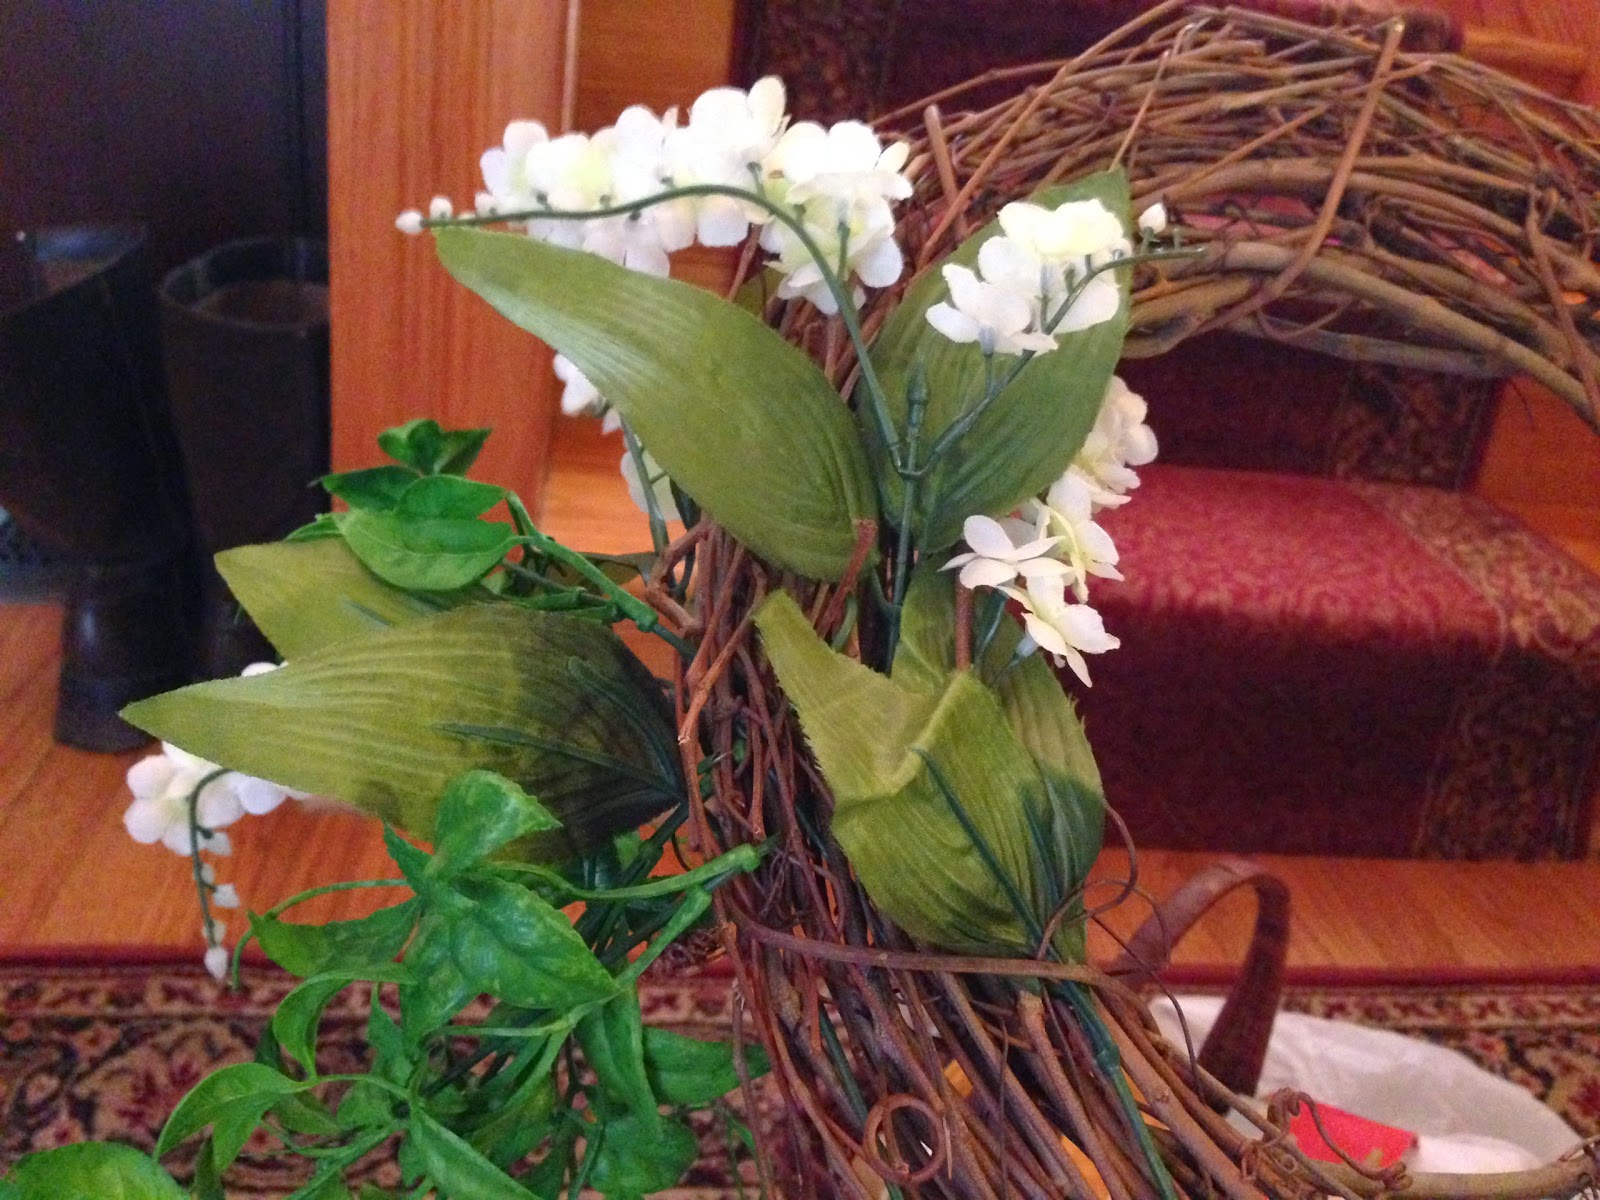
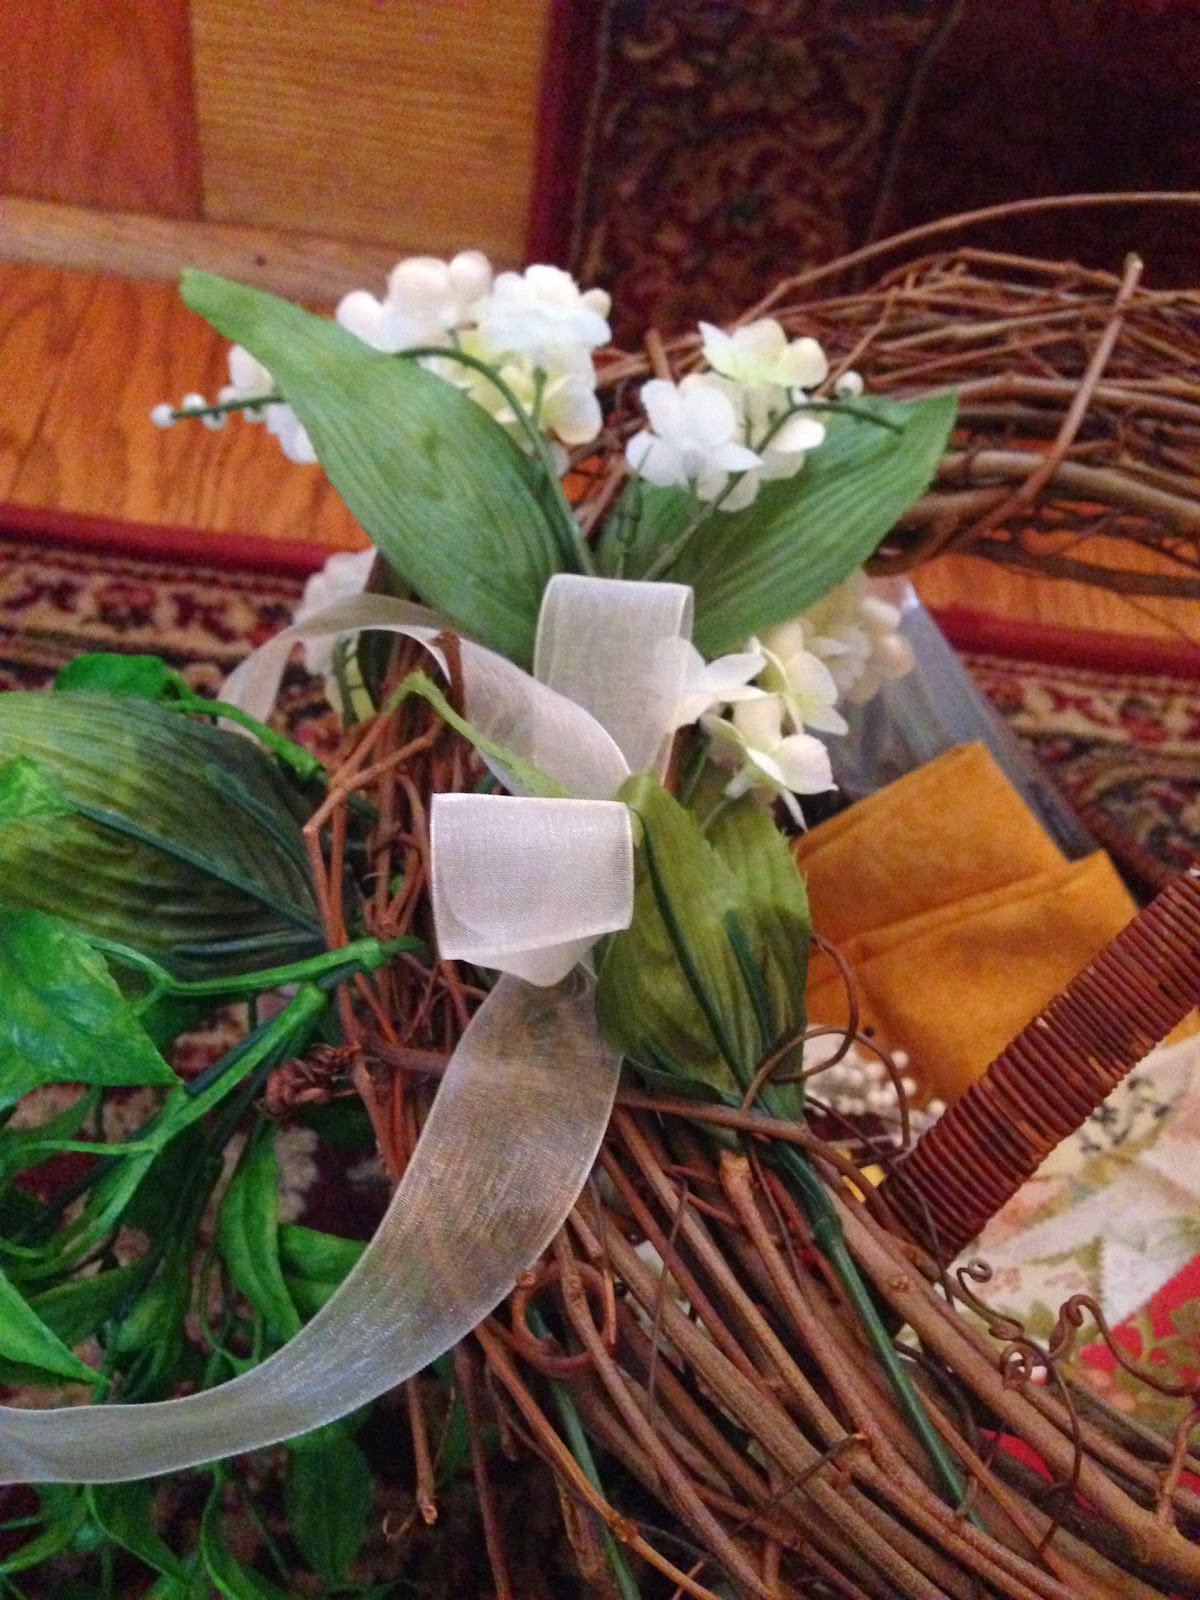
Weave the flowers and trailing vines through the twigs. Have the flowers wrap inward towards the nest, and have some trail down so they flank and trail your urn or pot.
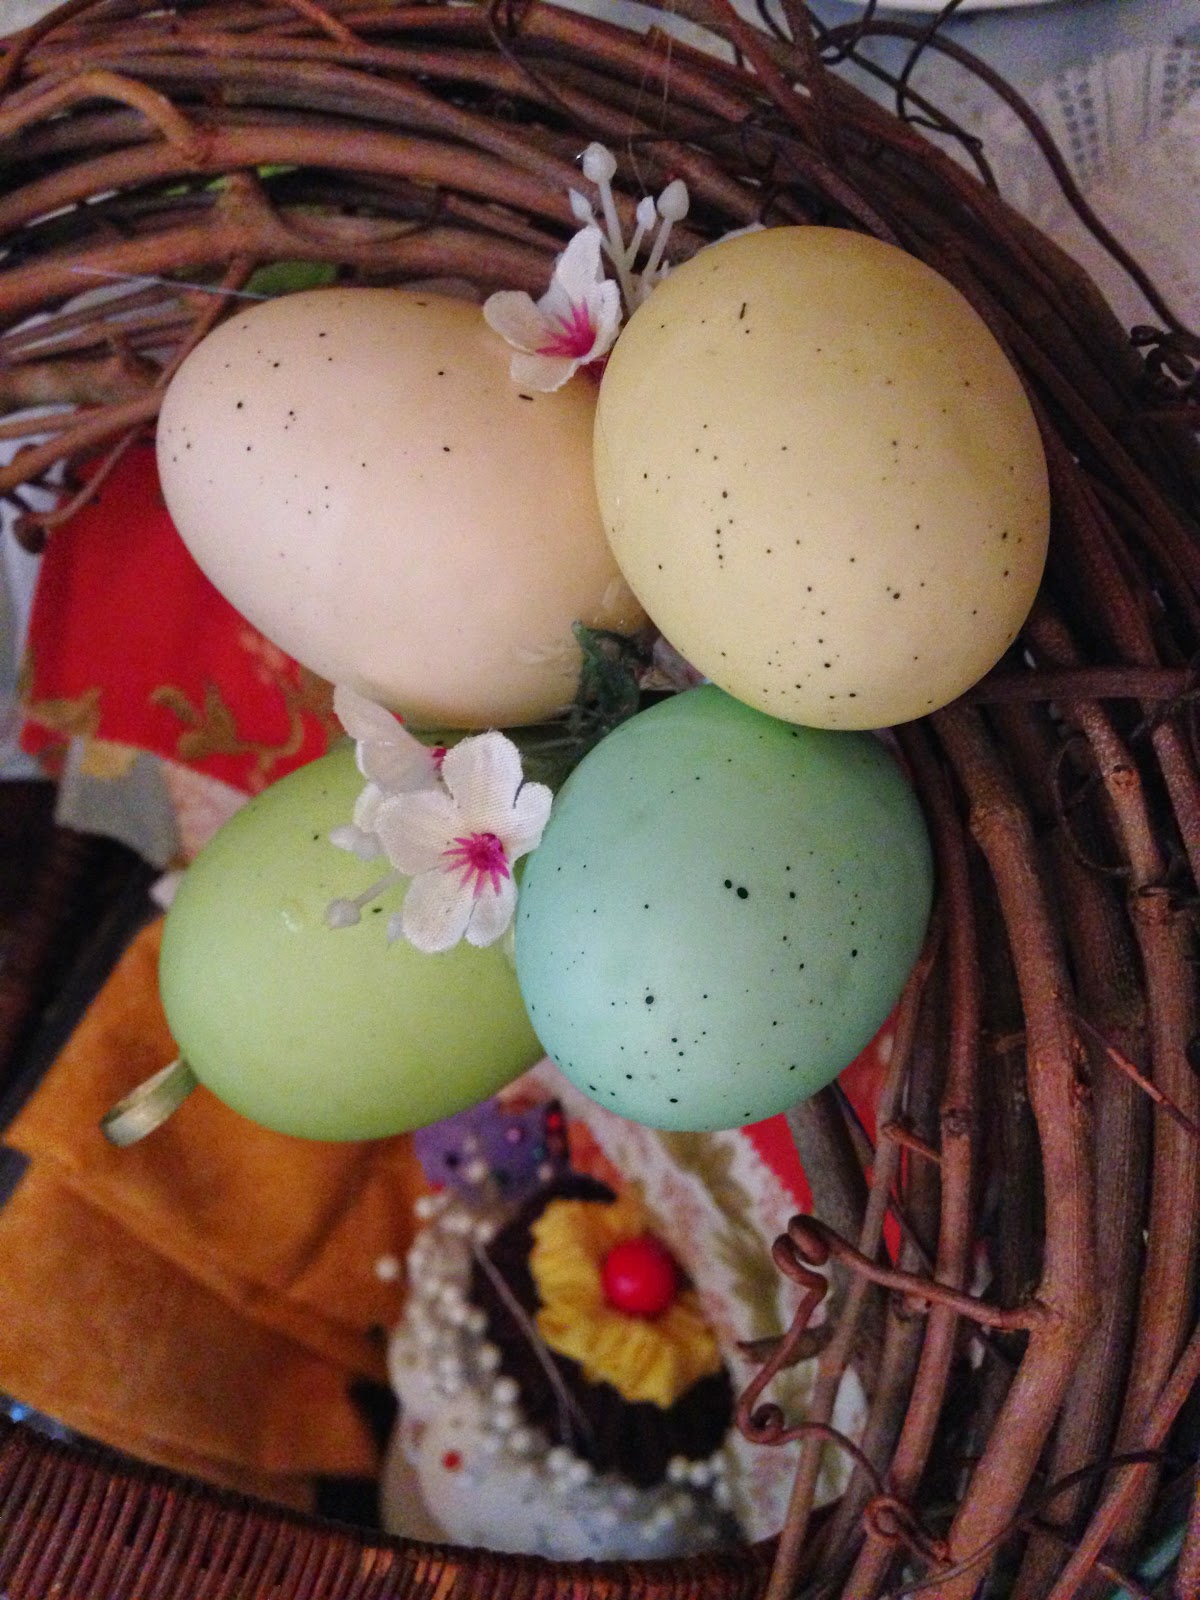
Next, take your hot glue gun and glue the eggs in a clump, layering them on top of each other.
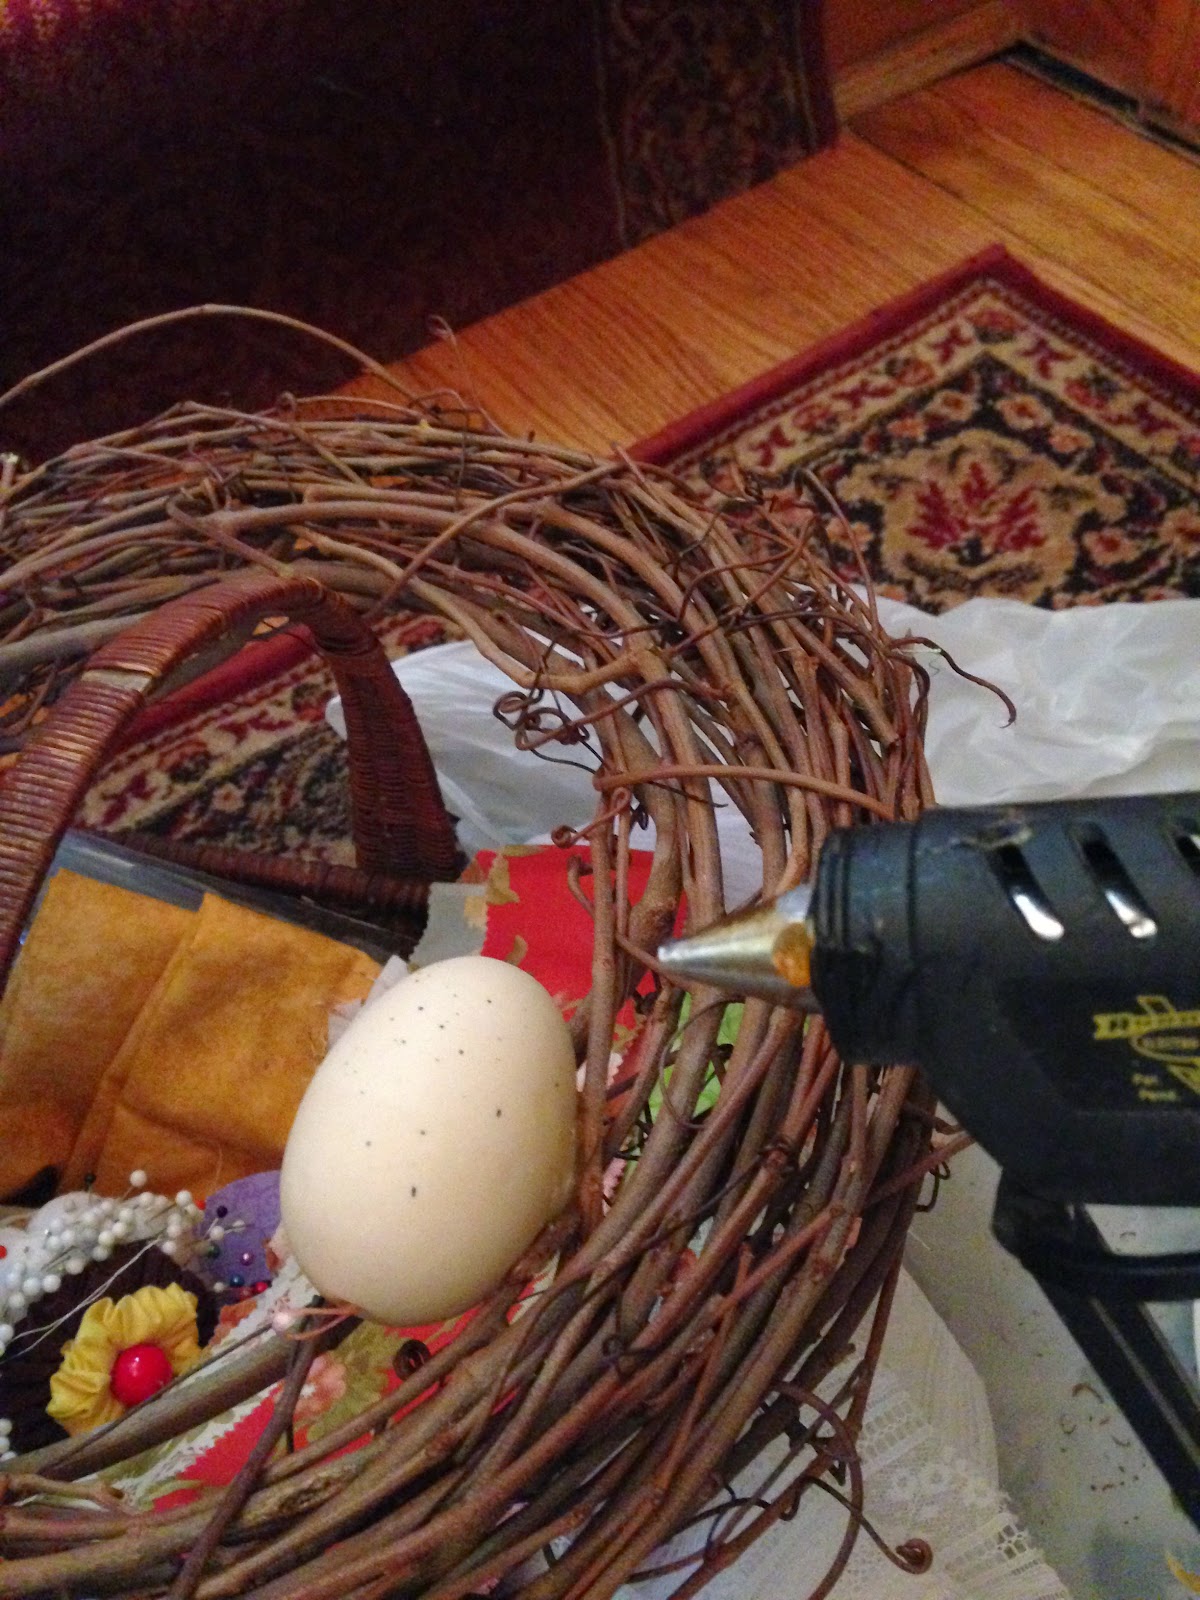
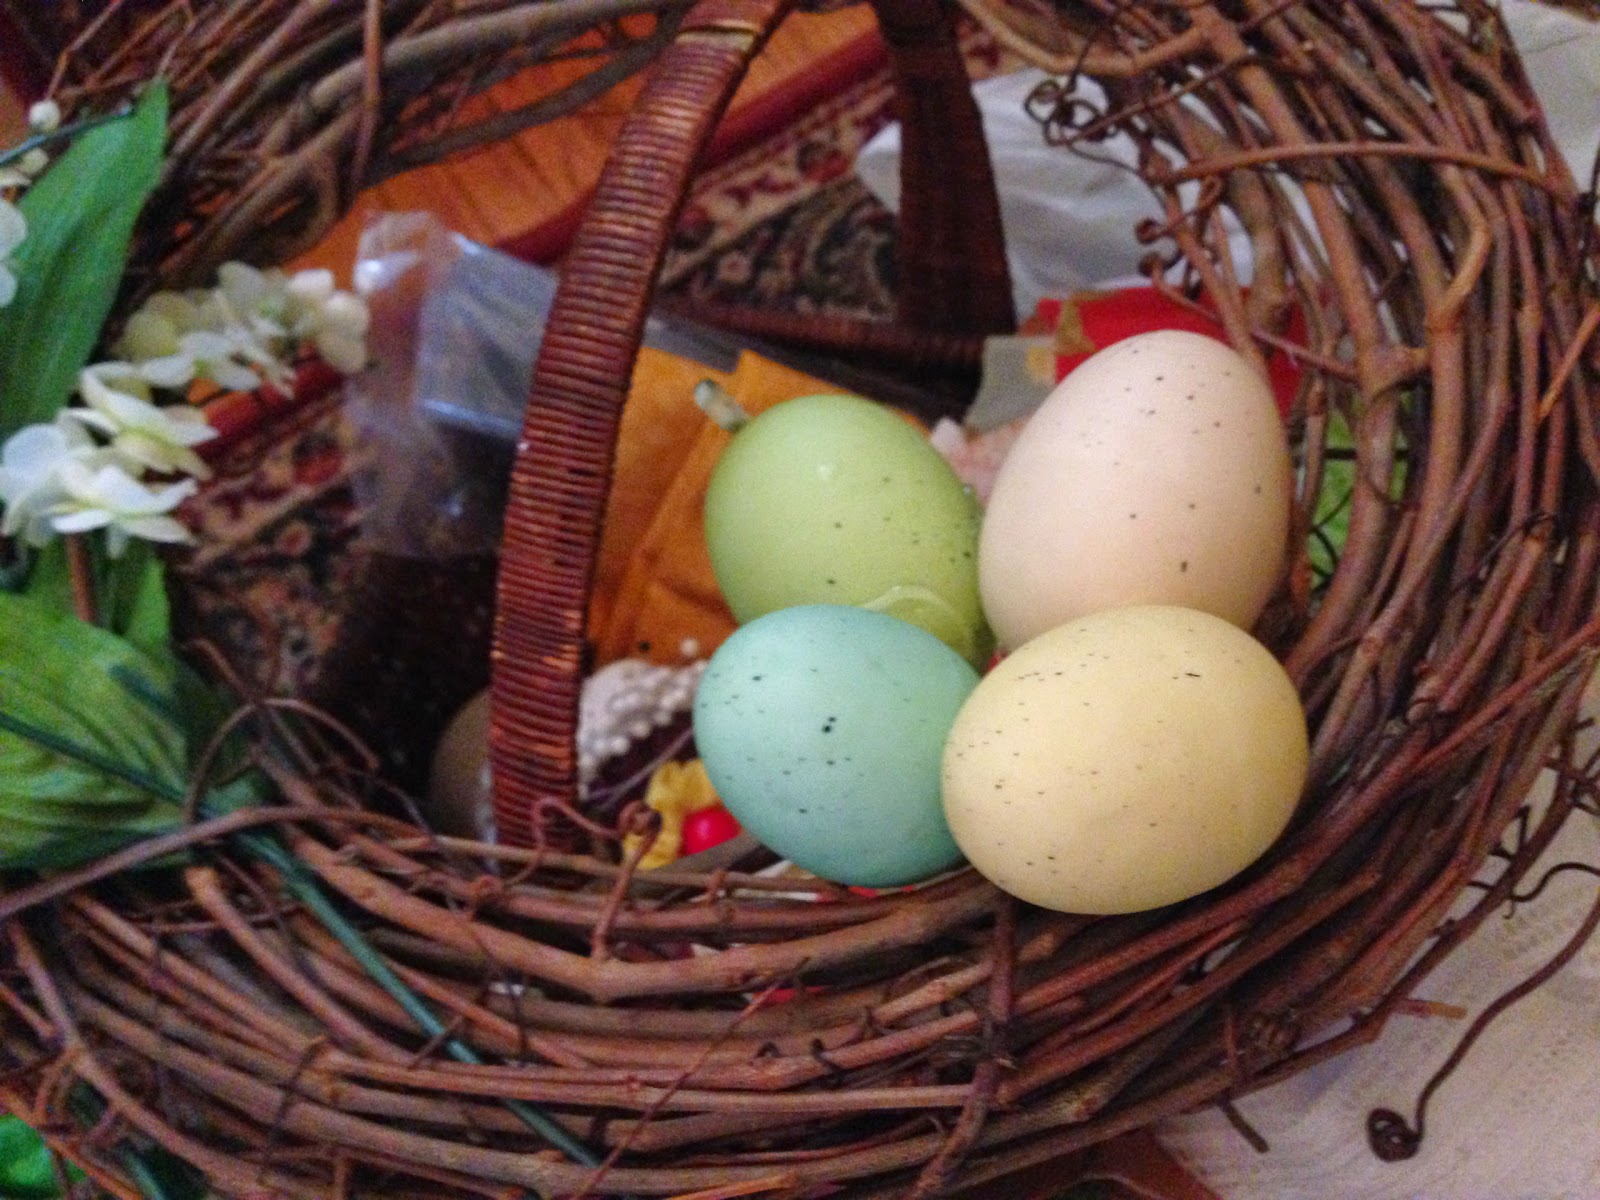
I added a few little flowers in between the eggs, Next, I added a long bow, that also trailed with the leaves. I used a dab of hot glue to stick it on. Then I went outside with my wreaths to finish.
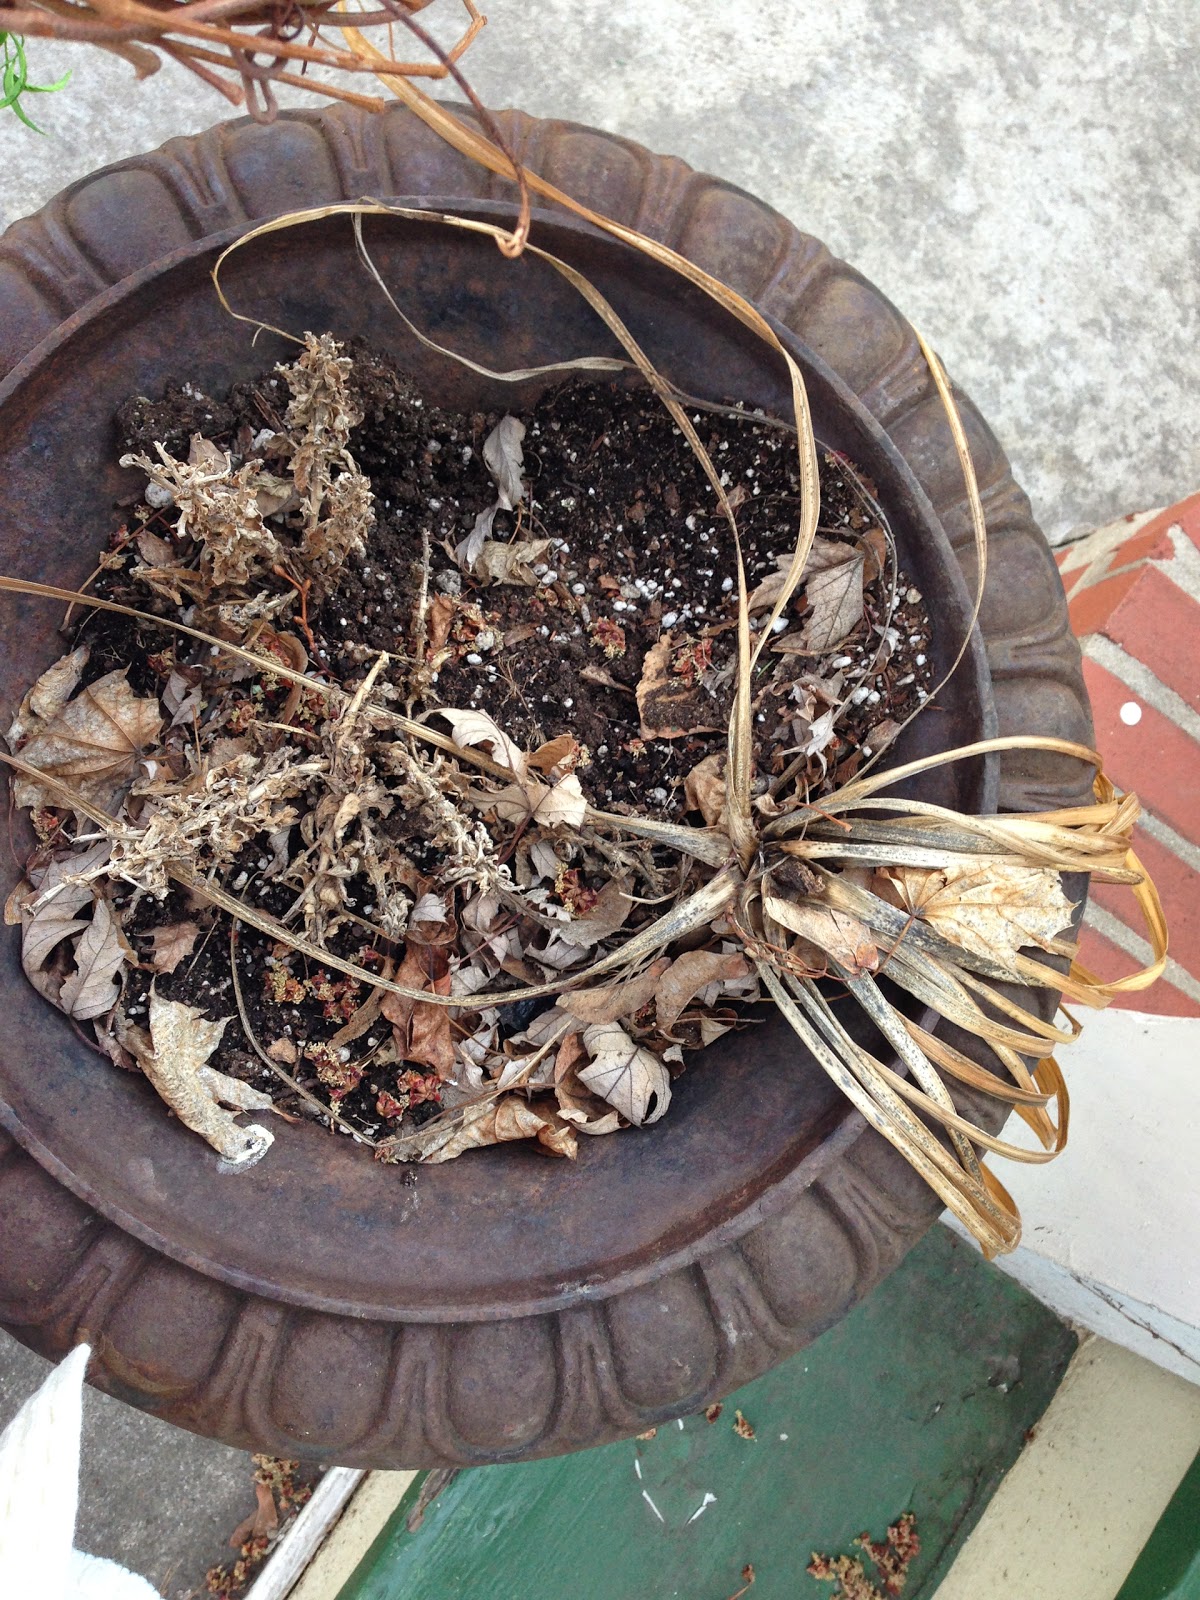
I clumped and wrapped all the dead plant debris at the center of the urn. This helped create the base of my nest. Then I nestled the wreath in the urn, having the leaves and ribbon trail down the side. If you ware worried about staying power, you can stick a bamboo skewer down through the wreath into the dirt.

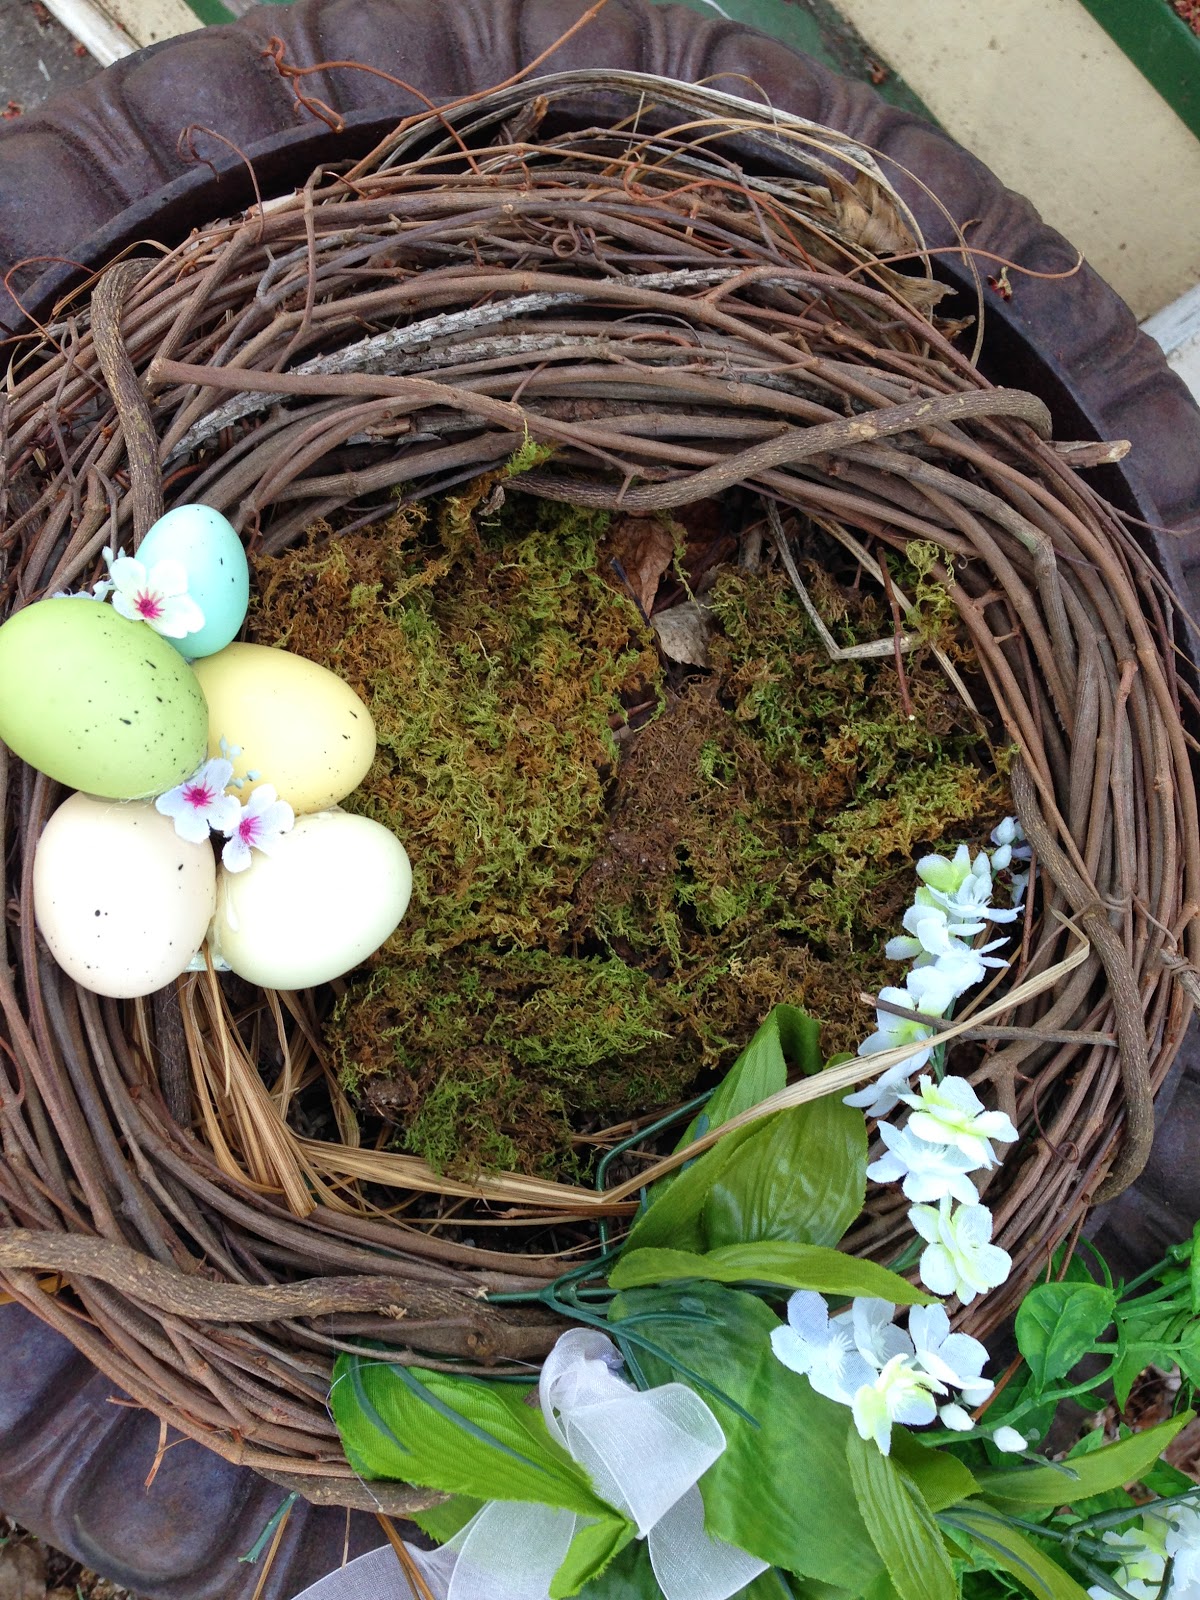

Finally, lay in the moss at the center. Ta-da!

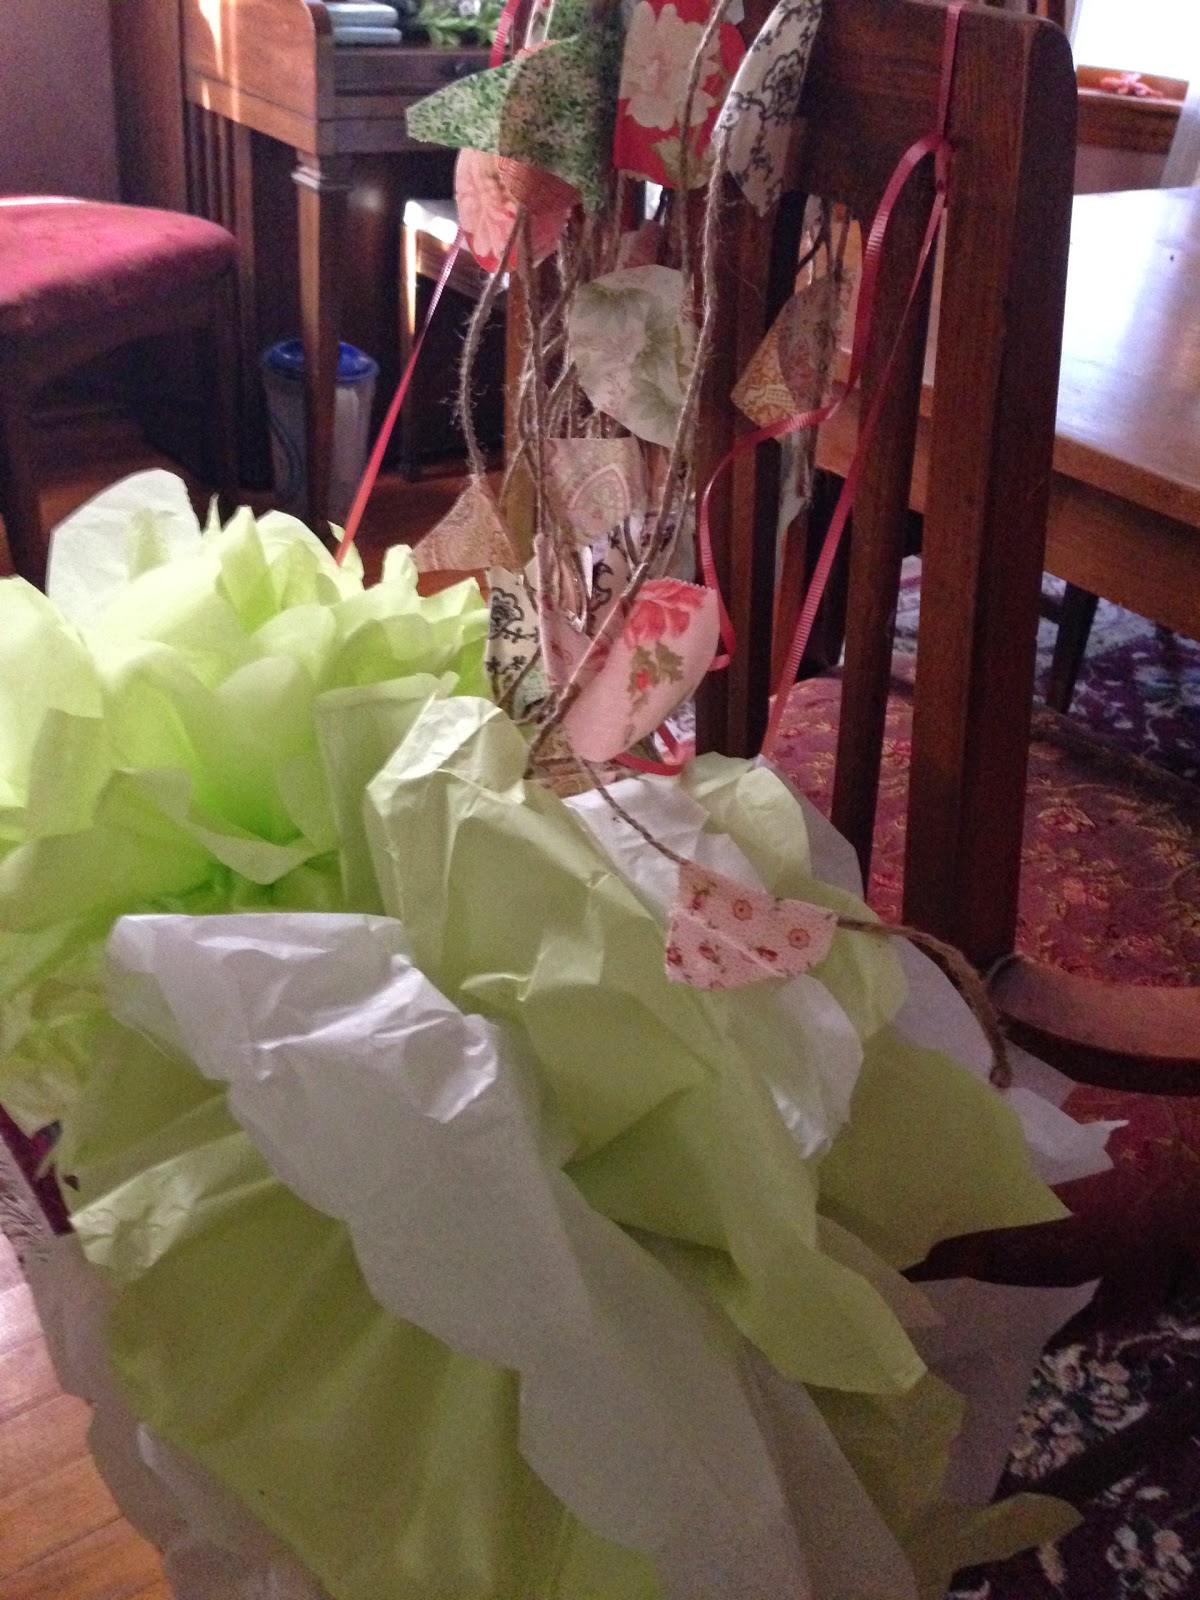
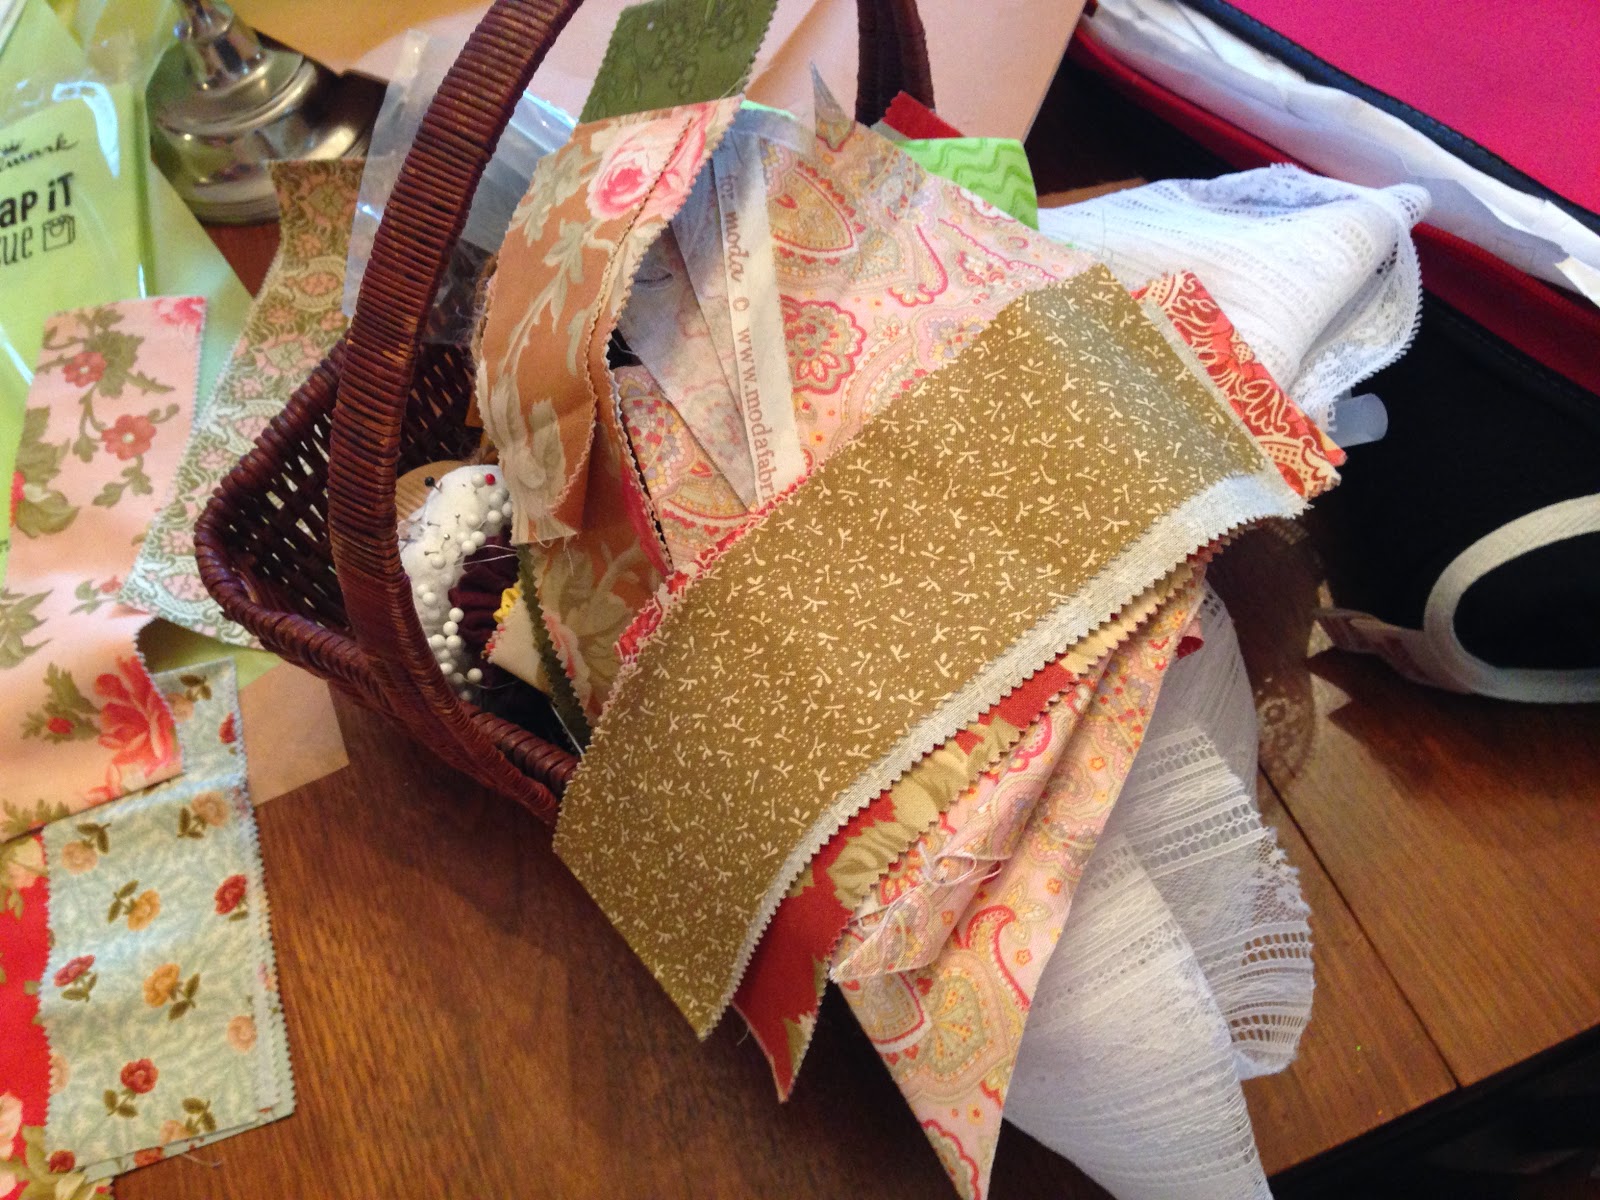
Next I created fabric flag garland. I bought bags of fabric scraps at the thrift store (a dollar a bag?! Sign me up!) Here’s how you do it.
Fabric Flag Garland
Supplies:
Fabric scraps, in coordinating color
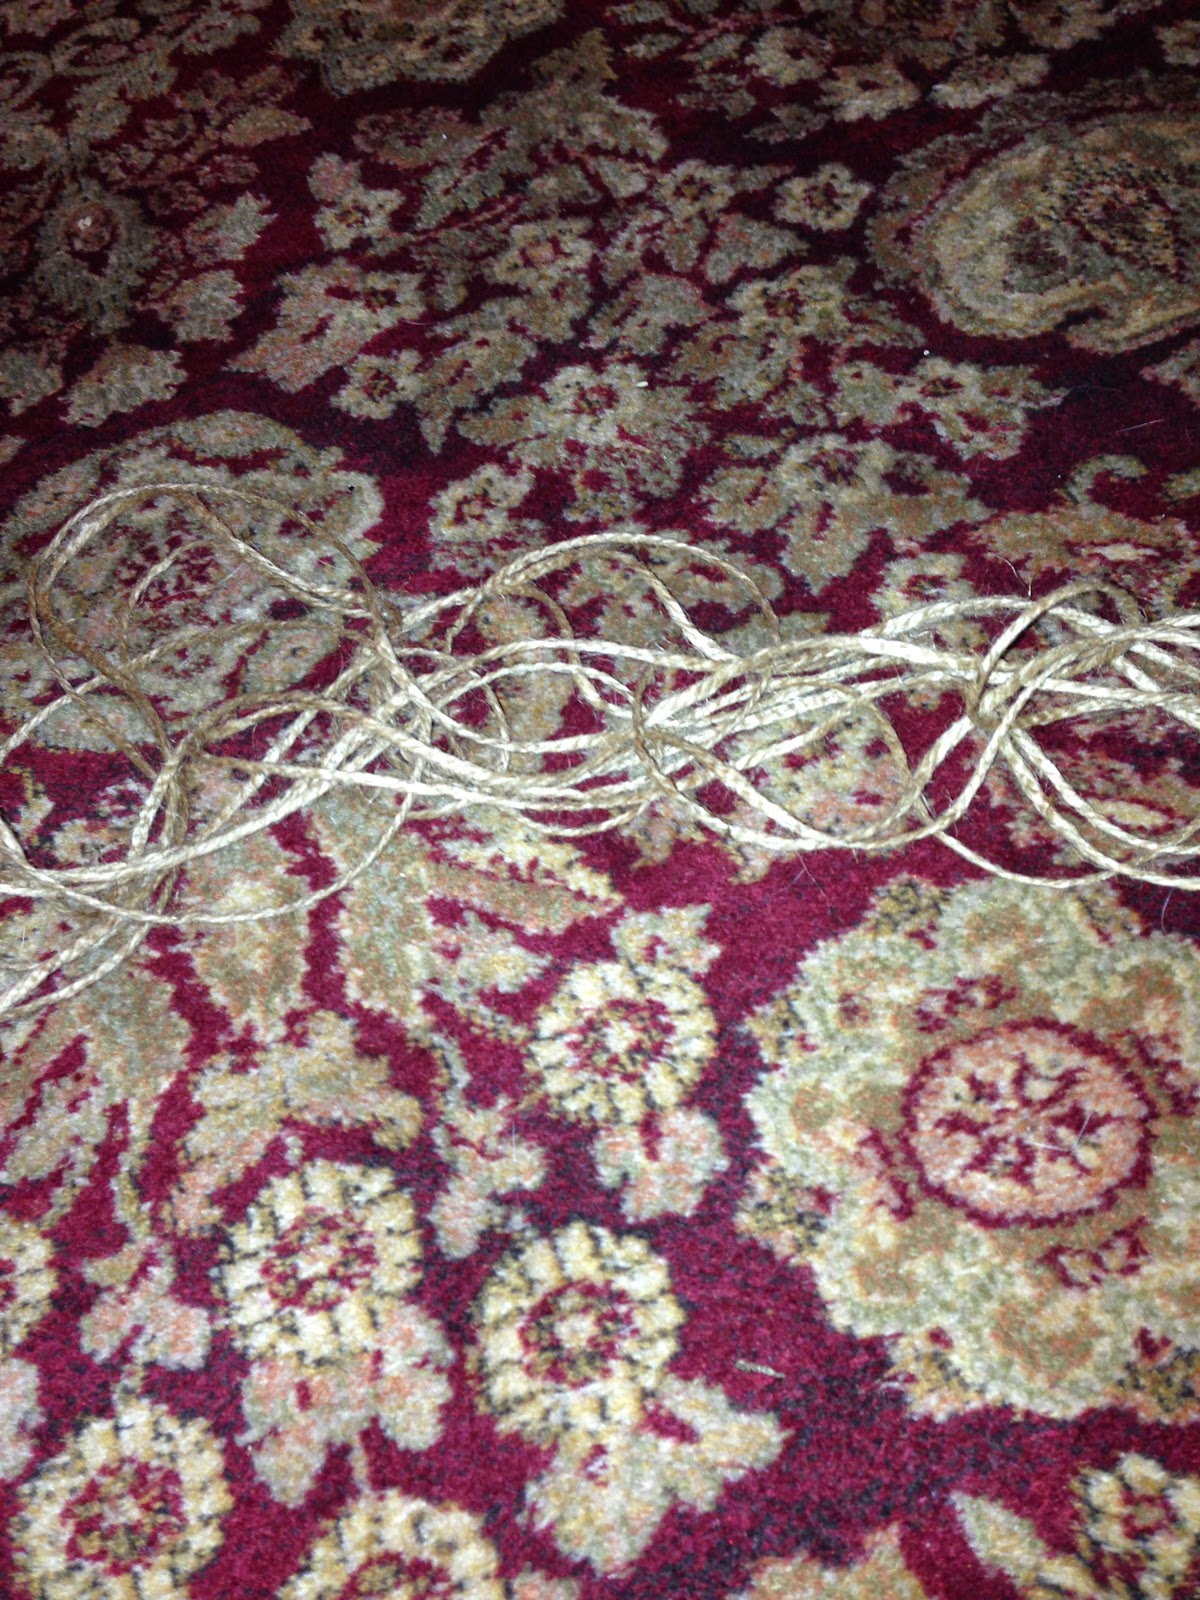
Spool of twine
Scissors
Glue gun with glue
Directions:
Cut the fabric up into small triangles and circles. You can choose your size, but I made them smaller.
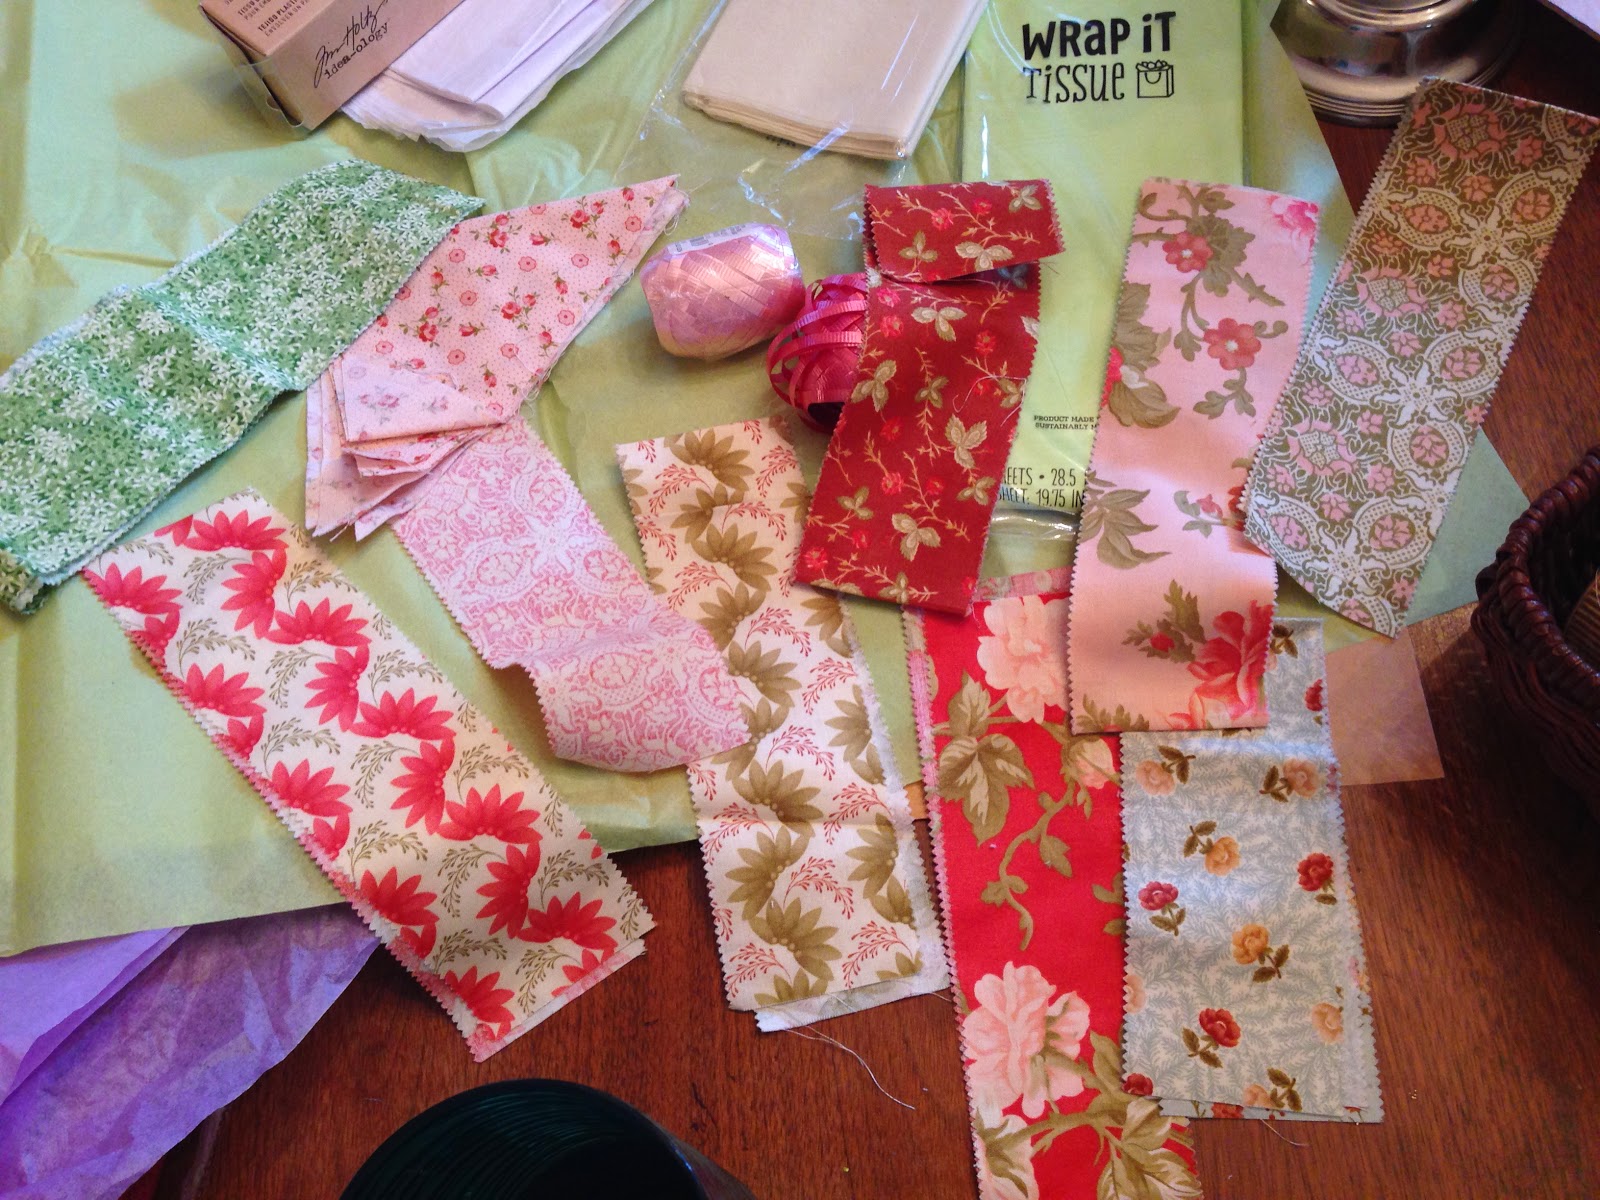

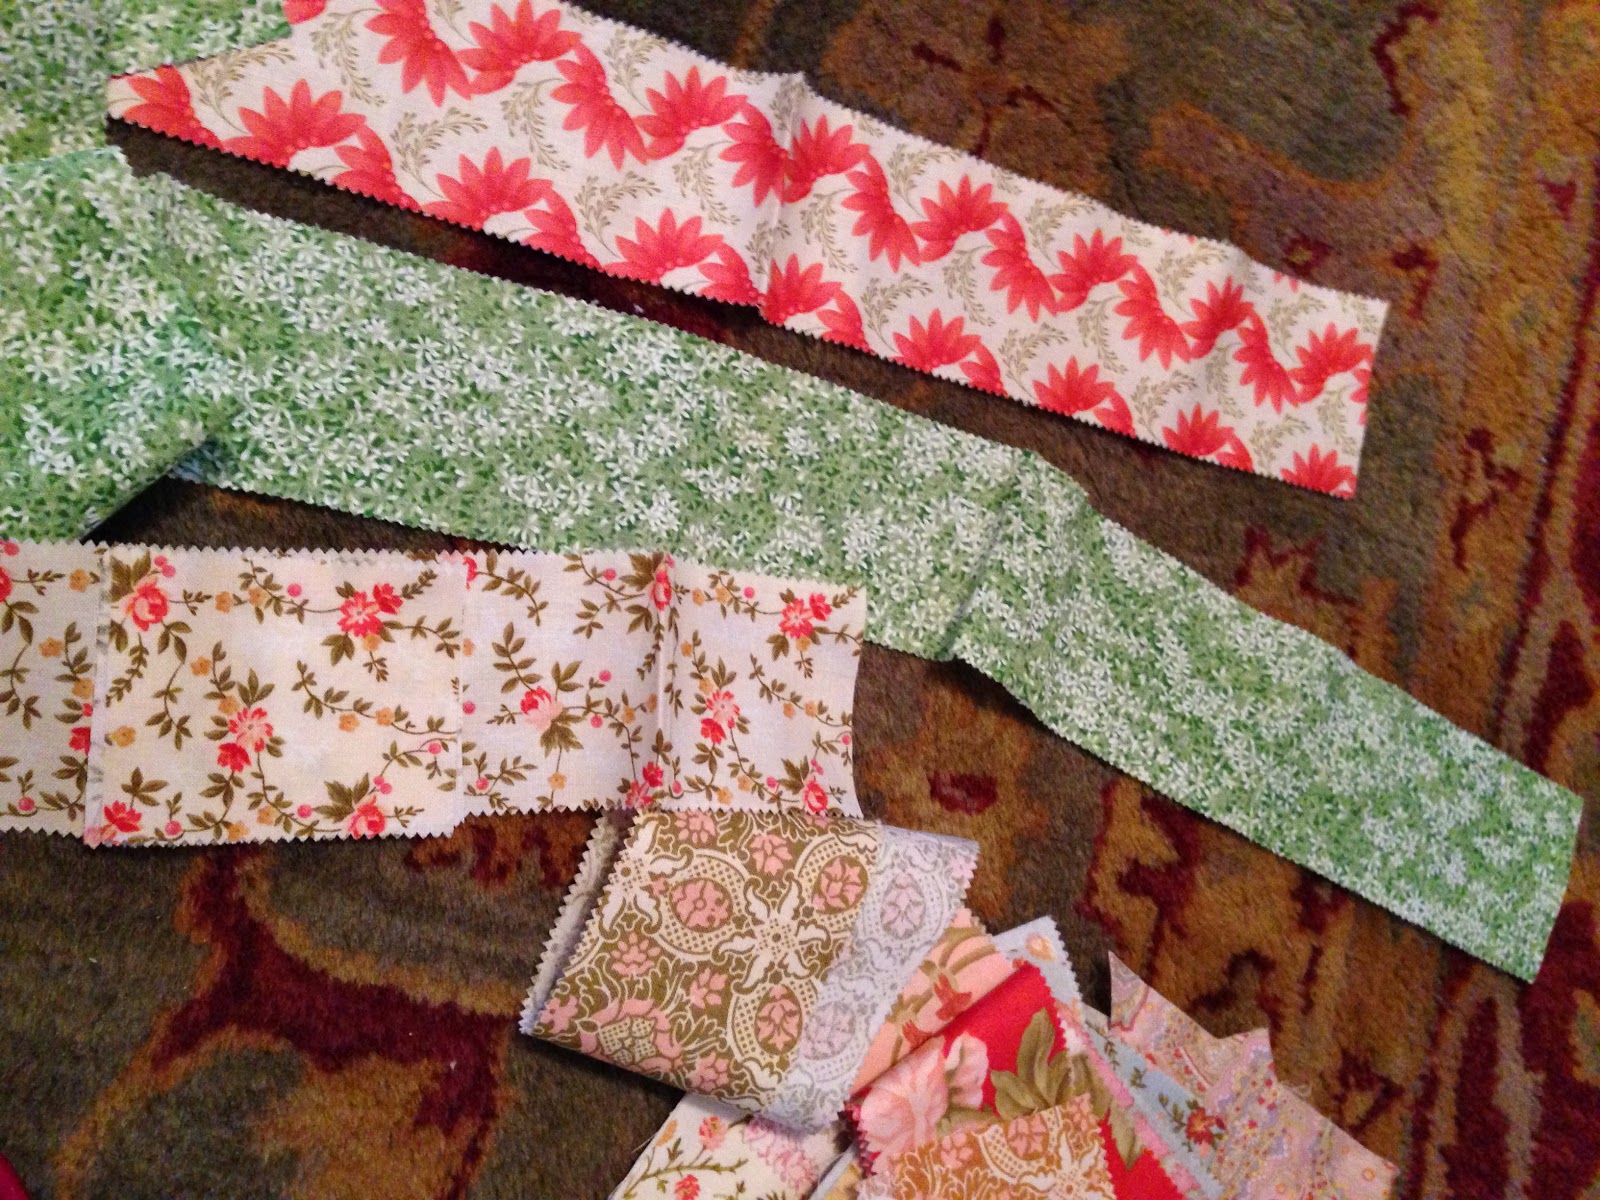
Next, add a line of hot glue along the top of a piece, and set it on the twine. Alternate circle and triangle, every 3-4 inches along the twine. That’s it! Create a few.


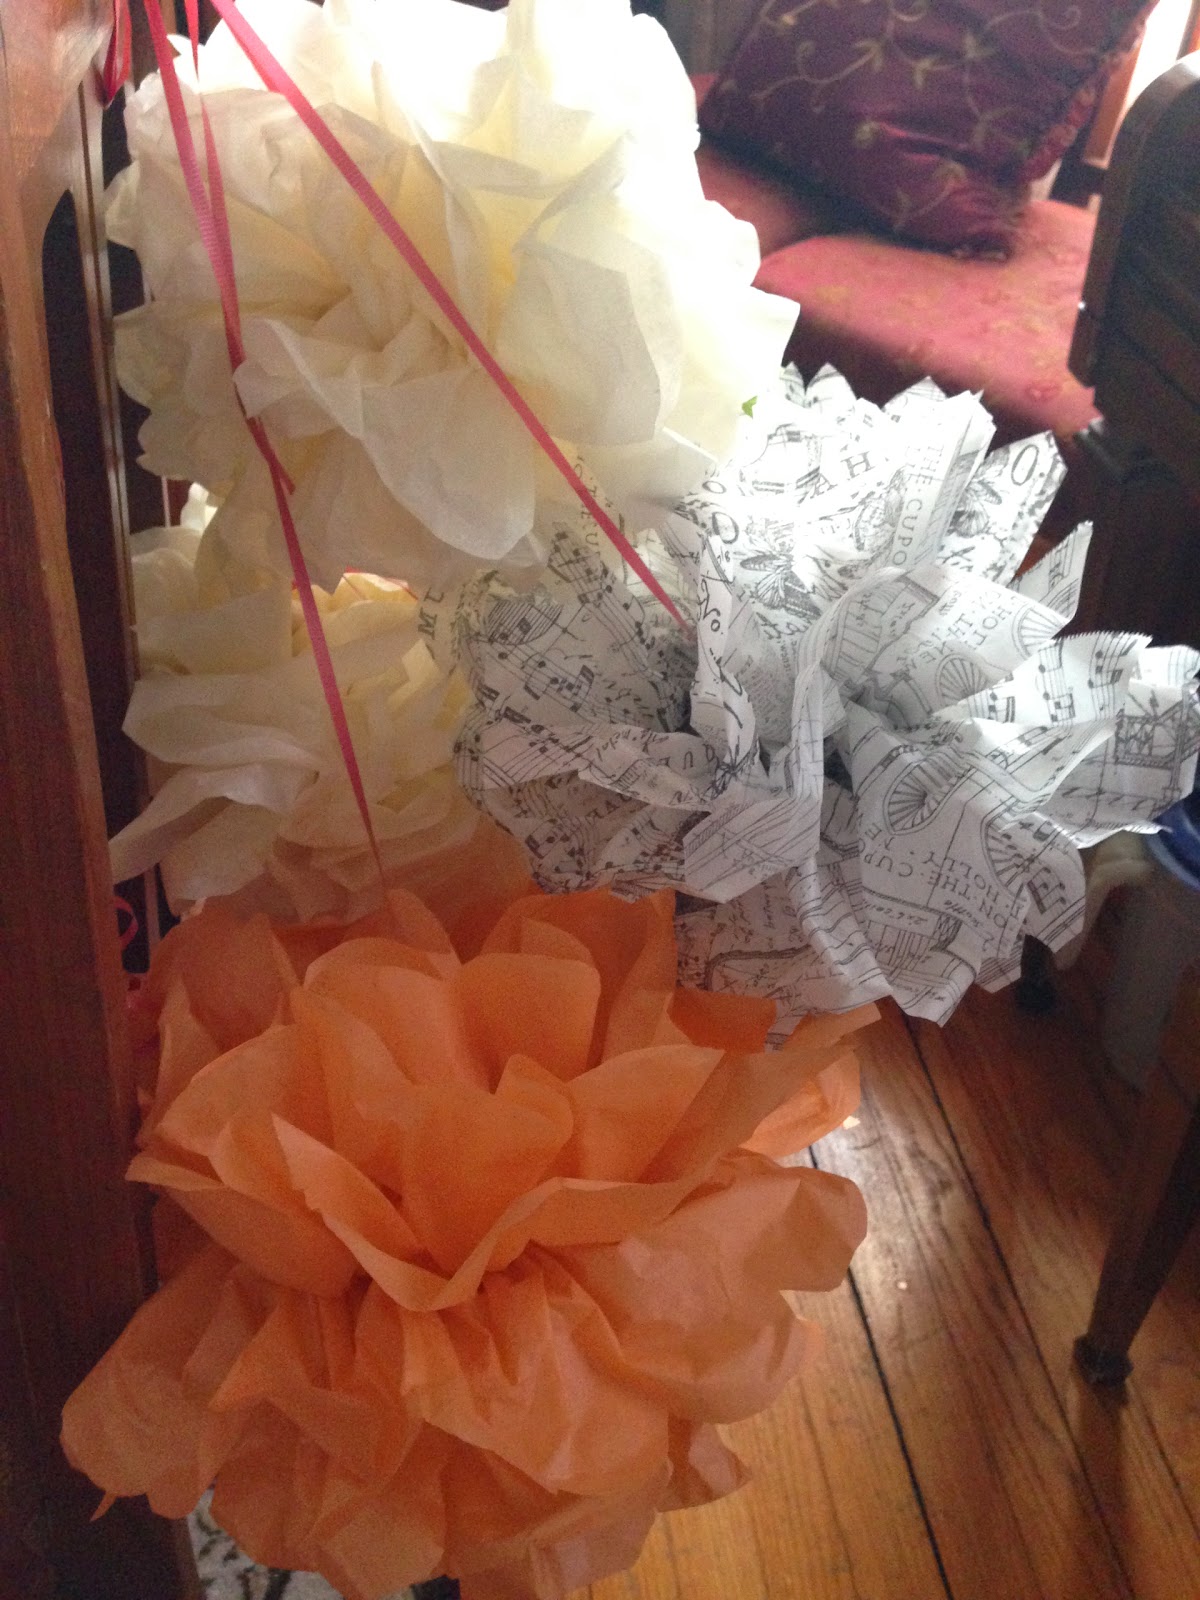
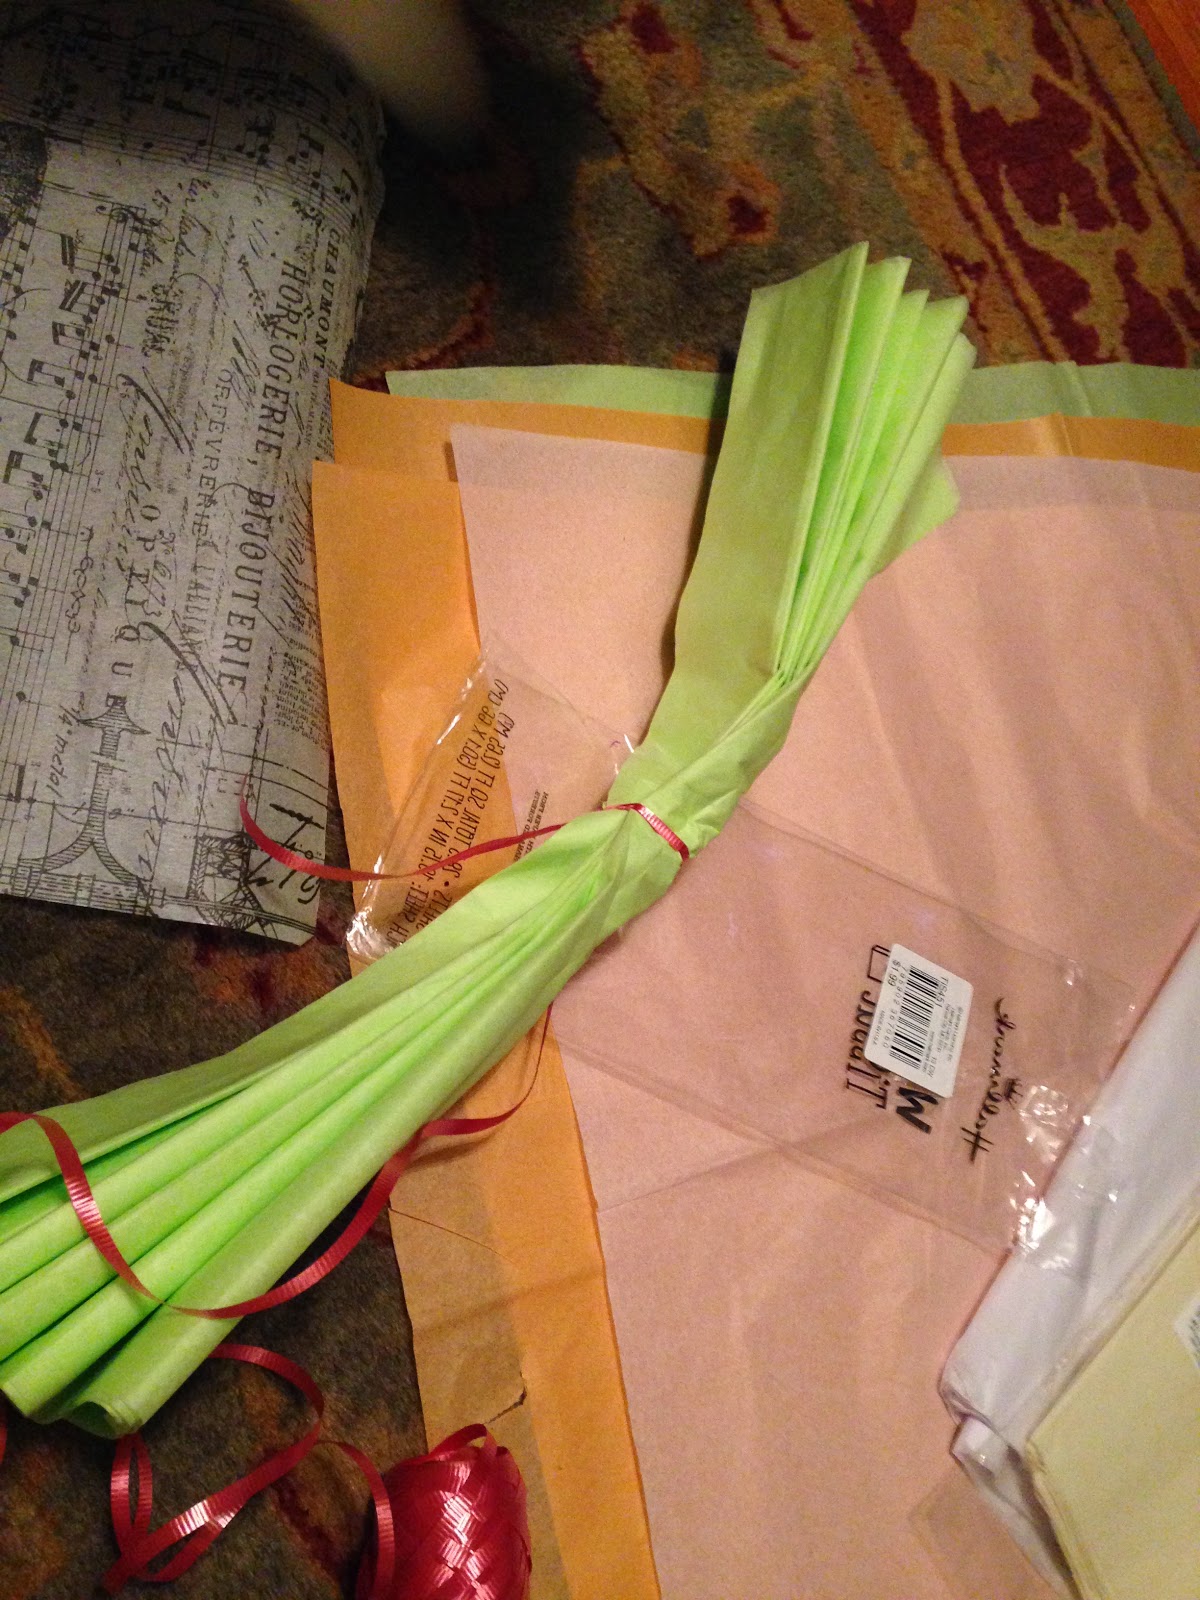
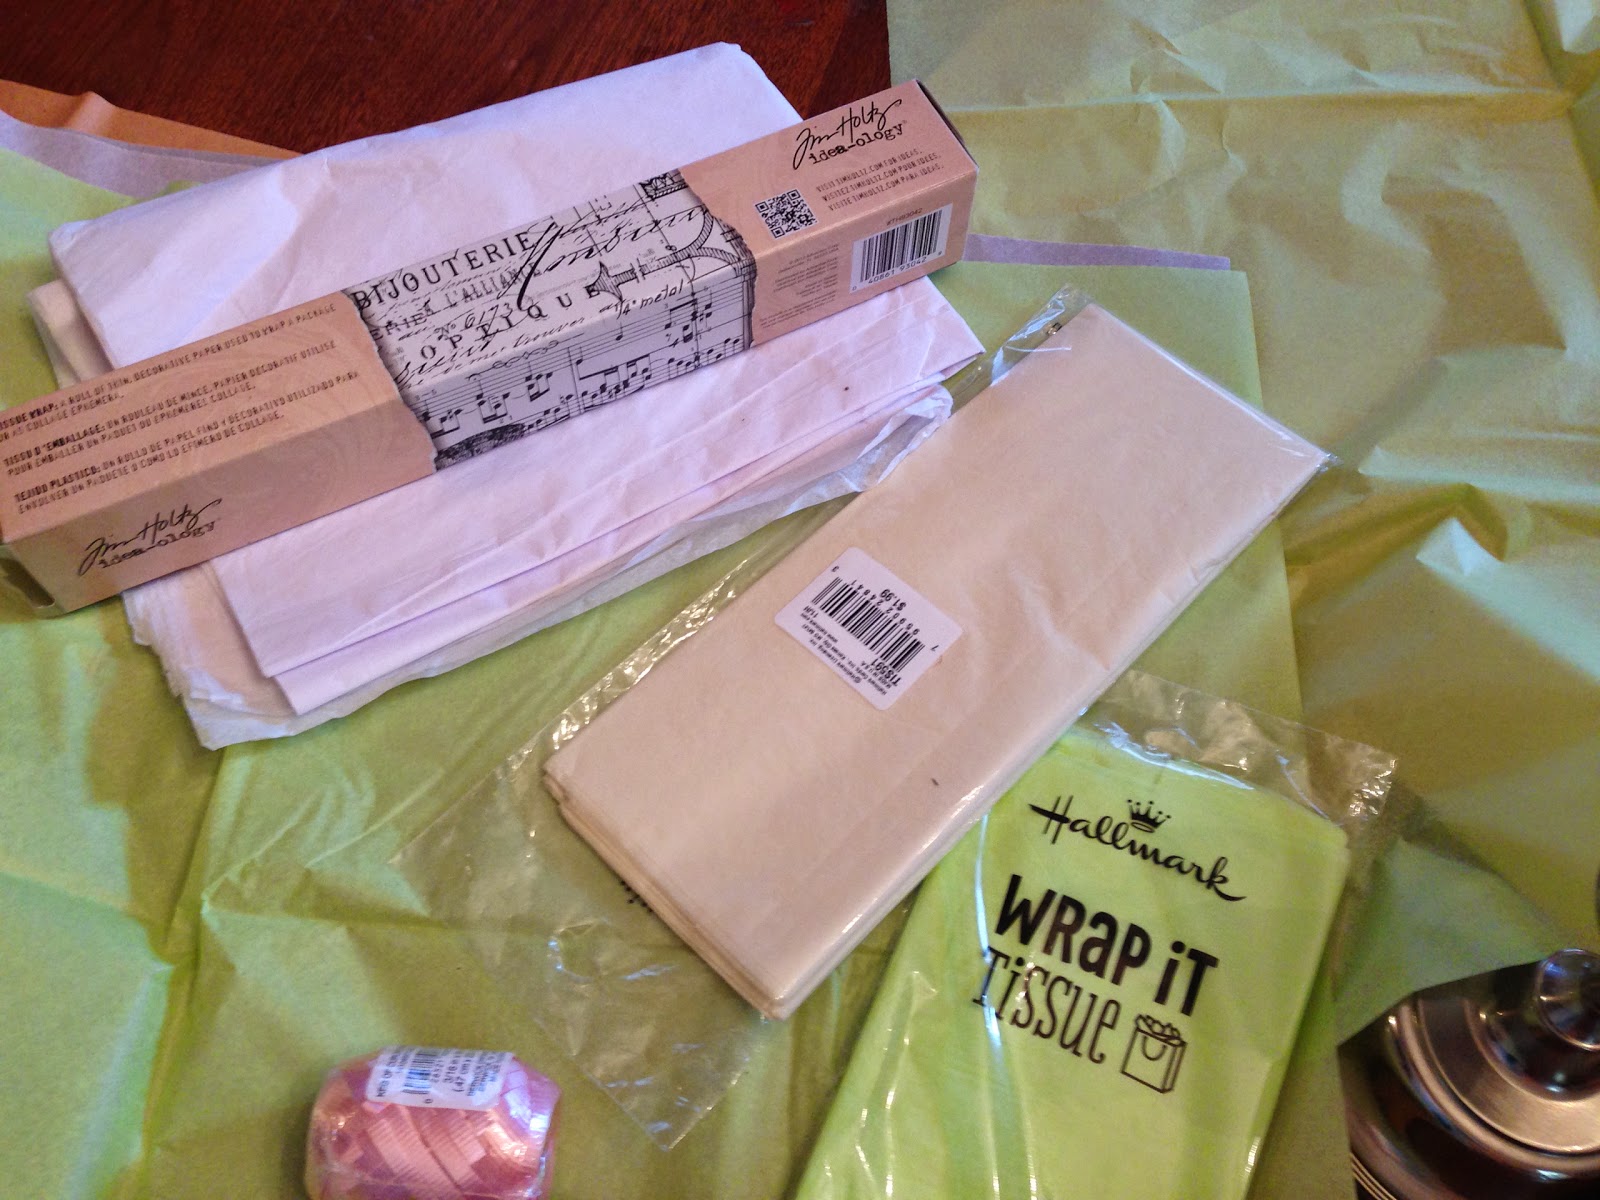
I next made some tissue pom poms. I bought a value pack for 10 bucks at JoAnne fabrics with a ton of colors. I also bought some at Walgreens. Pick your colors. Lay them on the ground. You can make some with 6 sheets for looser pom poms. 8-10 makes fuller. You can alternate the colors, and add different patterns.
Tissue Pom Poms
Supplies:
Large tissue sheets in your color palette
Curling ribbon
Scissors
Directions:
Lay 6-10 tissue pieces on top of one another. Starting at one end, accordion fold all the way down. cinch the center tightly. Cut the curling ribbon long so you can hang the pom pom from where you want to.
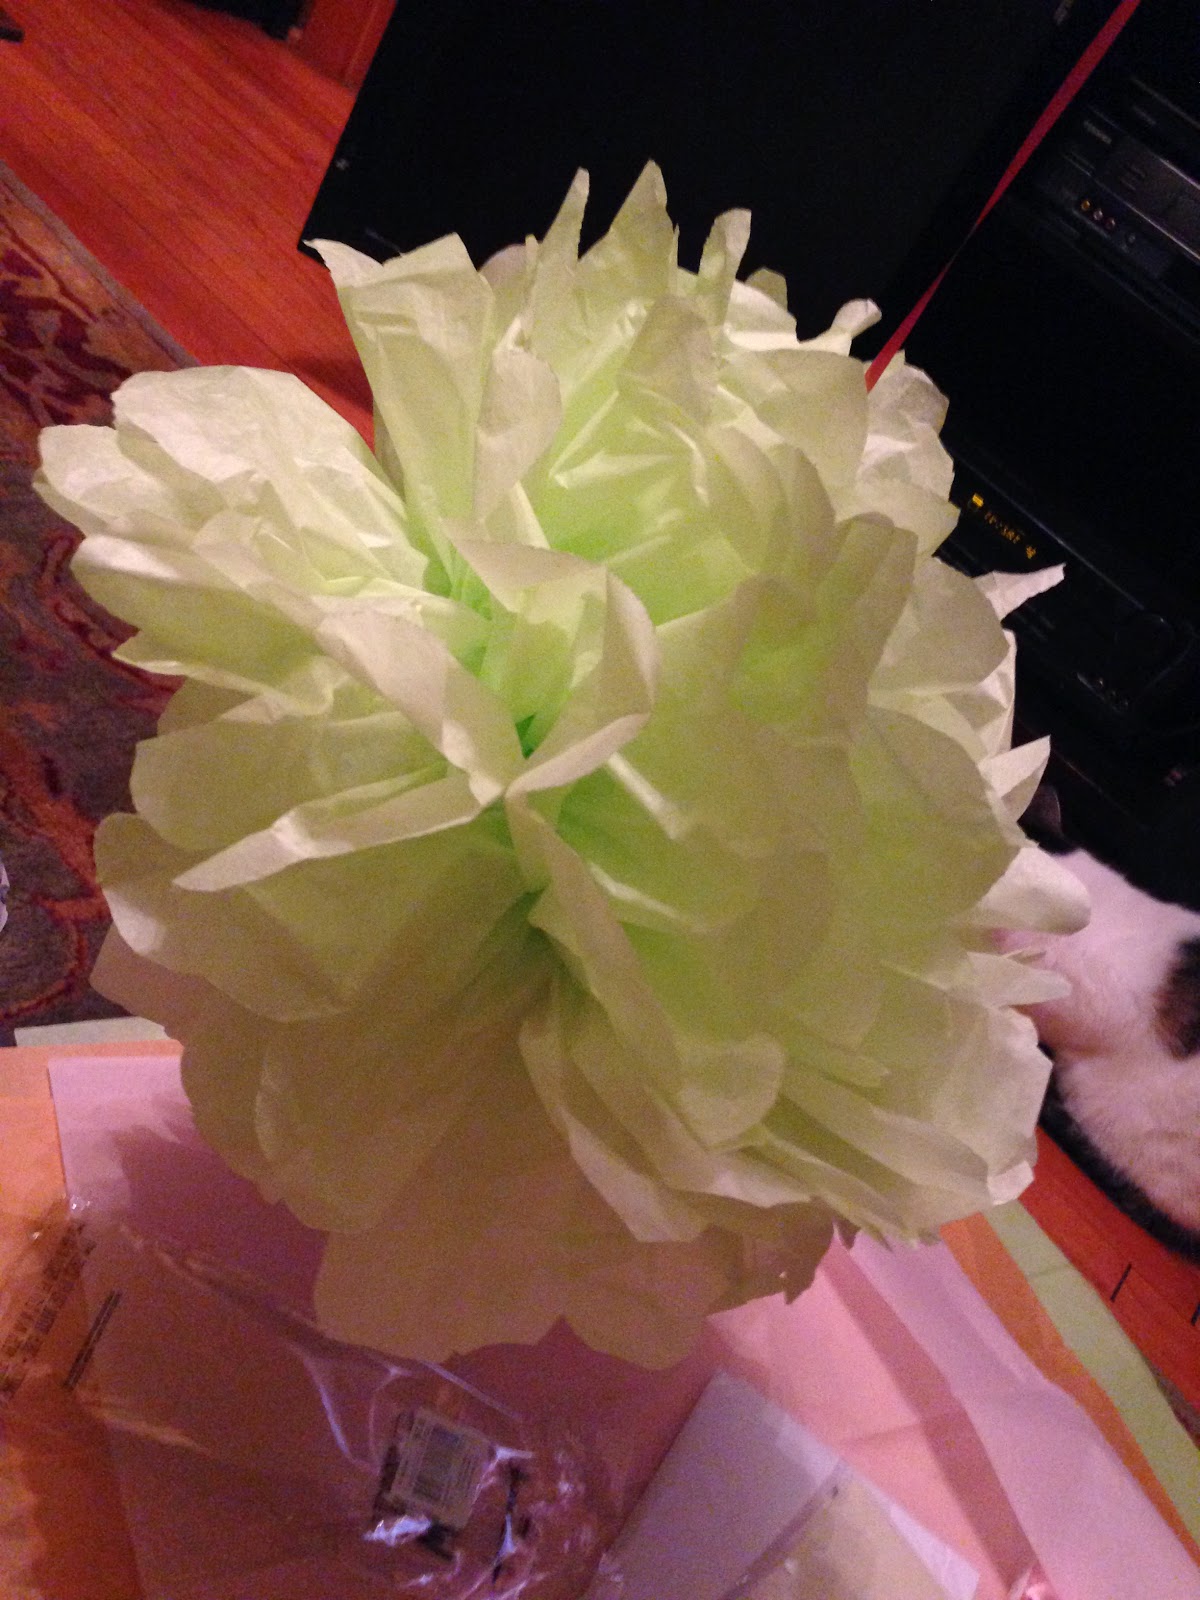
Trim ends in either angled tips, or half circles. Open up and pull each side, like a fan.
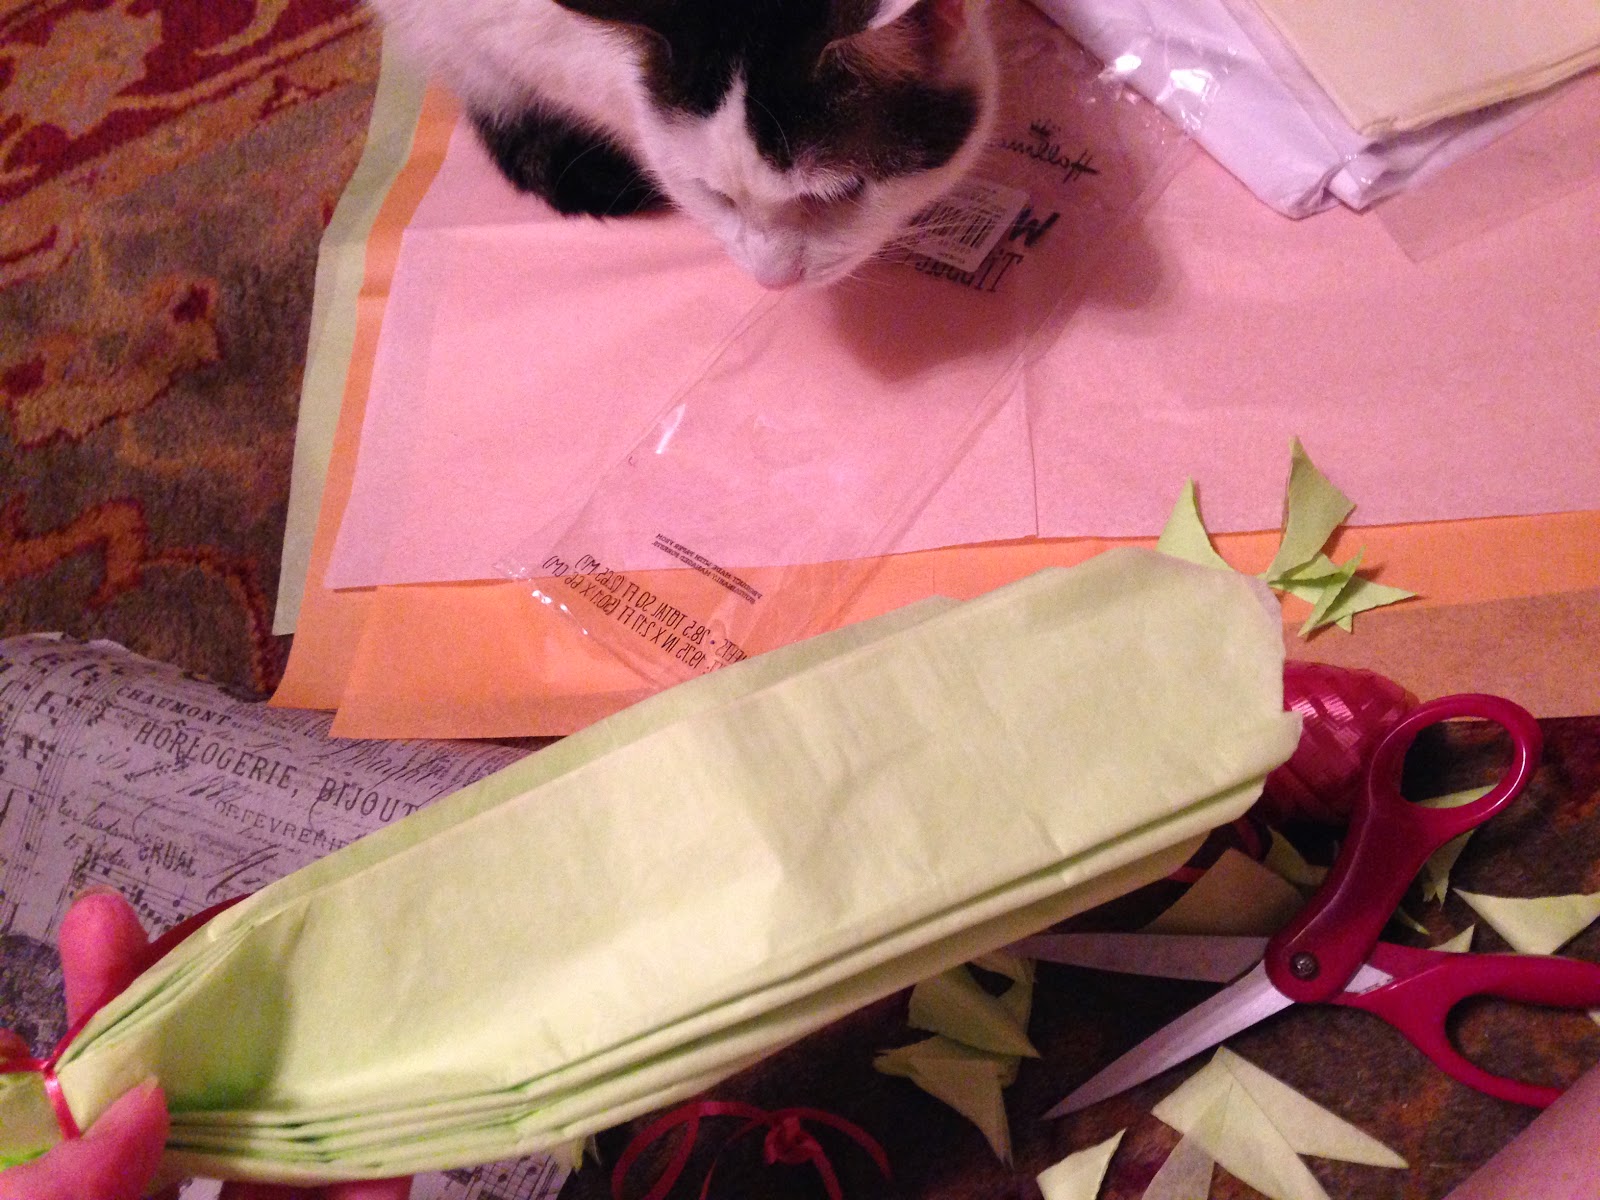
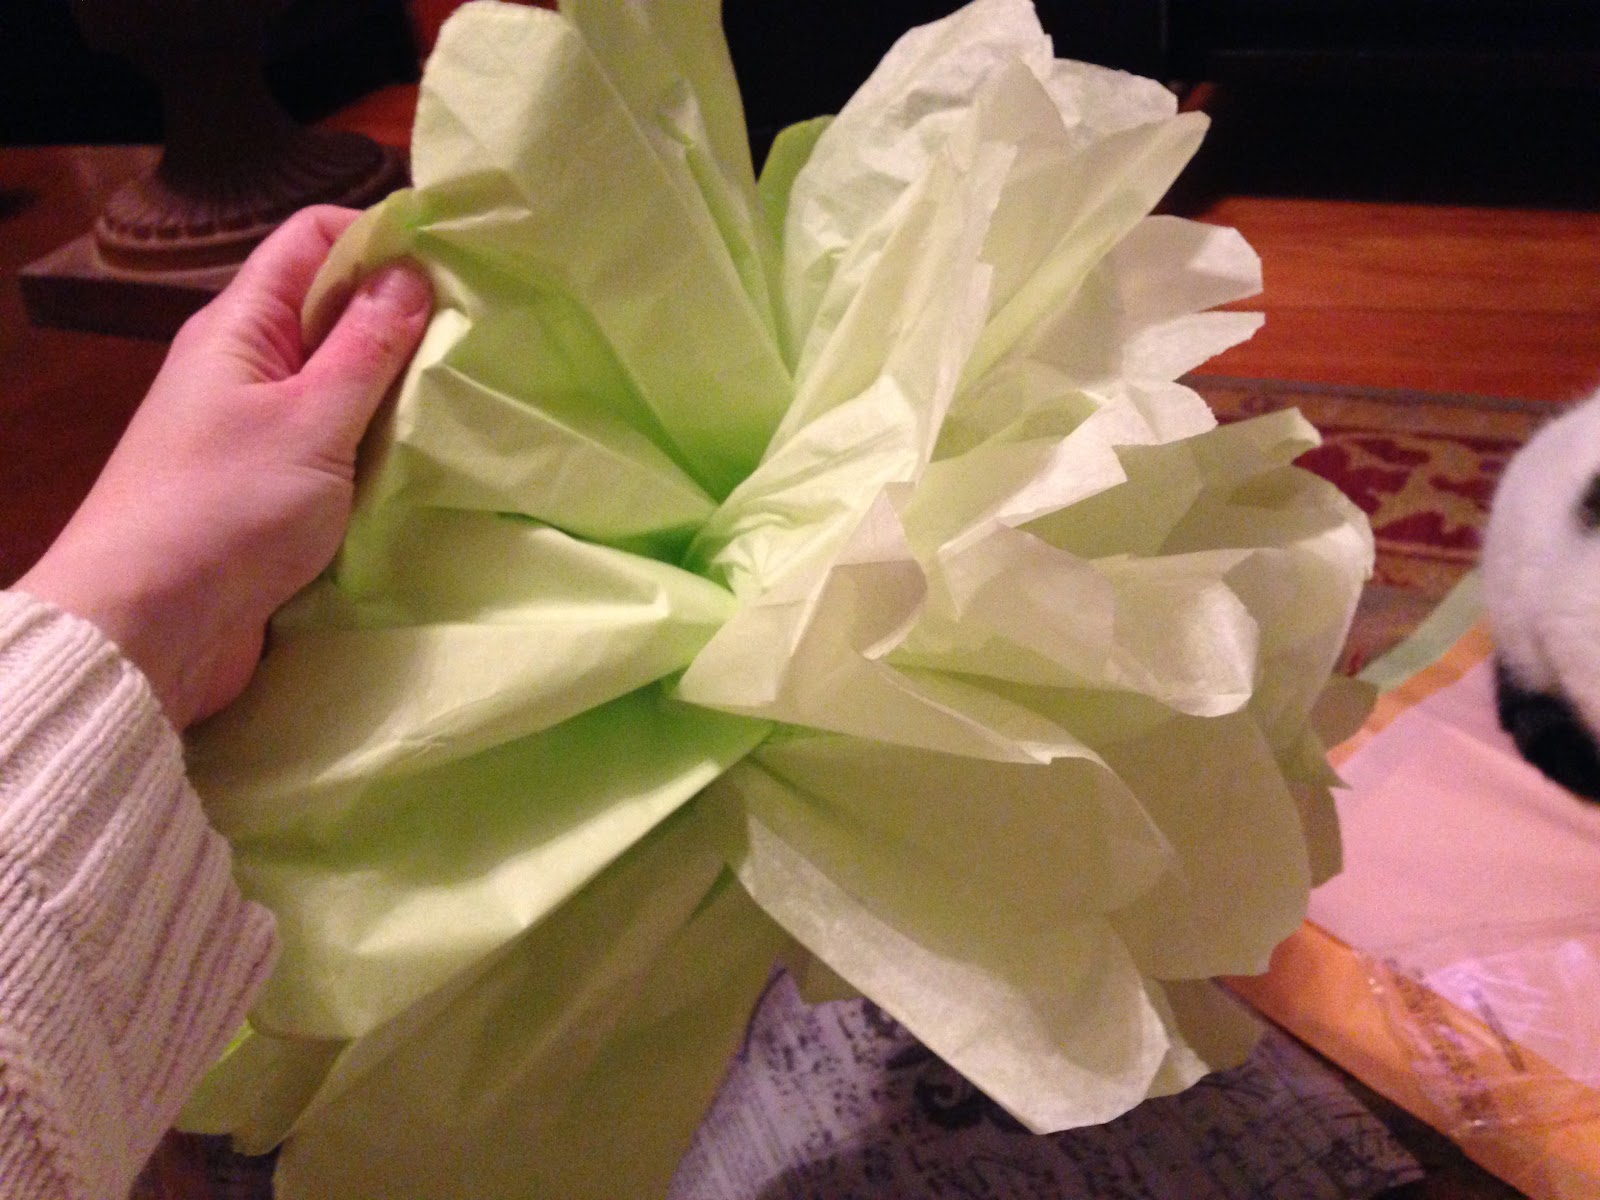

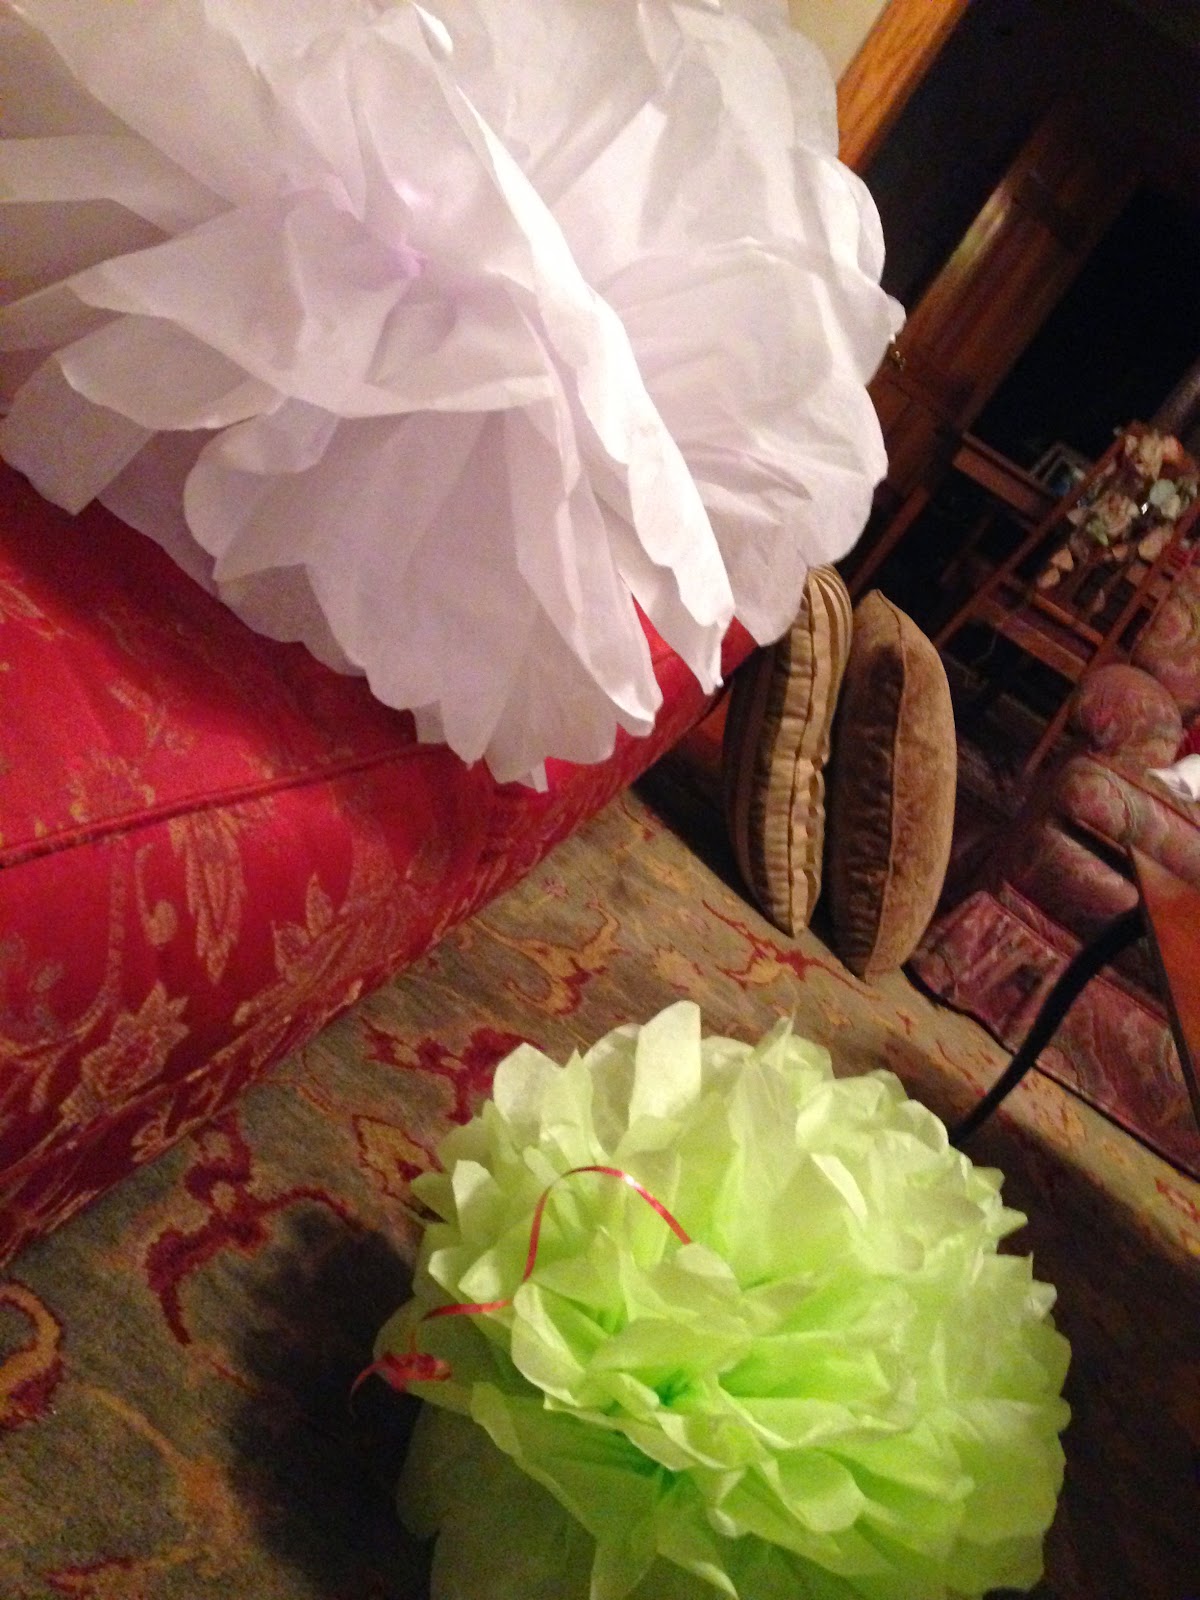
Start on the ends and peel down and separate the layers. Fluff, pull, peel and open. Continue with different colors, different sizes. You can alternate colors and patterns.

Flora is an award-winning creative director in Chicago turned food and lifestyle blogger extraordinaire. She is also author to the popular BEE NATIVE! gardening book series and various children's books that celebrate the wonder and hard work of bees and butterflies. Her blog and social spaces inspire thousands to create, learn, cook, grow, and craft, making their world lovelier one pixel/petal/seed/bite/stitch/brushstroke at a time. Follow her on all the social spaces, YouTube, and Amazon, and get creative!
Latest posts by Flora Caputo (see all)
- Sugar-Free, Low-Carb, Olive Oil Chocolate Hazelnut Tart - February 18, 2023
- Easy Slow Cooker French Onion Soup - November 28, 2022
- Recipe: Chicken Vindaloo with Whole Foods Vindaloo Curry Powder - January 22, 2022