 |
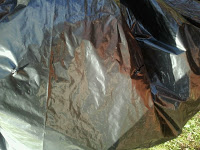
| before |
 |
| after |
The post here was a “Part 1”, and a how-to of the technique. Last year, around this time, I wrote a post about a composting technique touted by Master Gardener, Jerry Baker, called “Lazy Gardener” composting. The post here was a “Part 1”, and a how-to of the technique.
Here is an excerpt on how to do it here:

Step 1: Get a large black plastic bag.
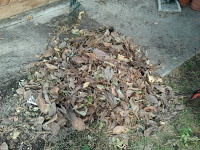
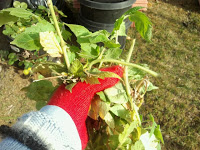
Step 2: Fill it with raked leaves as well as green leaves, clippings and grass. I put in 2/3 brown and about 1/3 green material. Fill the bag only 2/3 full so you can shake the material around over the next 6 months.
Step 3: Add a shovel full or two of dirt.
Step 4: Mist the material with water. Shake it around. Add more water on “mist” mode. The material should be lightly moist but not soggy-like a wrung-out sponge.
Step 5: Tie off the top of the bag.
Step 6: Poke the bag 4-5 times around the top of the bag to aerate with scissors.

Step 7: Place the bags somewhere hidden but where they can get good indirect sunlight.
Step 8: Shake the bags every month or so. But don’t stress if you can’t get to it because of the snow and cold. It still works just sitting there.
Now, the science here is that the black bags, sitting in the sun, will heat up and basically “cook” the organic material until it is a lovely black compost come spring. You should shake it occasionally, throughout the winter and early spring, so that it all breaks down evenly.
Low effort compost? Count me in.
Mine took a year, and here’s why. I set the bags against the side of the garage which had sun, but mostly ambient. I was afraid what my neighbors would say if they had to look at filled black garbage bags for half the year if they sat near the sunnier side of the garage. And, well, not to mention my husband. He puts up with all my “urban domestic diva schemes”, but he doesn’t like my projects “in the way” or underfoot. So my composting bags needed to be tucked away and far from direct sun.
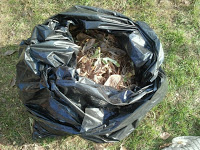
Well, hubby may change his tune after today. Because once we opened up the bags to use the compost for bedding our gardens for winter, it was pretty amazing. Yes, there were still some leaves on top that didn’t get completely decomposed, but underneath the top layer was black-gold.
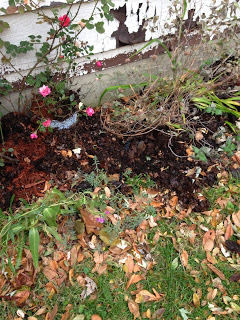 |
| lay it in your beds for happy plants! |
SO 2..well…3 things I learned about this low-maintenance composting technique:
1: If you wish to use the compost in late spring/early summer, put the bags in direct sun. Otherwise, the process takes longer. Ignore the scared looks and comments from your neighbors like, “What do you have over there, dead bodies?” and just know they will be jealous of your verdant garden come summer.
2: If you can, it helps to turn and shake them, especially when things are really cooking and it warms up. If I would have been diligent about this, I would have had the leaves I found on top to be just as decomposed as the rest.
3: It works. It really works.
SO now that it’s fall and you are out doing yard clean up and mulching leaves, give this approach a try. Come spring (or next fall) you’ll be glad you did!
- Sugar-Free, Low-Carb, Olive Oil Chocolate Hazelnut Tart - February 18, 2023
- Easy Slow Cooker French Onion Soup - November 28, 2022
- Recipe: Chicken Vindaloo with Whole Foods Vindaloo Curry Powder - January 22, 2022