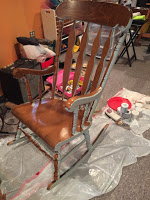
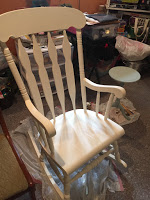
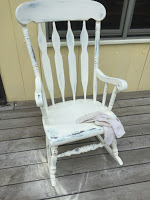
If you have been following me this year, you may have noticed an uptick in upcycling furniture with chalk paint. We recently bought a fixer-upper cottage in Michigan, and we really don’t have much moolah to furnish it the way we want right now. And honestly, I always like using old pieces that have more character. A cottage needs to have that relaxed-shabby-chic-found-object-relaxed kind of vibe. So I have been scrounging our garage and attic to see if there is anything we already own that I can repurpose for some furnishings at the lake. One of those pieces was this rocking chair.
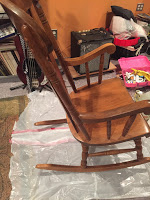
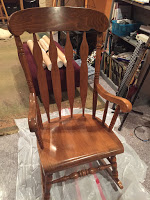
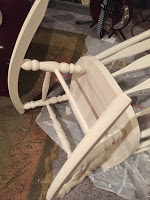
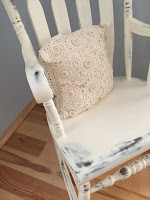
I bought this rocking chair in my twenties for when I planned on moving out on my own. It was my first piece of antique furniture, and I haven’t wanted to part with it. But hubby hates it and has been wanting it out of the house. It had that 70’s pine color, and it was heavy and awkward and was relegated to the basement (and almost to the alley twice!). So I thought one way to save it from the garbage heap was to make it cute and cottagey with chalk paint. I wanted extra seating up there for guests anyway. I mean, how hard could it be? The nightstand and small accent table I painted was a breeze!
Well……yeah. About that.
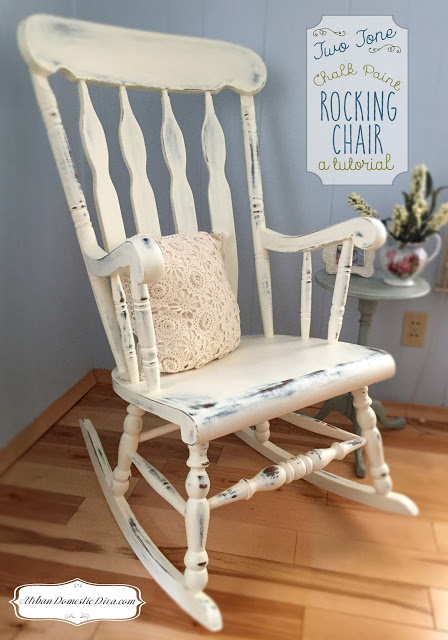
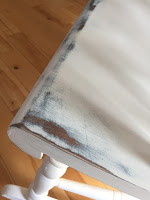
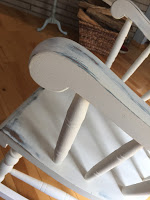
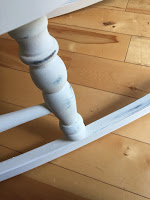
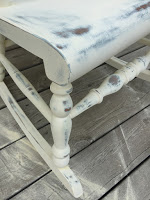
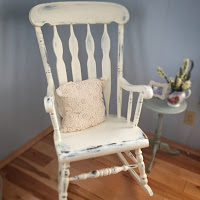
Not so easy. You have undersides, and arm rests and intricate legs and spindles. And I wanted to try using two tone colors that through distressing you could see the second color. So that took an extra step and a lot of extra sanding. So this is not a quick weekend project. This is going to get done over a few weekends. But I am so thrilled with the result! And I transported it to the cottage already while hubby was fishing in Canada, so hubby cannot complain.
You can try the two-tone chalk paint effect with any piece. It gives the furniture some extra depth and interest. It’s worth the extra step.
Here is how to do it:
Supplies:
Rags
Dish soap and water
Chip paint brushes
Chalk paint, two colors. One is your underneath color you will sand to expose, and the second is your top, main color.
Various grit sandpaper, one rough (100 grit) and a finer one (500 grit, 1000 grit)
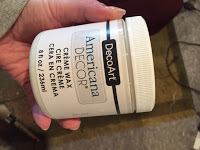
Clear wax cream
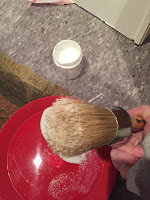
A paper plate or plastic plate to use as your “wax palette”
Wax brush used only for clear wax
Directions:
STEP 1:
Clean your piece with dish soap and water. Let dry completely.
STEP 2:
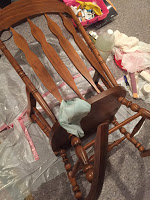
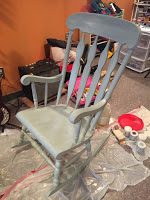
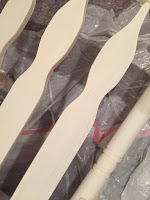
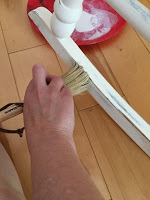
Using your chip paint brush, paint the first color onto the backside of the rocker. I turned it upside down first and painted the bottom areas. Let it cure one hour, then flipped the rocker to put a coat of blue on the top sides. Paint a thin layer of paint against the grain with my brush, and then go over that spot again, but with the grain. A little paint goes a long way. Because this is an under color, you only need one coat. Don’t worry if it’s streaky. Let cure overnight.
STEP 3:
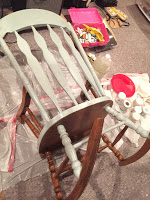
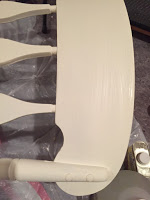
Next cover the rocker with your main color, mine was antique white. Flip the rocker over gently and cover the bottom parts and back. Let sit for an hour. Then go over with another coat. Do the back and underside side all at once, before flipping it over. It’s easier for you and allows for less chipping or damage to the rocker the less you flip it. Once your underside and back are covered with two clean coats, let cure overnight. Then flip it over.
STEP 4:
Paint the top side in the same manner, with two coats. Let the rocker cure overnight.
STEP 5:
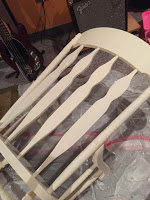
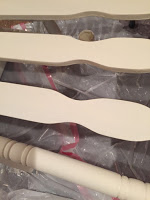
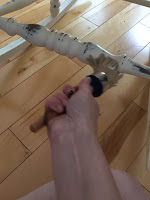
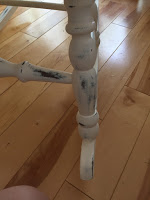
Now comes the fun part (and the elbow grease part). Use your sandpaper, rougher grit first, to sand away the layers of paint giving the rocker a distressed look. The more you work an area, you will get down to the wood layer. The lighter, the more you see the under paint color. I wanted to see bits of blue come thru to match the room it will be in. Work the distressing naturally, meaning work on raised areas and exposed areas that would get natural wear and tear. The rougher grit will get the paint off quicker, but give you a streaky look. To smooth and blend that area, work it over with the finer sandpaper. I cut the sheets of sandpaper to smaller pieces so they could fit in my hand and I could be more detailed in areas. Have a damp rag nearby to wipe off all the sanded material and you can see what you did. The sanded paint residue gathers in areas not giving a clear view of how far you’ve gone in a spot. Wipe as you go, and you’ll know what’s what.
STEP 6:
Once things are distressed enough, take a clean, damp rag and wipe down everything clean. Let dry if need be.
STEP 7:
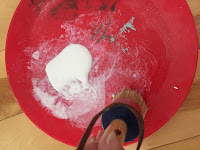
Wax time!
Pour a small amount of the clear wax onto the plate, and with the flat of your brush, tap a little glaze onto your brush. Keep the flat plane of your brush bristles flat against your surface. Tap off excess, you want a very thin layer of wax. With a circular motion and your brush flat on your table, lay the wax down as far as you can get it to move on your table. Then move over that same spot with your brush with the grain, moving the wax accordingly. Have a damp rag handy and as you finish an area, lightly use it to wipe over the wax with the grain to pick up any excess wax. You want the thinnest, most even coat, otherwise, areas will be sticky and gummy. Once the rocker has a clear coat, let dry to the touch, just an hour or two. Be careful with the piece, the wax really doesn’t hard cure for about a week, so don’t bang on it or hit it hard with anything just yet.
So gently set it in its spot and let it hard cure for 7 days. After that enjoy your new rocker with a good book and a cup of coffee!
Flora is an award-winning creative director in Chicago turned food and lifestyle blogger extraordinaire. She is also author to the popular BEE NATIVE! gardening book series and various children's books that celebrate the wonder and hard work of bees and butterflies. Her blog and social spaces inspire thousands to create, learn, cook, grow, and craft, making their world lovelier one pixel/petal/seed/bite/stitch/brushstroke at a time. Follow her on all the social spaces, YouTube, and Amazon, and get creative!
Latest posts by Flora Caputo (see all)
- Sugar-Free, Low-Carb, Olive Oil Chocolate Hazelnut Tart - February 18, 2023
- Easy Slow Cooker French Onion Soup - November 28, 2022
- Recipe: Chicken Vindaloo with Whole Foods Vindaloo Curry Powder - January 22, 2022